
How to Make App Store Screenshots Without a Designer (2026 Guide)
A practical DIY workflow for creating accurate App Store screenshots with templates, current size presets, readable captions, and final human review.
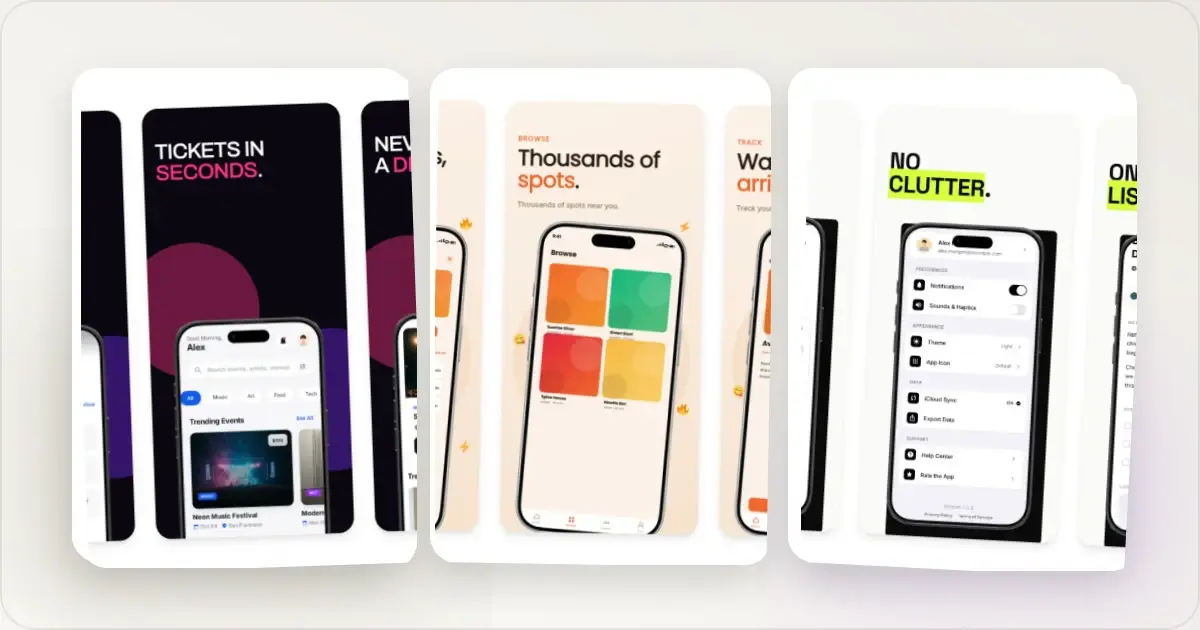
Hiring a designer can be valuable when a launch needs original art direction, research, or localization. A smaller team can also build a clear first set itself with templates and careful review; cost varies too widely to support a universal price range.
You do not need Photoshop to create valid App Store screenshots. A template-based tool can handle much of the layout work, but the product owner still needs to choose accurate screens, write truthful captions, inspect every output, and verify Apple's current requirements.
Here is how to do it.
Why Professional Screenshots Matter
Before you consider skipping screenshot polish entirely, understand what is at stake:
- Product understanding — screenshots show the real interface and workflows before installation
- Listing quality — legible, consistent assets make features easier to compare across the set
- Accuracy — current captures reduce the risk that the listing promises an experience the submitted app does not provide
Raw screenshots can be the clearest choice when the UI reads well without decoration. Frames, backgrounds, and captions are optional tools, not requirements or guaranteed conversion lifts.
Your Options for Creating App Store Screenshots
Option 1: Online mockup generators
Purpose-built tools like Screenhance are designed specifically for this workflow. Upload your screenshot, pick a template, customize, and export.
Why Screenhance works well for indie devs:- Pre-built templates designed for App Store and Play Store listings
- Device frames including iPhone 16 Pro and iPad Pro
- Template layouts that reduce blank-canvas spacing and typography work
- Current store presets and reusable layouts
- Free and paid export options; check the live pricing page for current watermark and limit details
This can reduce repeated layout work, especially across a coordinated set. Final timing depends on source capture, copy, localization, and review.
Option 2: Figma Templates
Figma offers free App Store screenshot templates from the community. You can find well-designed templates, duplicate them, and swap in your own screenshots.
Pros:- Free to use
- High-quality community templates available
- Full design control
- Requires basic Figma knowledge
- Manual process for each screenshot and device size
- Manual resizing and review for each selected output
- You need to handle export dimensions yourself
Figma is a practical option if you already know the tool and want granular control. If you do not, include template setup and export checks when comparing workflows.
Option 3: Canva
Canva can build store artwork from templates, although the final canvas and output still need to be checked against App Store Connect.
Pros:- Familiar drag-and-drop interface
- Large template library
- Device-frame coverage for the hardware you intend to show
- Whether the chosen template uses an accepted App Store canvas
- Which assets and export features require a paid plan
- How each selected display-class variant will be exported and reviewed
Canva can work when you verify the artboard and export yourself. A dedicated store workflow may require fewer manual size and sequence checks.
Option 4: Photoshop Templates
Photoshop PSD templates exist for App Store screenshots. Some are free and some are paid; prices and device coverage vary by marketplace.
Pros:- Maximum design flexibility
- Professional output if you know Photoshop
- Photoshop requires an applicable Adobe plan; check current regional pricing
- Steep learning curve for non-designers
- Overkill for most indie developers
- Manual export for each device size
- Templates often need updating for new device frames
This approach is most useful when you already know Photoshop or need pixel-level control beyond a template editor.
Step-by-Step: Creating App Store Screenshots With Screenhance
Here is a direct path from raw capture to reviewed App Store asset:
1. Pick a Template That Fits Your App's Style
Browse the template library and choose a layout that matches your app's personality. Templates handle the hard parts — device positioning, caption placement, and background design.
- Productivity apps: Clean, minimal templates with plenty of whitespace
- Social apps: Bold, colorful templates with dynamic layouts
- Finance apps: Professional templates with subtle gradients
- Games: High-energy templates with vibrant backgrounds
2. Upload Your Screenshots
Drag and drop your raw screenshots into the template. Use your best screens — the ones that clearly communicate what your app does.
Tips for better source screenshots:- Use realistic data, not placeholder text
- Show your app in its best state (populated, active, not empty)
- Capture at the highest resolution available
3. Add Captions That Sell Benefits, Not Features
Each screenshot should have a short caption that tells users what they gain:
- Bad: "Calendar View" → Clearer: "Plan the Week in One View"
- Bad: "Analytics Dashboard" → Good: "See Where Your Money Goes"
- Bad: "Push Notifications" → Good: "Stay Updated Instantly"
Keep captions concise enough to read at thumbnail size. The right length depends on the language and layout.
4. Choose Device Frames
Select the device frame that matches your target audience:
- Current iPhone frame — optional context for an iPhone-oriented composition
- Minimal or frameless treatment — useful when the UI needs more room
- iPad treatment — use a real iPad capture when the app runs on iPad
The device frame does not determine App Store Connect's display class. Match the final canvas to an accepted Apple size and make sure the frame accurately fits the source capture.
5. Export at the Right Dimensions
Apple accepts specific pixel dimensions for each display class. With Screenhance, choose from the supported store presets, then validate the final file against the intended App Store Connect slot.
For reference, check our App Store screenshot dimensions guide, which links to Apple's current accepted-size specification.
Caption Writing Tips
Captions can clarify a screenshot when the UI alone does not explain the benefit:
- Lead with the benefit — "Plan the Week in One View" is clearer than "Scheduling Feature"
- Keep it concise — test it at thumbnail size and allow more space for languages that need it
- Use high contrast text — White text on dark backgrounds or dark text on light backgrounds. If it is hard to read at a glance, it is not working
- Be specific — "Track 50+ Currencies" beats "Currency Tracking"
- Front-load the value — Put the most compelling word first
Common Mistakes Indie Devs Make
Dismissing raw screenshots automatically
A raw screenshot is valid when it represents the app clearly and fits the accepted canvas. Add framing or captions only when they supply useful context.
Wrong Dimensions
App Store Connect rejects screenshots that do not match an accepted size for the selected display class. Do not guess—select and validate an appropriate preset, and reference the accepted-size specification.
Inconsistent Styling
Mixing different background colors, font styles, or frame types across your screenshot set looks careless. Pick one style and apply it consistently to all screenshots.
Too Much Text
Long paragraphs can obscure the product. Keep the caption readable at the rendered size, but do not enforce an English-language five-word limit across every locale.
Only Uploading a Few Screenshots
Apple allows up to 10 screenshots per supported display class. Use only as many as needed to explain distinct product value; repetitive slides do not become useful merely because a slot exists.
Outdated Device Frames
An older frame is not inherently wrong, but it should align with the devices the app supports and the campaign's claims. The underlying product capture must be current.
How to Create Screenshots for Multiple Device Sizes
Apple accepts several display-class sizes and documents fallback behavior for classes without their own uploaded set. Start with the currently required medium Dynamic Island iPhone group (1179 × 2556 or 1206 × 2622 portrait), add the required 13-inch iPad set when the app runs on iPad, and create additional native variants only when your release needs them:
1. Start with a current display-class preset — 1320 × 2868 is one accepted 6.9-inch iPhone portrait size
2. Keep an editable master — adapt it to the supported Screenhance presets your release needs
3. Check each size — Verify that captions are readable and UI elements are not cropped on smaller displays
4. Do not forget iPad — If your app supports iPad, create a separate screenshot set optimized for the larger display
This workflow reduces repeated layout work, but every size and locale still needs a visual check.
Frequently Asked Questions
How much do App Store screenshots cost to make?
Costs depend on the number of screens, localizations, original illustration, review rounds, and tool. Screenhance has free and paid export options; check the live pricing page for current watermark and export limits. Figma, Canva, Photoshop, template marketplaces, and independent designers use different pricing models.
How many screenshots should I upload?
Upload enough screenshots to explain the product without repetition. Ten is the maximum per supported display class, not a target. A shorter, coherent set can be more appropriate for a focused app.
Do I need different screenshots for iPhone and iPad?
If the app runs on iPad, provide the applicable iPad screenshot set using real iPad captures. An editable master can preserve typography and branding, but the layout and UI should still be checked for the tablet output.
Can I update my screenshots after publishing?
Screenshot editability depends on the app version's current App Store Connect state. Follow Apple's current upload and edit guidance and update assets when they no longer represent the submitted app.
What font and colors should I use?
Use your brand fonts and colors for consistency. If you do not have established brand guidelines, stick with clean sans-serif fonts like SF Pro, Inter, or Helvetica. For colors, choose backgrounds that contrast well with your app's UI and make your captions easy to read.
Related Reading
- App Store Screenshot Dimensions 2026 - Accepted-size reference
- How to Create App Store Screenshots That Actually Convert - Conversion optimization strategies
- App Store Screenshot Generator - Create screenshots with current presets
- 7 Screenshot Mistakes That Make Your Product Look Amateur - Common mistakes to avoid
- Screenhance vs Figma for Product Mockups - Detailed comparison
Conclusion
You do not need a designer, Photoshop, or a big budget to create professional App Store screenshots. The right tool handles device frames, backgrounds, dimensions, and layout — leaving you to focus on showcasing your app's value.
Pick a template, upload current screenshots, write accurate captions, select the relevant presets, and inspect every export before upload.
Start creating your App Store screenshots free with Screenhance.Check your image dimensions
Check the pixel size and file format for App Store screenshots. Files stay in your browser and are not stored.
This checks dimensions and file type only. Check the selected display slot, colour profile, transparency and artwork separately. A matching size does not guarantee store approval.
Accepted App Store screenshot sizes
- iPhone · Duo outer: 1398 × 2034 (landscape 2034 × 1398)
- iPhone · Duo inner: 2007 × 2853 (landscape 2853 × 2007)
- iPhone · Dynamic Island (large display): 1260 × 2736 (landscape 2736 × 1260)
- iPhone · Dynamic Island (large display): 1320 × 2868 (landscape 2868 × 1320)
- iPhone · Dynamic Island (large display): 1290 × 2796 (landscape 2796 × 1290)
- iPhone · Face ID (large display): 1284 × 2778 (landscape 2778 × 1284)
- iPhone · Face ID (large display): 1242 × 2688 (landscape 2688 × 1242)
- iPhone · Dynamic Island (medium display): 1179 × 2556 (landscape 2556 × 1179)
- iPhone · Dynamic Island (medium display): 1206 × 2622 (landscape 2622 × 1206)
- iPhone · Face ID (medium display): 1170 × 2532 (landscape 2532 × 1170)
- iPhone · Face ID (medium display): 1125 × 2436 (landscape 2436 × 1125)
- iPhone · Face ID (medium display): 1080 × 2340 (landscape 2340 × 1080)
- iPhone · Home Button (large display): 1242 × 2208 (landscape 2208 × 1242)
- iPhone · Home Button (medium display): 750 × 1334 (landscape 1334 × 750)
- iPhone · 4": 640 × 1096 (landscape 1136 × 600)
- iPhone · 4": 640 × 1136 (landscape 1136 × 640)
- iPhone · 3.5": 640 × 920 (landscape 960 × 600)
- iPhone · 3.5": 640 × 960 (landscape 960 × 640)
- iPad · 13": 2064 × 2752 (landscape 2752 × 2064)
- iPad · 13": 2048 × 2732 (landscape 2732 × 2048)
- iPad · 11": 1488 × 2266 (landscape 2266 × 1488)
- iPad · 11": 1668 × 2420 (landscape 2420 × 1668)
- iPad · 11": 1668 × 2388 (landscape 2388 × 1668)
- iPad · 11": 1640 × 2360 (landscape 2360 × 1640)
- iPad · 10.5": 1668 × 2224 (landscape 2224 × 1668)
- iPad · 9.7": 1536 × 2008 (landscape 2048 × 1496)
- iPad · 9.7": 1536 × 2048 (landscape 2048 × 1536)
- iPad · 9.7": 768 × 1004 (landscape 1024 × 748)
- iPad · 9.7": 768 × 1024 (landscape 1024 × 768)
Specifications checked 2026-10-13. Apple’s source requirements.
Screenhance examples
Two editable starting points from the Screenhance library, selected for this app stores guide.
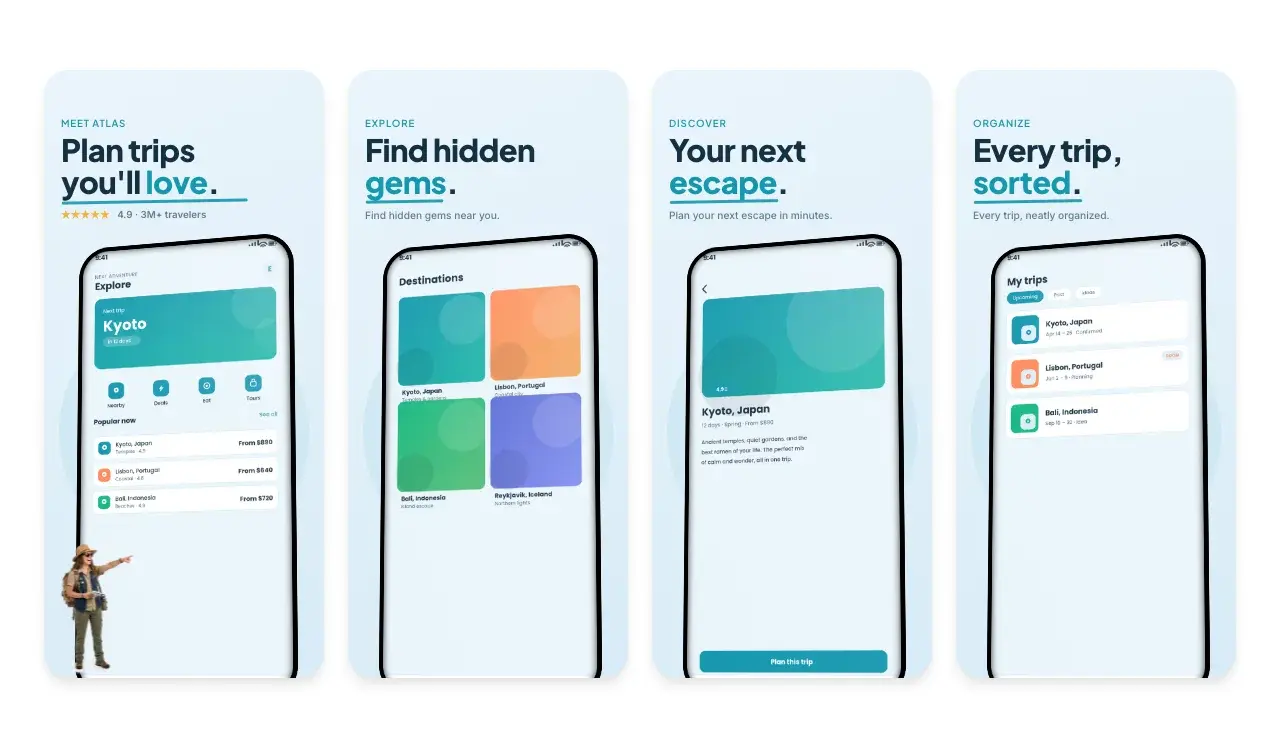
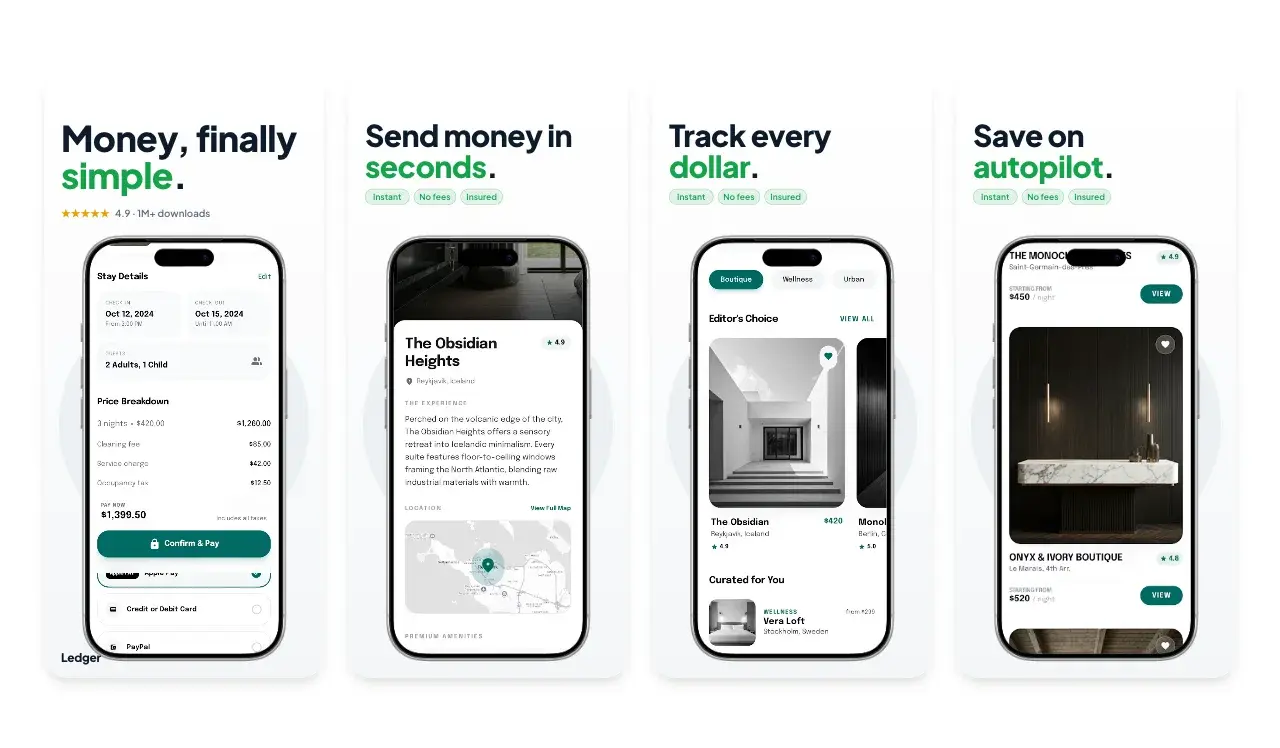
Generate App Store screenshots free
Free to start. No credit card required.
Keep reading
Related, product-tested guides from Screenhance.
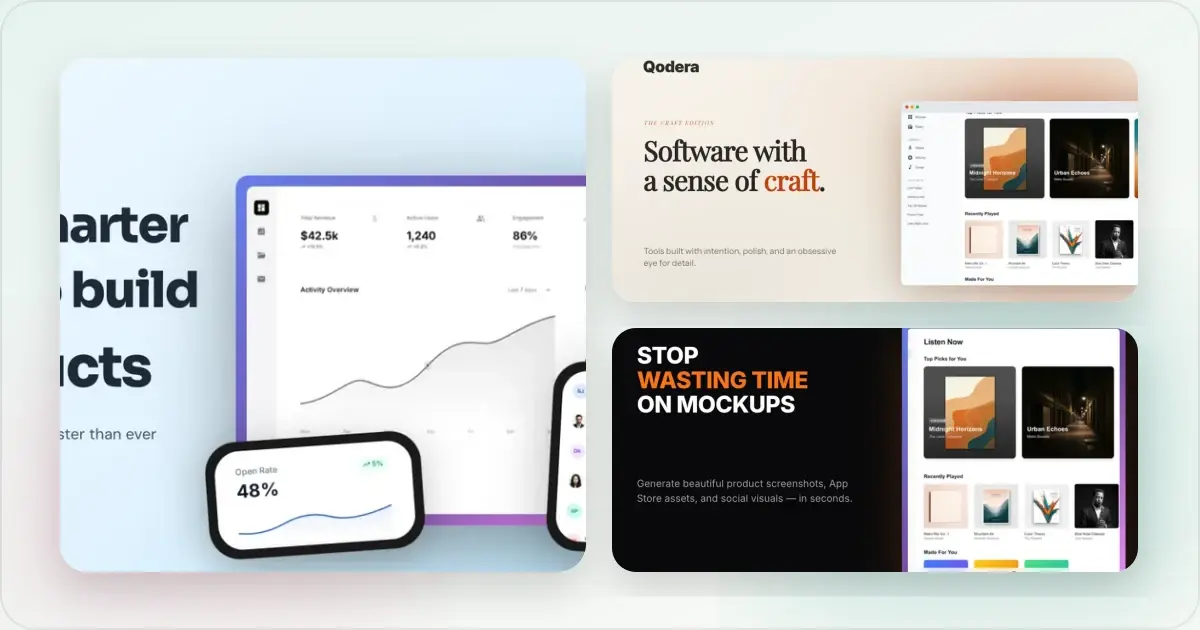
Best App Store Screenshot Generators in 2026: 7 Workflows Compared
Compare seven screenshot tools by real workflow: store sizes, localized captions, editable templates, direct uploads, 3D scenes and launch assets.
15 Jun 2026 · 6 min read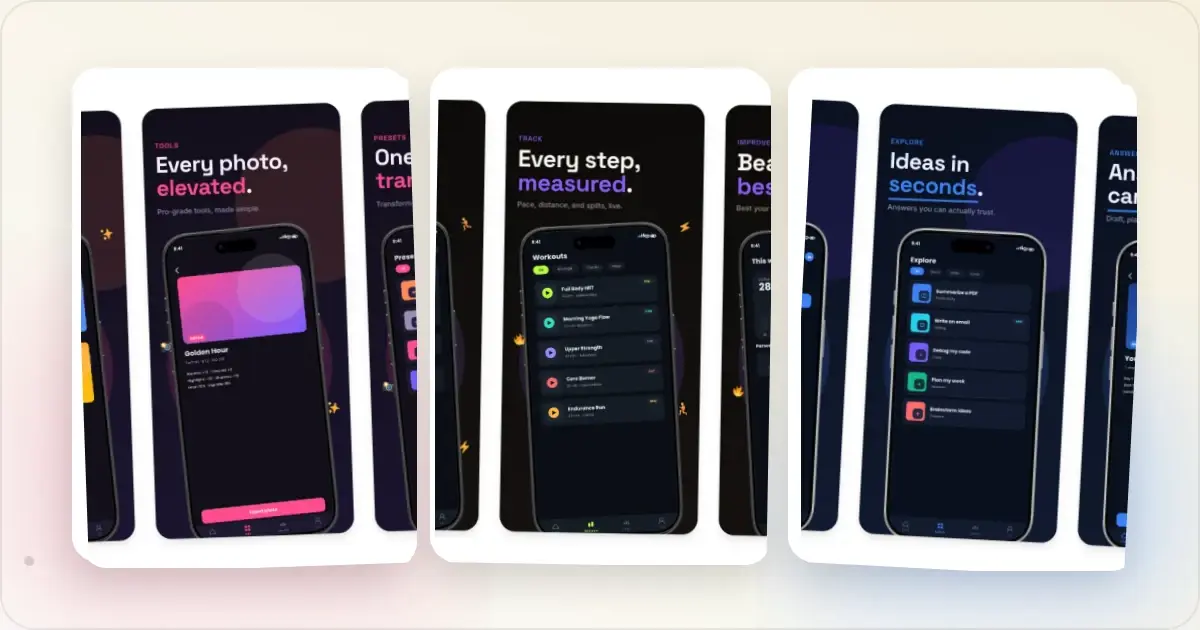
9 App Design Examples That Explain the Product Clearly
Study nine original app design concepts and the specific hierarchy, screenshots, contrast, and story decisions that make each product easier to understand.
20 Aug 2026 · 8 min read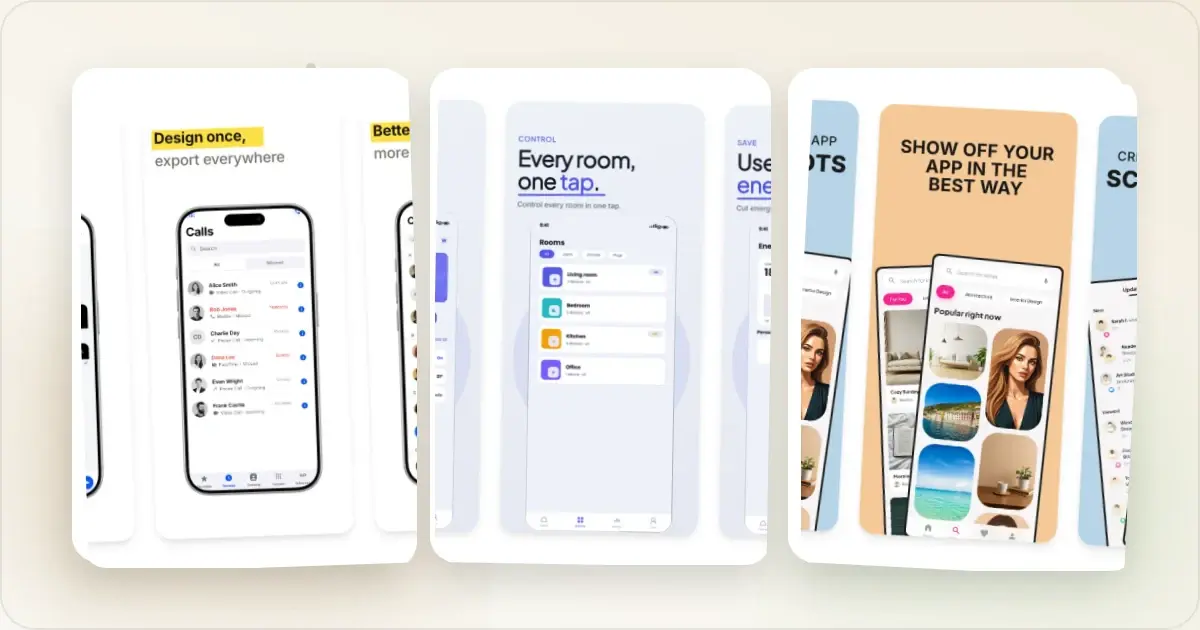
The State of App Store Screenshots in 2026: Requirements and Testing
A current, source-linked guide to App Store screenshot requirements, localization, Product Page Optimization, and the checks to run before upload.
4 Jul 2026 · 3 min read