%2FOlivia%20Rhye.webp&w=64&q=75)
%2FPhoenix%20Baker.webp&w=64&q=75)
%2FLana%20Steiner.webp&w=64&q=75)
%2FDemi%20Wilkinson.webp&w=64&q=75)
%2FDrew%20Cano.webp&w=64&q=75)
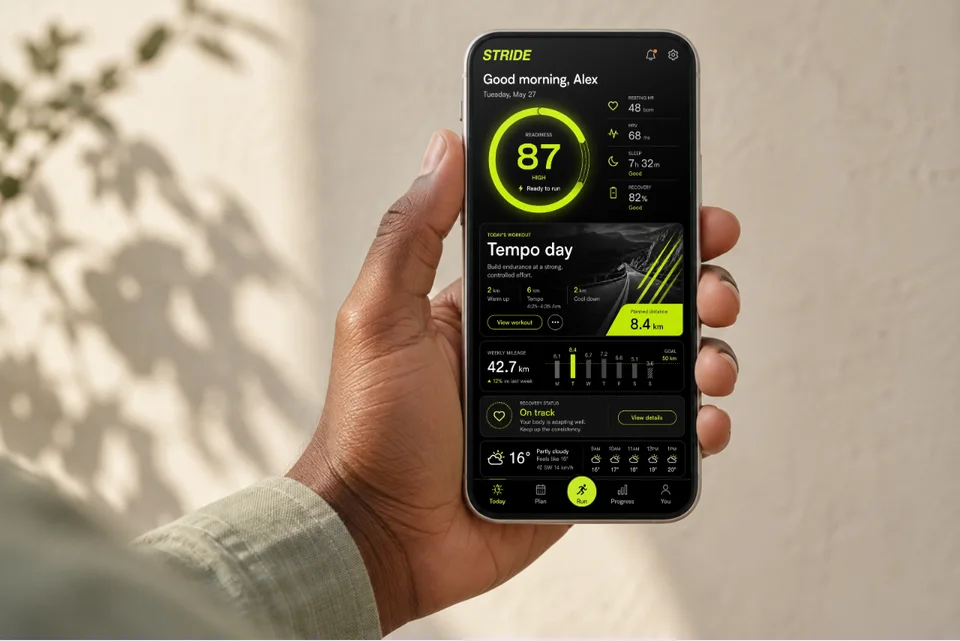
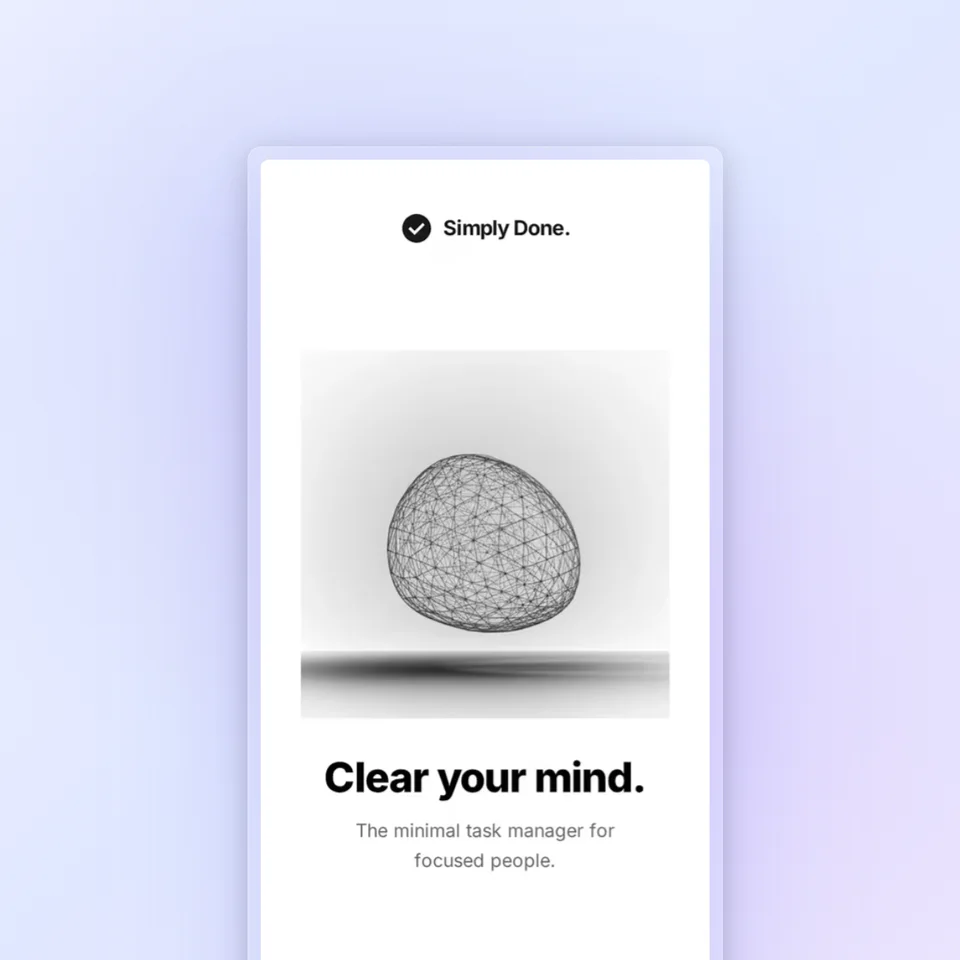
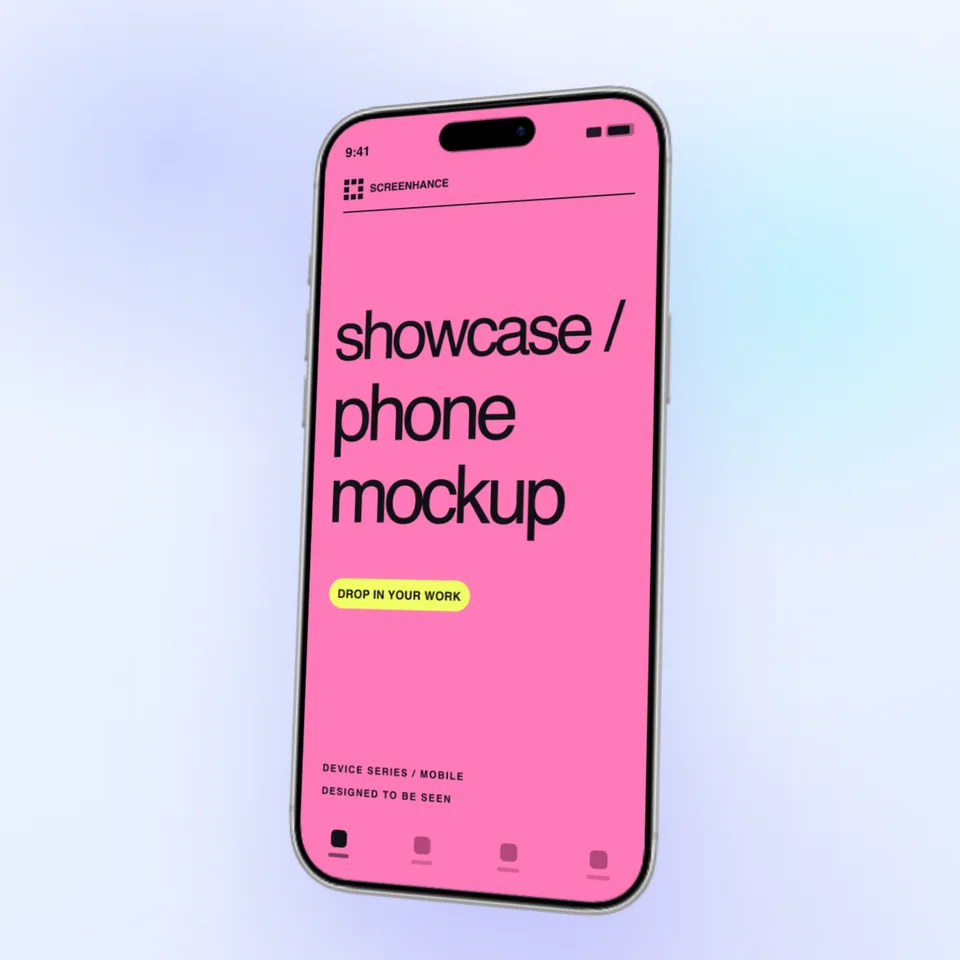
A training app in someone’s hand
For a landing page, editorial feature or portfolio: show what the app feels like in use.
Open this mockupCrop your screenshot, add a background or device frame, and explain the feature with editable text and callouts.
Your original interface stays intact. Add new text around it; change existing interface text in the source app before taking the screenshot.
Try editing before signing up. A free account includes 3 watermarked PNG exports per month at 1×. Clean exports are available on paid plans.
Browse starting styles →Loved by 3,000+ creators
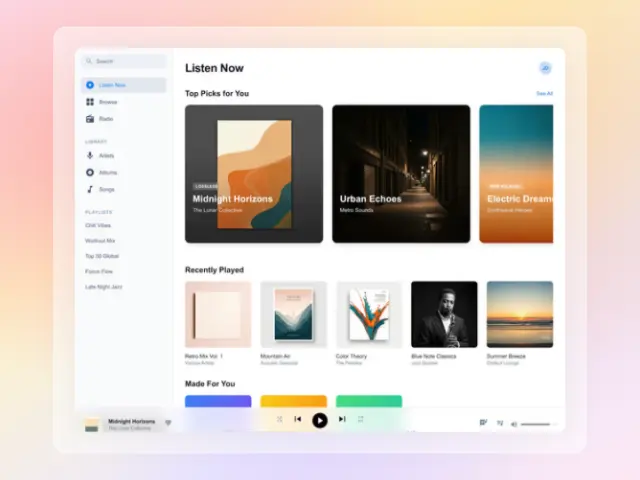
This example uses our demo artwork in the actual editor. Start with your own screenshot, then make only the changes your message needs.
The free plan includes three watermarked PNG exports per month at 1×.
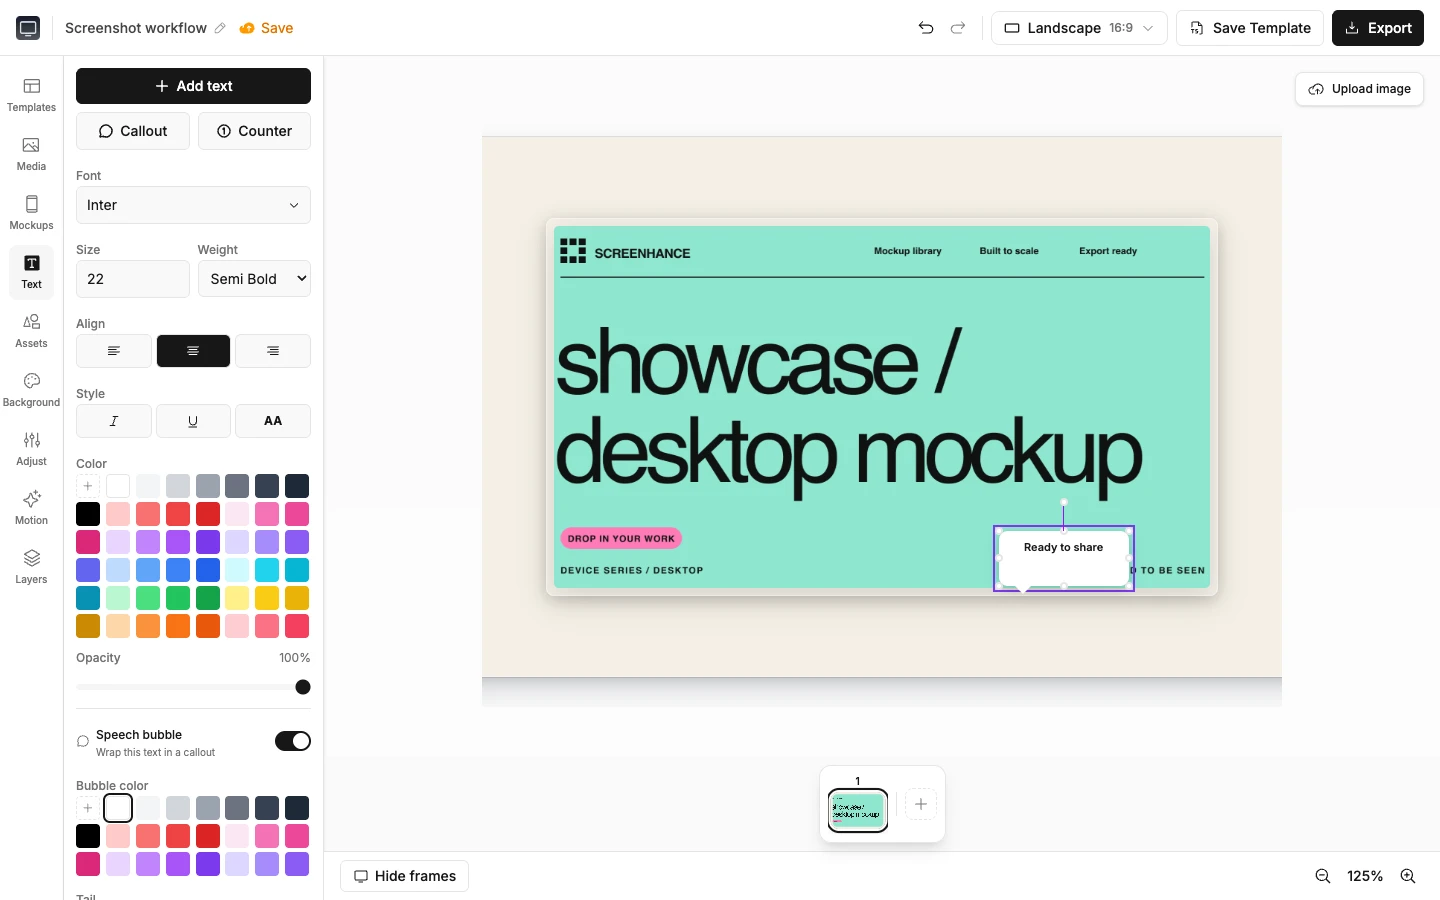
Three editable examples, each with a different use. The product screens are fictional; the mockup and export workflow are real.
For a landing page, editorial feature or portfolio: show what the app feels like in use.
Open this mockup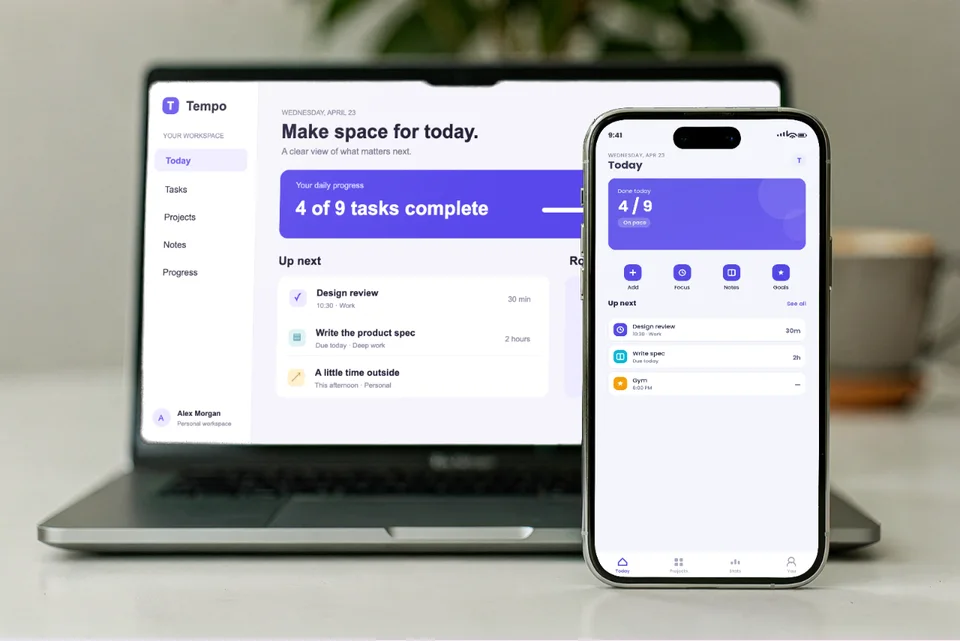
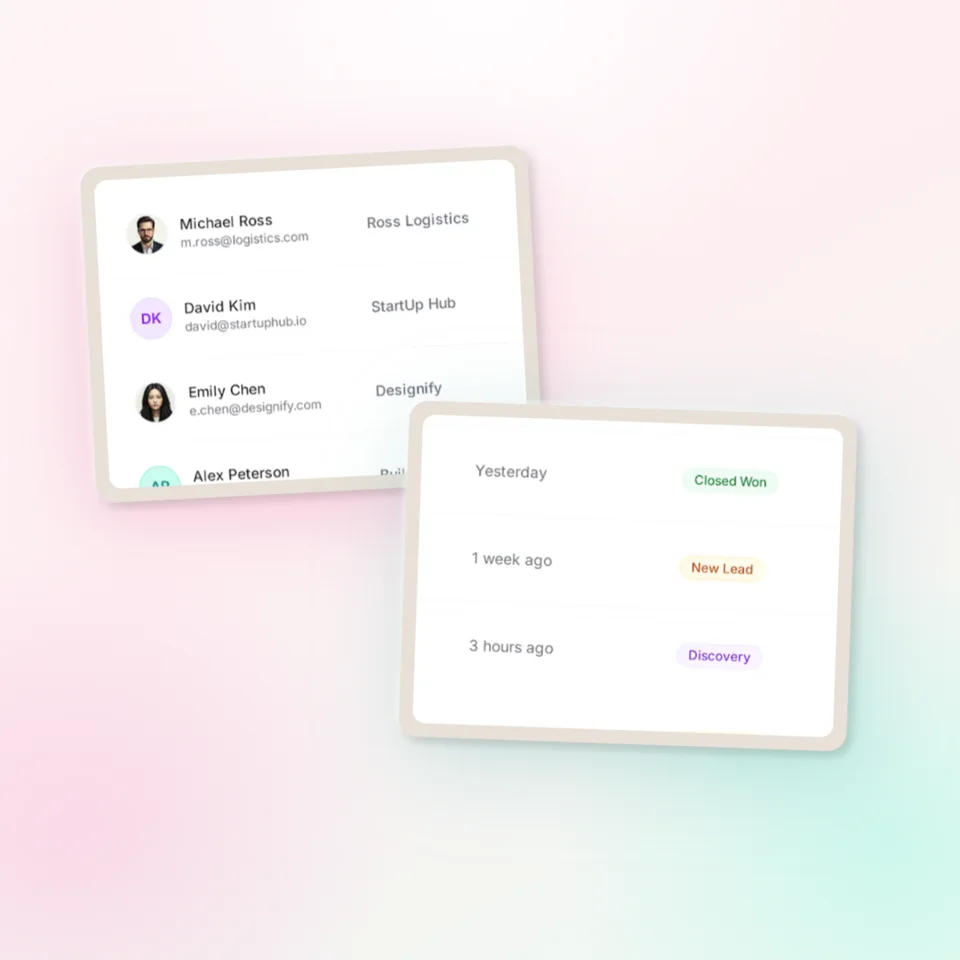
For a responsive product case study: show the desktop workflow and its mobile companion together.
Open this mockup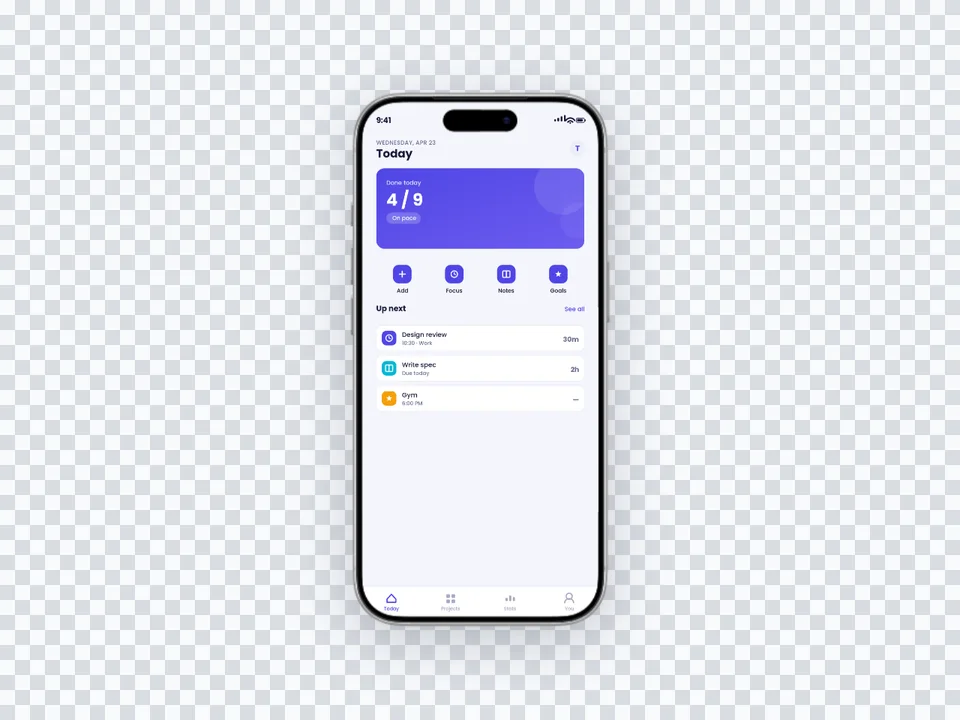
For a landing-page section with its own colour: let the website supply the background.
Open this mockupThese six editable styles give you ready-made browser, glass, and phone compositions for a fast start.
Keep the real product screen intact, then make its message easier to understand in the place where the image will be published.
Place an editable headline, supporting line, label, or launch message around the product screen.
See how text layers work →Point to the exact control or change with a callout, arrow, numbered step, icon, or highlight.
Open the annotation workflow →Remove visual noise, choose the final aspect ratio, then add a background, frame, radius, or shadow.
Read the screenshot guide →Crop and position the capture, then build the presentation with frames, backgrounds, shadows, text, icons, callouts, and motion.
Tighten the composition, change the padding, and decide exactly what the viewer sees first.
Use a phone, tablet, laptop, browser, watch, or transparent device treatment.
Choose a solid colour, gradient, pattern, uploaded background, or photorealistic placement.
Add a headline, caption, callout, numbered step, icon, or supporting asset as an editable layer.
Animate supported layers and export a looping GIF or video when a still image cannot show the interaction.
Export a single marketing image, continue into a store screenshot set, or reuse the design for another destination.
Give support captures, App Store slides, social posts, and product updates the treatment that makes each one easiest to understand.
Use a focused frame, background, and shadow treatment without adding unnecessary decoration.
Open this workflow →Add callouts, arrows, and numbered steps for documentation, support, or a product update.
Open this workflow →Turn several screens into a coordinated iPhone and iPad gallery, then export the device presets selected for the release.
Open this workflow →Start with an editable motion layout when a transition or product interaction is the point.
Open this workflow →If the screenshot feels busy, begin by removing browser chrome, empty space, and unrelated controls. Add a frame or callout only when it makes the feature easier to understand. One clear focal point is usually enough.
Use a clean demo workspace and the state you actually want customers to see.
Crop tightly, choose the output ratio, and add the minimum supporting treatment.
Check private data, spelling, legibility, and the final dimensions before export.
It surpassed what I expected. The flow is direct, with great layouts and templates for screenshots.
Clean, easy to use, and I especially love the one-week pass.
The subtle motion adds a premium feel without becoming distracting.
It looks great. I really like the pricing, especially being able to try it without entering a card.
Well designed and useful for decks and product launches.
You can crop and position a screenshot, place it in a device or browser frame, change the canvas and background, add shadows, text, icons, callouts, and other layers, and apply motion to supported designs.
Yes. Add editable headlines, captions, labels, numbered steps, and callouts above or around the screenshot. If the wording is already rendered inside the product interface, update that source screen before capturing it; Screenhance keeps the marketing copy around it editable.
Screenhance is a composition editor for presenting screenshots. Use it to crop and frame the screen, build the layout, add backgrounds, labels, and annotations, and prepare the final export. Make source-level interface or pixel changes before you upload the screenshot.
No. Uploading and editing a screenshot works directly in the browser. The Chrome extension is a separate way to record a browser tab with cursor and click data for a product demo video.
Yes. The free plan includes three image exports each month at 1× PNG resolution with a small Screenhance watermark. Templates, device frames, and core editing are available while you try the workflow.
Free exports are watermarked PNG files at 1×. The Launch Pass adds ten clean PNG, WebP, or JPEG image exports at up to 3× for seven days. Pro includes unlimited clean image exports and GIF or video for designs with motion.
The safest approach is to capture a demo workspace filled with fictional data. If a real screenshot contains private information, redact it before publishing and have someone else review the final image for names, email addresses, keys, account details, and unreleased features.
Start with a blank canvas, upload the real screen, and build the crop, frame, background, labels, and export around its destination.