
Screenhance

Make the product screenshot fit the message

Start with a real product capture, choose whether it belongs in a hero, feature section, guide, or release note, and shape it for that job in the browser.

No template required. Add your own screenshot after the editor opens.

Six starting points for a product screenshot

Replace the sample image, then simplify the frame, crop, background, and copy around the message you need to show.

One product, four different screenshot jobs

The destination determines what belongs in the capture and how much treatment it needs. Reusing the same crop everywhere usually makes at least one placement harder to understand.

Landing-page hero

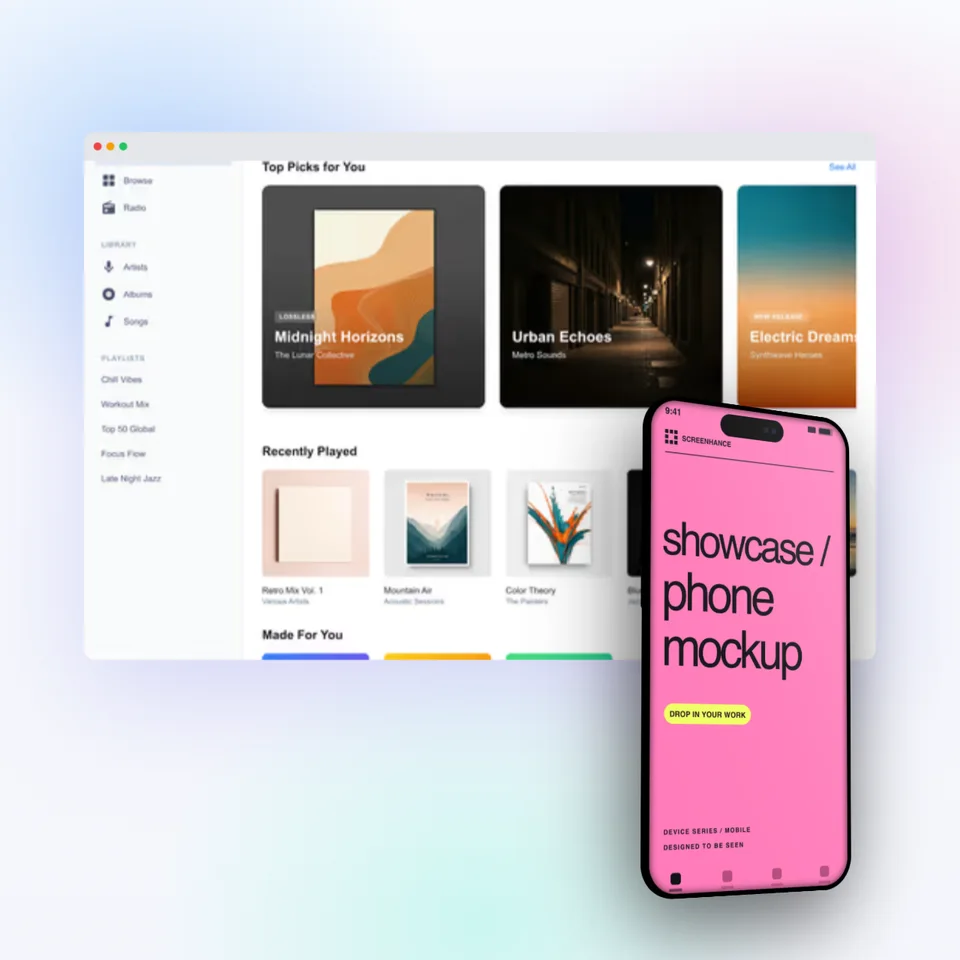
Choose a recognisable product state that shows the core workspace or result. Keep enough surrounding interface to make the product understandable, and leave clear space when the page headline sits beside the image.

Use a browser or device frame when it adds useful context. Avoid annotations that compete with the page's main message.

Feature section

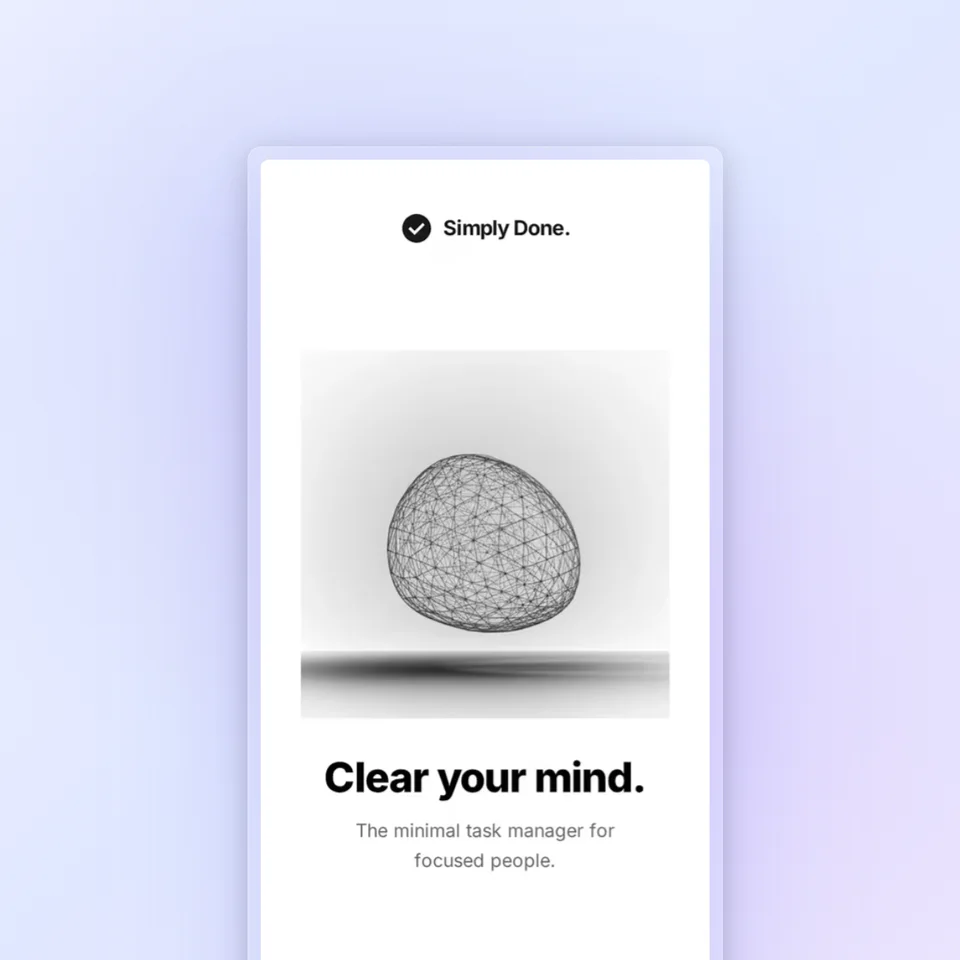
Capture the exact screen, control, or result that supports the nearby feature claim. Crop more tightly than the hero so labels and interface details remain legible at the size used on the page.

Add a short callout only when the crop alone does not make the relevant detail obvious.

Documentation or support

Show the interface state a reader will actually encounter. Keep navigation, field names, and neighbouring controls when they help someone complete the step or understand the problem.

Prefer a direct crop and precise annotation over perspective effects or decorative scenery.

Product update

Show the changed surface in a realistic, populated state. Pick the moment that demonstrates what is new rather than a generic dashboard that happens to contain it.

Use a concise label or before-and-after comparison only when the change would otherwise be ambiguous.

Preparing a multi-screen store listing is a different job. Use the App Store screenshot generator when the output needs coordinated slides and store-specific sizes.

From capture to finished asset

The editor handles presentation around the screenshot. It does not rewrite the pixels inside your interface, so fix the product state first and compose the marketing asset second.

Need to demonstrate an interaction rather than a still state? Use the screen-recording workflow instead.

  1. 01

    Capture the right state

    Prepare a demo workspace, open the product state that supports the message, and remove names, keys, customer details, or unreleased work.

  2. 02

    Compose for the destination

    Set the output shape, crop around the useful interface, then choose a plain treatment, browser frame, device frame, or scene that fits the job.

  3. 03

    Explain only what needs explaining

    Add a headline, caption, arrow, or numbered marker when it helps the viewer find the relevant detail. Leave it out when the screenshot already makes the point.

  4. 04

    Review the delivered image

    Check legibility at the size where the asset will appear, review it again for private information, and export the format and resolution your destination accepts.

Files, plans, and private product data

Add PNG, JPEG, WebP, HEIC, or HEIF images up to 10 MB. Editing and compression happen in the browser; signed-in projects upload their images to private storage so autosave can reopen them.

Use fictional demo data where possible and redact private information before upload. Screenhance does not use uploaded images to train AI models. Read the complete privacy policy.

Free

Three image exports each month as watermarked PNG files at 1×. Templates, device frames, and core editing are available on the free plan.

Launch Pass · $6

Ten clean static image exports over seven days as PNG, WebP, or JPEG at up to 3×. It is a one-time purchase, not a subscription.

Pro · $12/month

Unlimited clean image exports at up to 3×, with yearly billing available at $99. Pro also unlocks motion export formats for animated designs.

See the current allowances and checkout options on the pricing page.

Product screenshot questions

What should I capture for a product marketing screenshot?

Capture a real product state that supports the message beside it. Use a representative demo workspace, put the important result or control in view, and remove private data before you upload or publish the image.

Can I start without a template?

Yes. The fresh editor opens a blank canvas where you can add your screenshot, choose the canvas ratio, crop and position the image, then add a background, frame, text, or callout only if the destination needs it.

Which image files can I upload?

The visual editor accepts PNG, JPEG, WebP, HEIC, and HEIF images up to 10 MB. Use the highest-quality source you have and scale it down in the composition rather than enlarging a small capture.

Can I use the product screenshot tool for free?

Yes. Free includes the templates, device frames, and core editor, plus three watermarked PNG image exports at 1× each month. A $6 Launch Pass provides ten clean PNG, WebP, or JPEG image exports at up to 3× for seven days. Pro is $12 monthly or $99 yearly and includes unlimited clean image exports.

What happens to screenshots I upload?

Editing and image compression happen in the browser. Guest images stay in local browser storage. When you are signed in, project images are uploaded to private storage so autosave can reopen the project. Screenhance does not use uploaded images to train AI models; see the privacy policy for the complete terms.

Start with the product state that matters

Open a fresh canvas, add the screenshot, and shape the asset around where it will be used.

Open the fresh editor