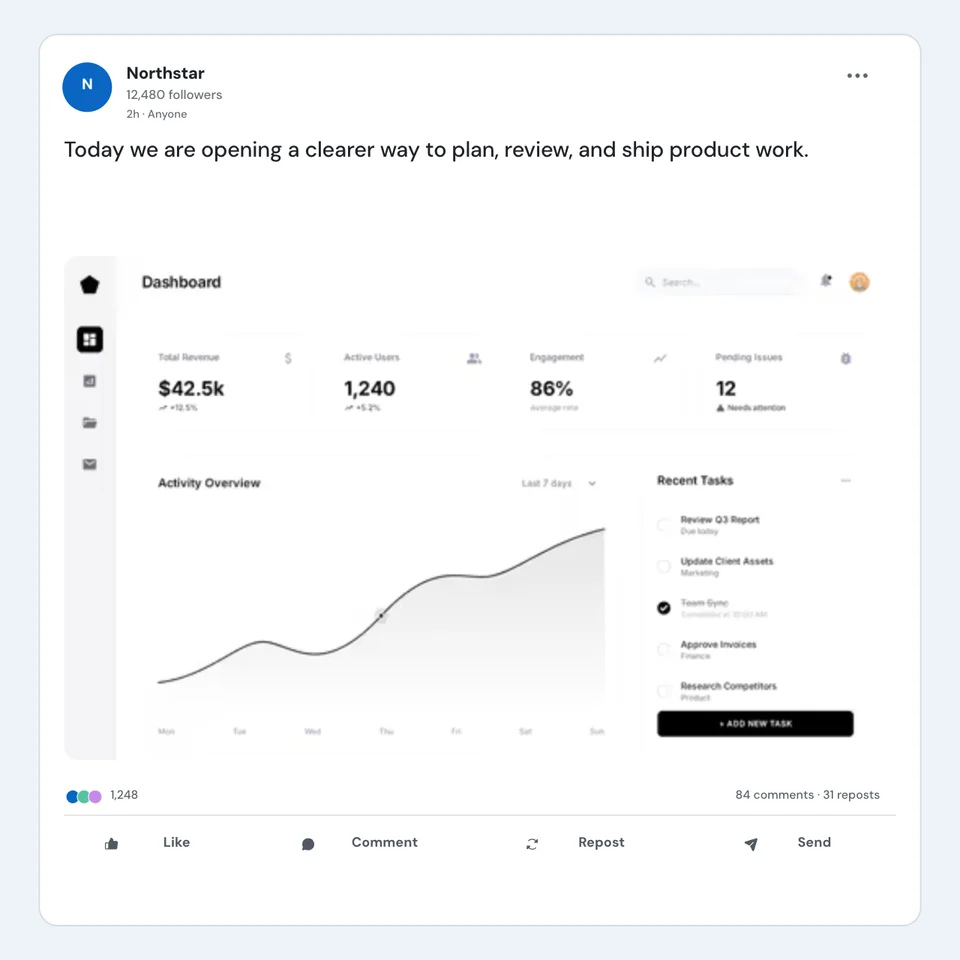
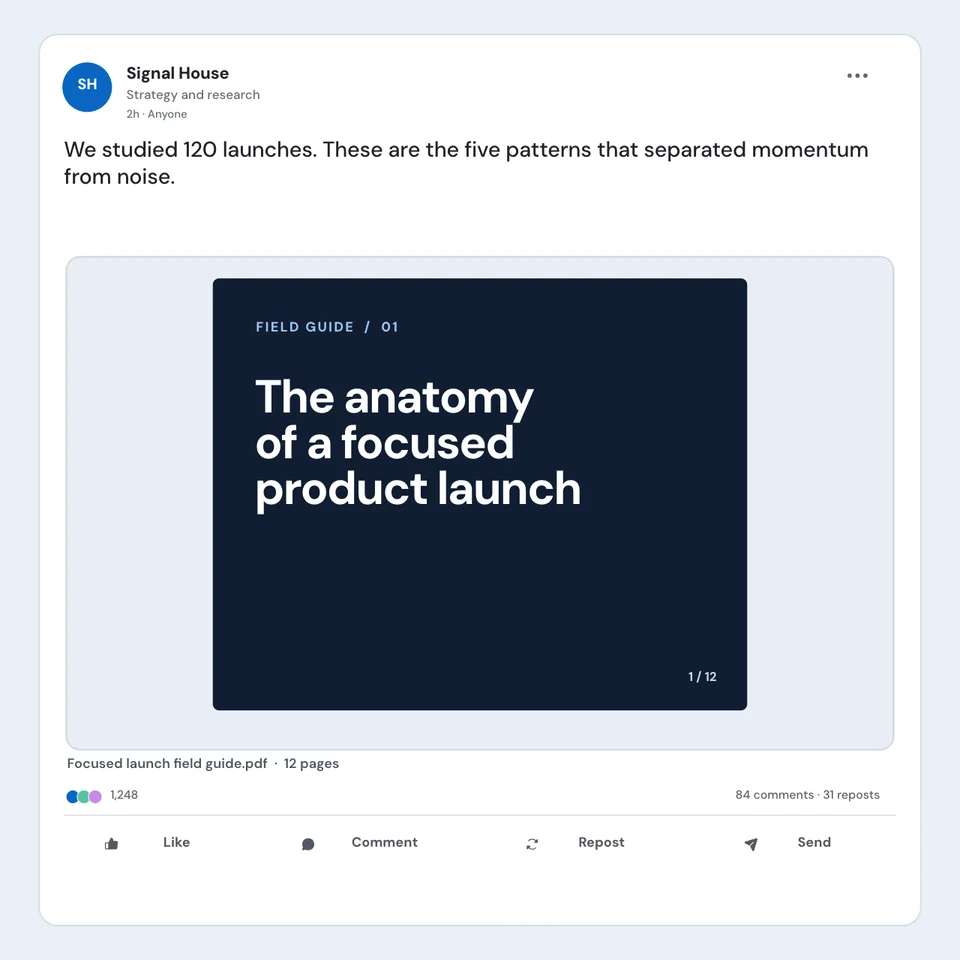
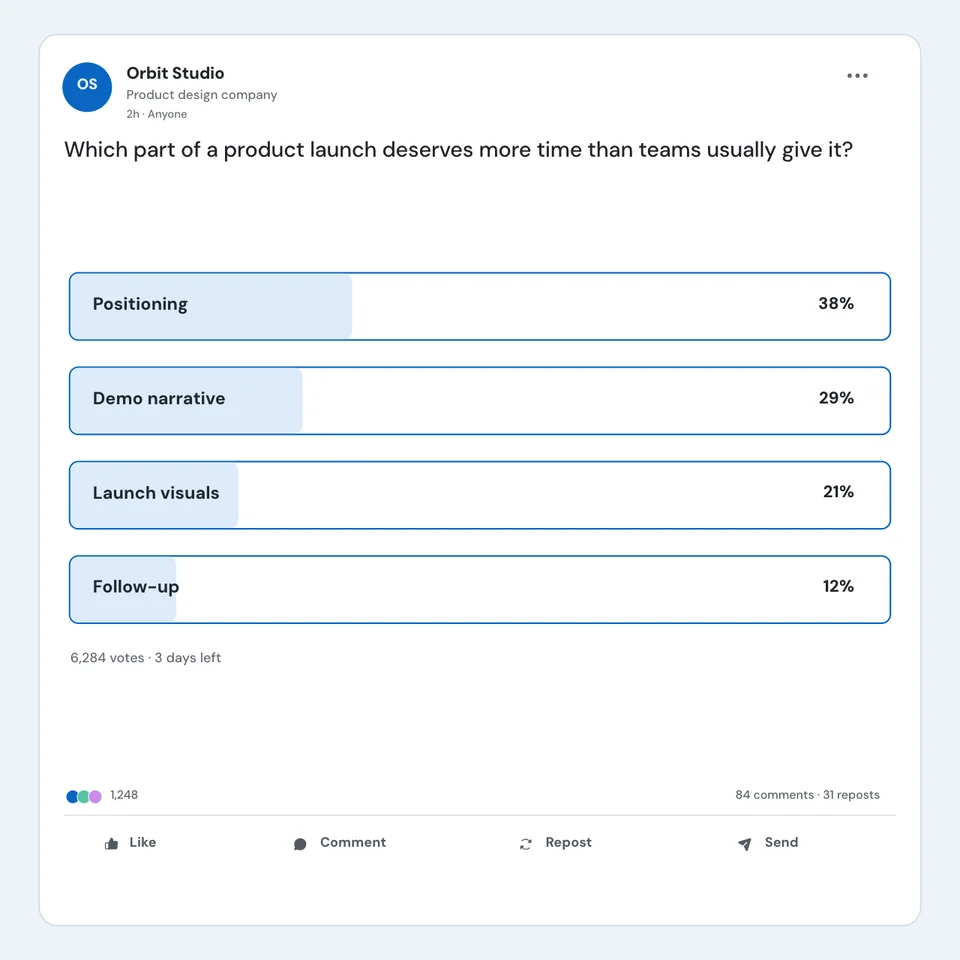
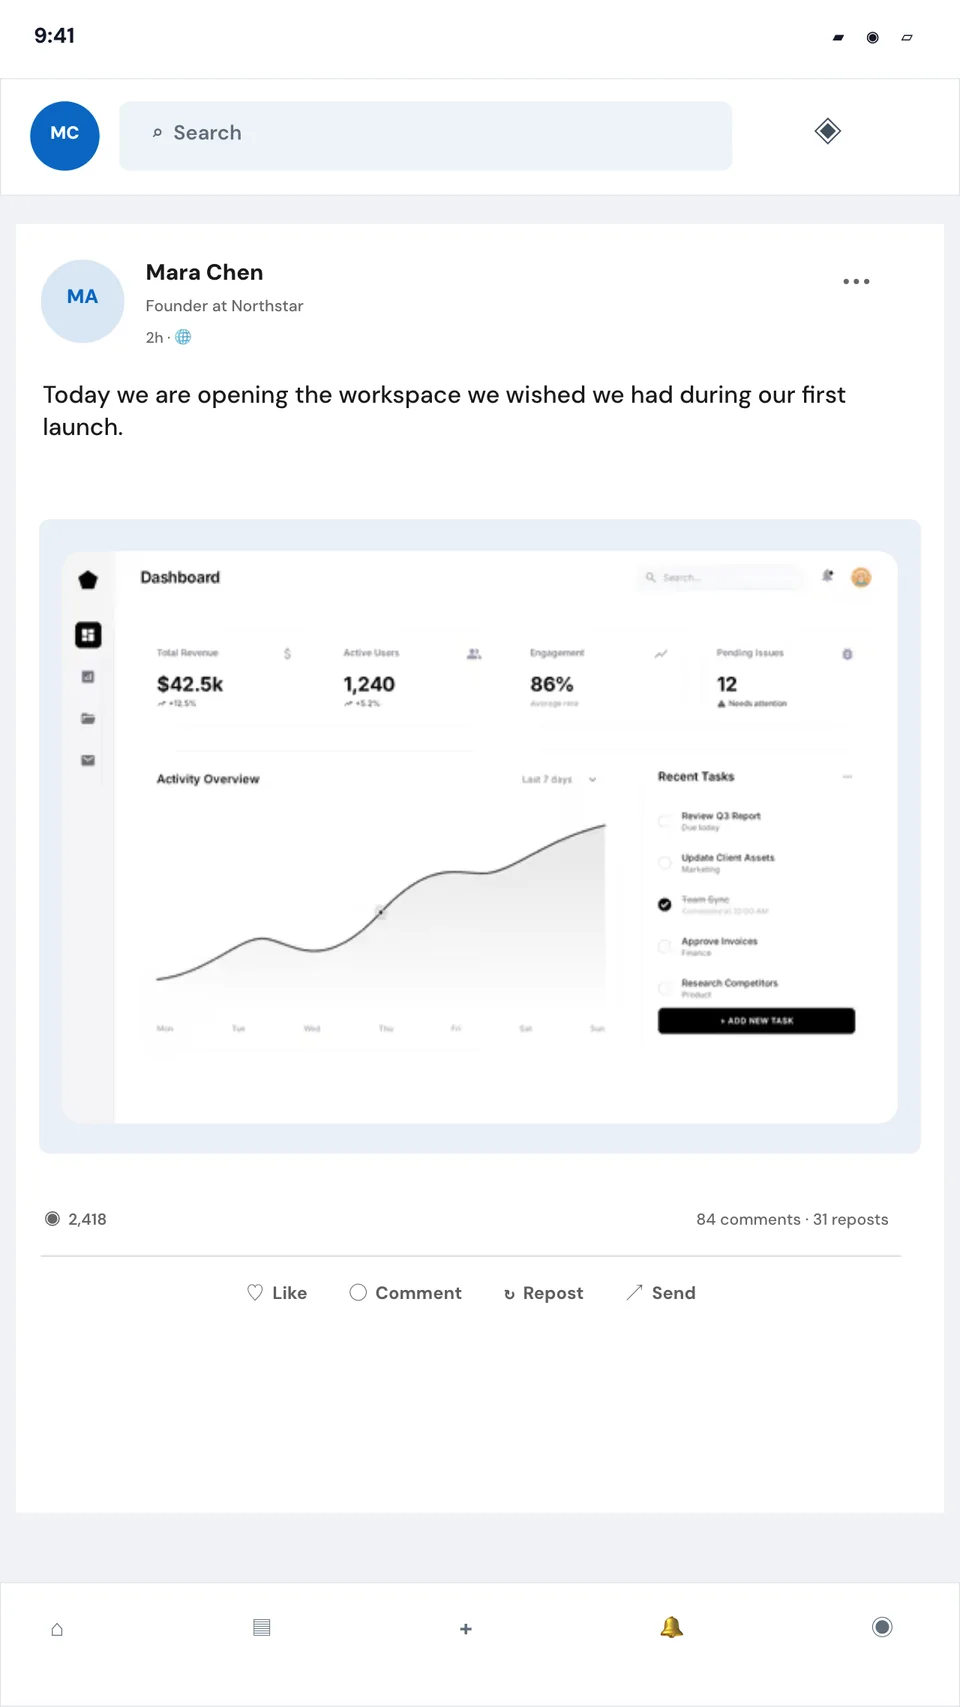
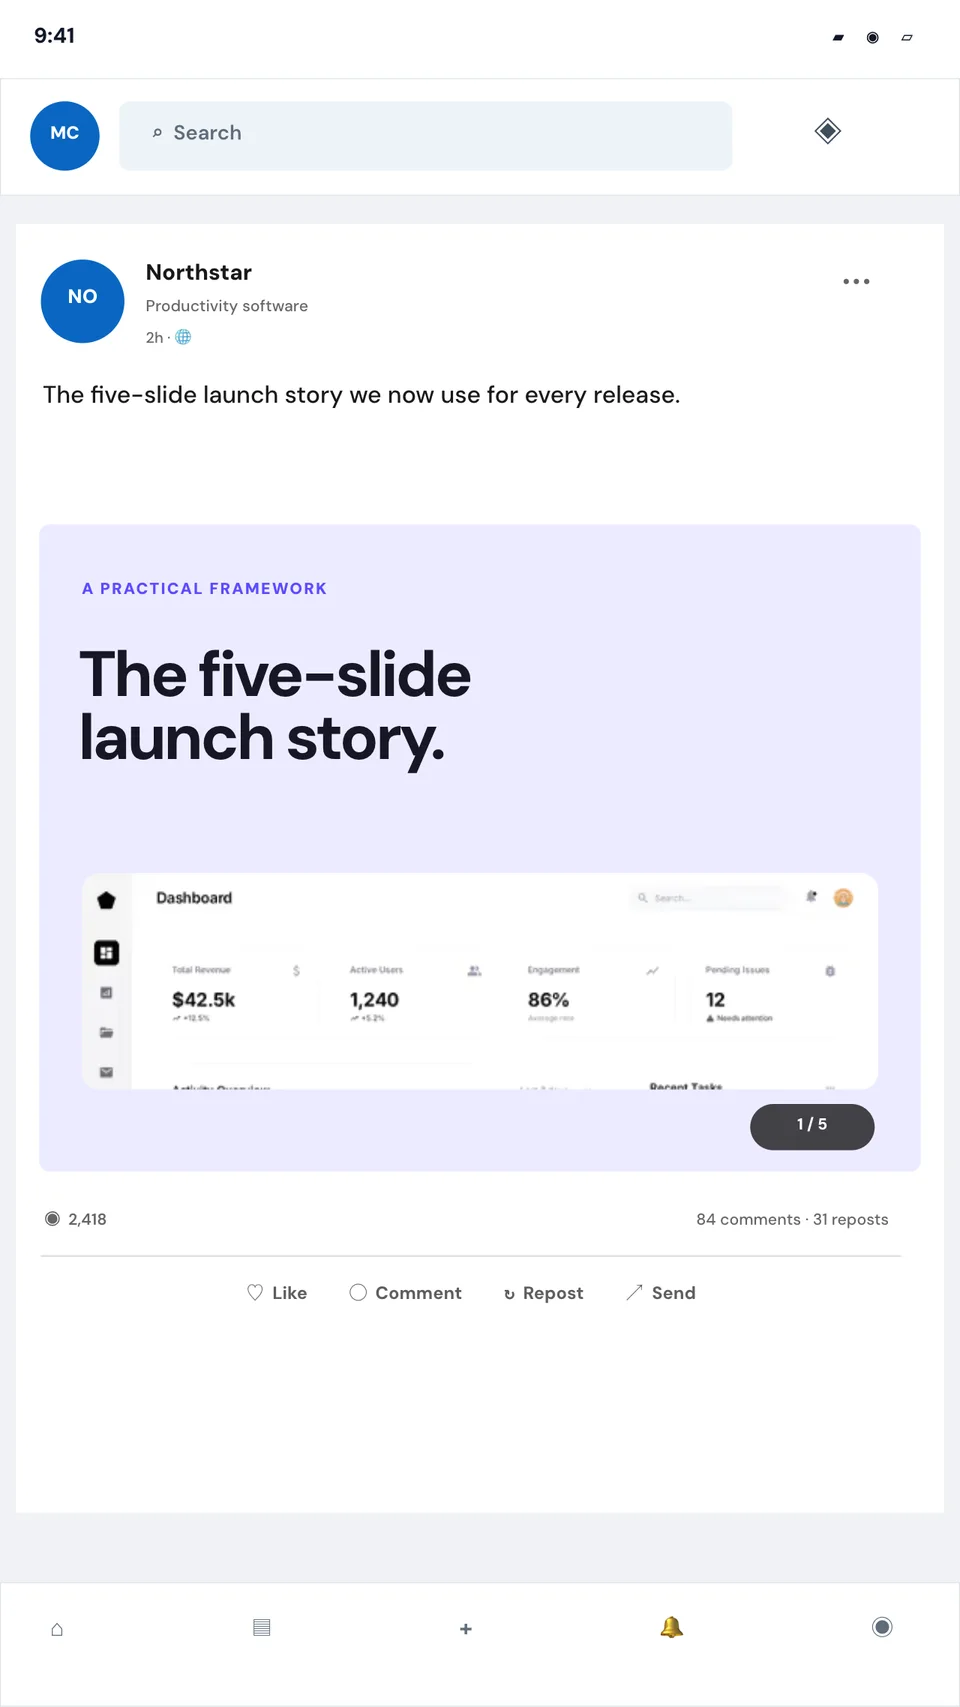
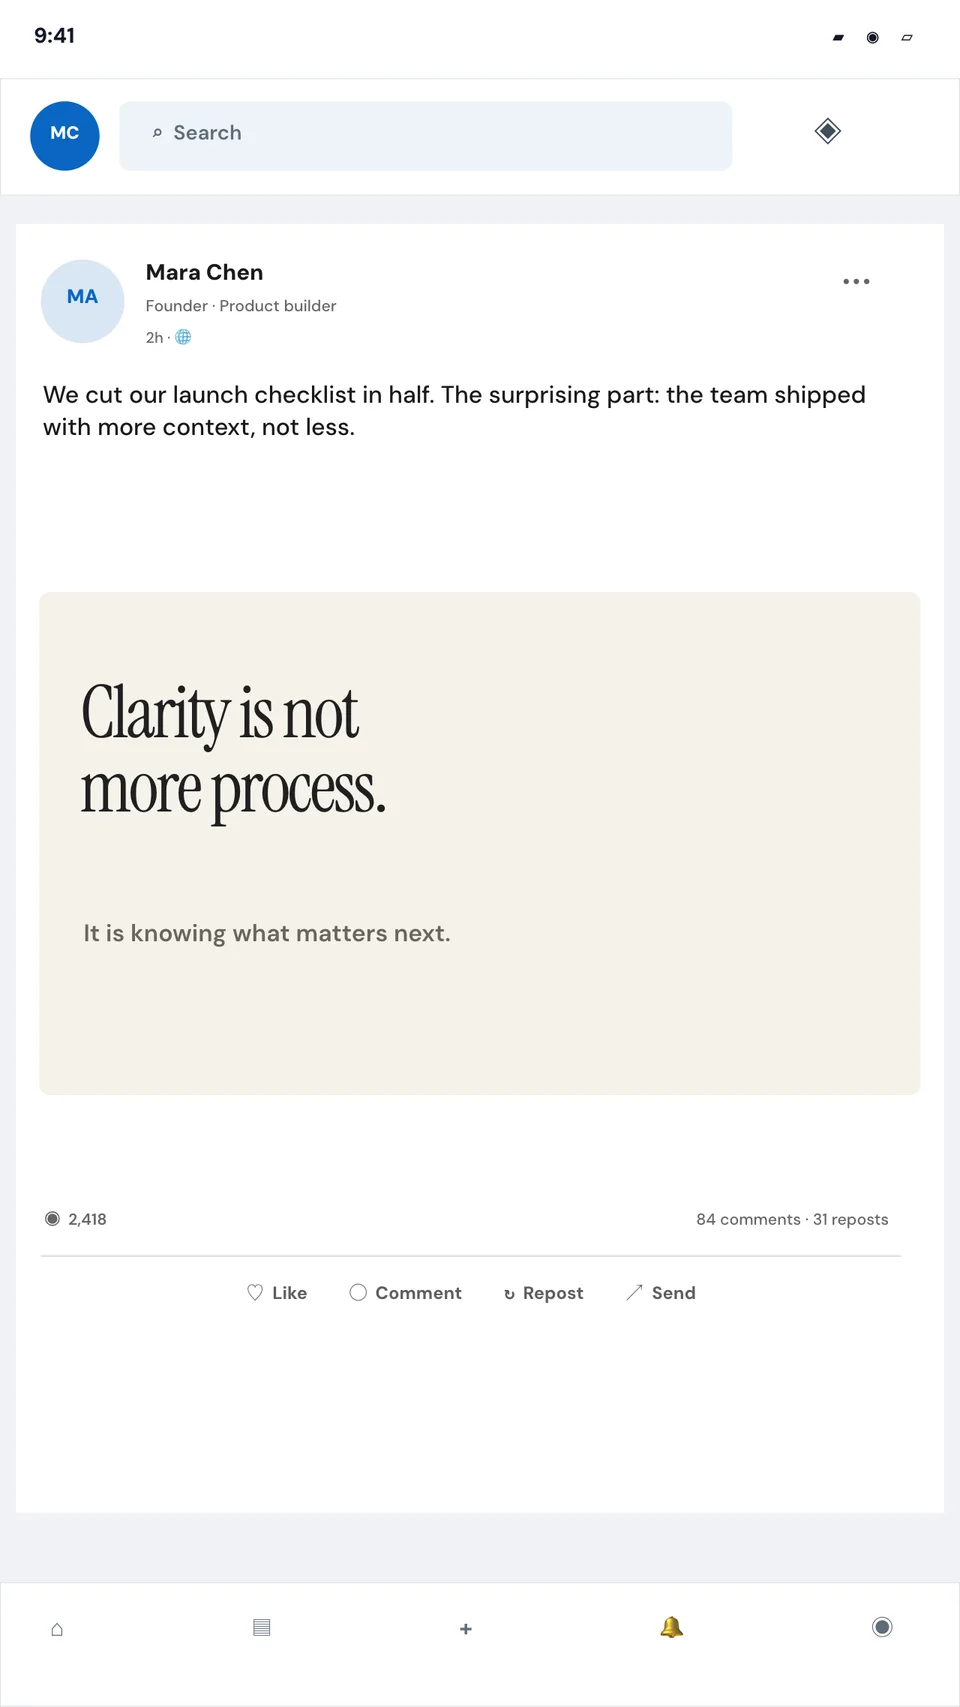
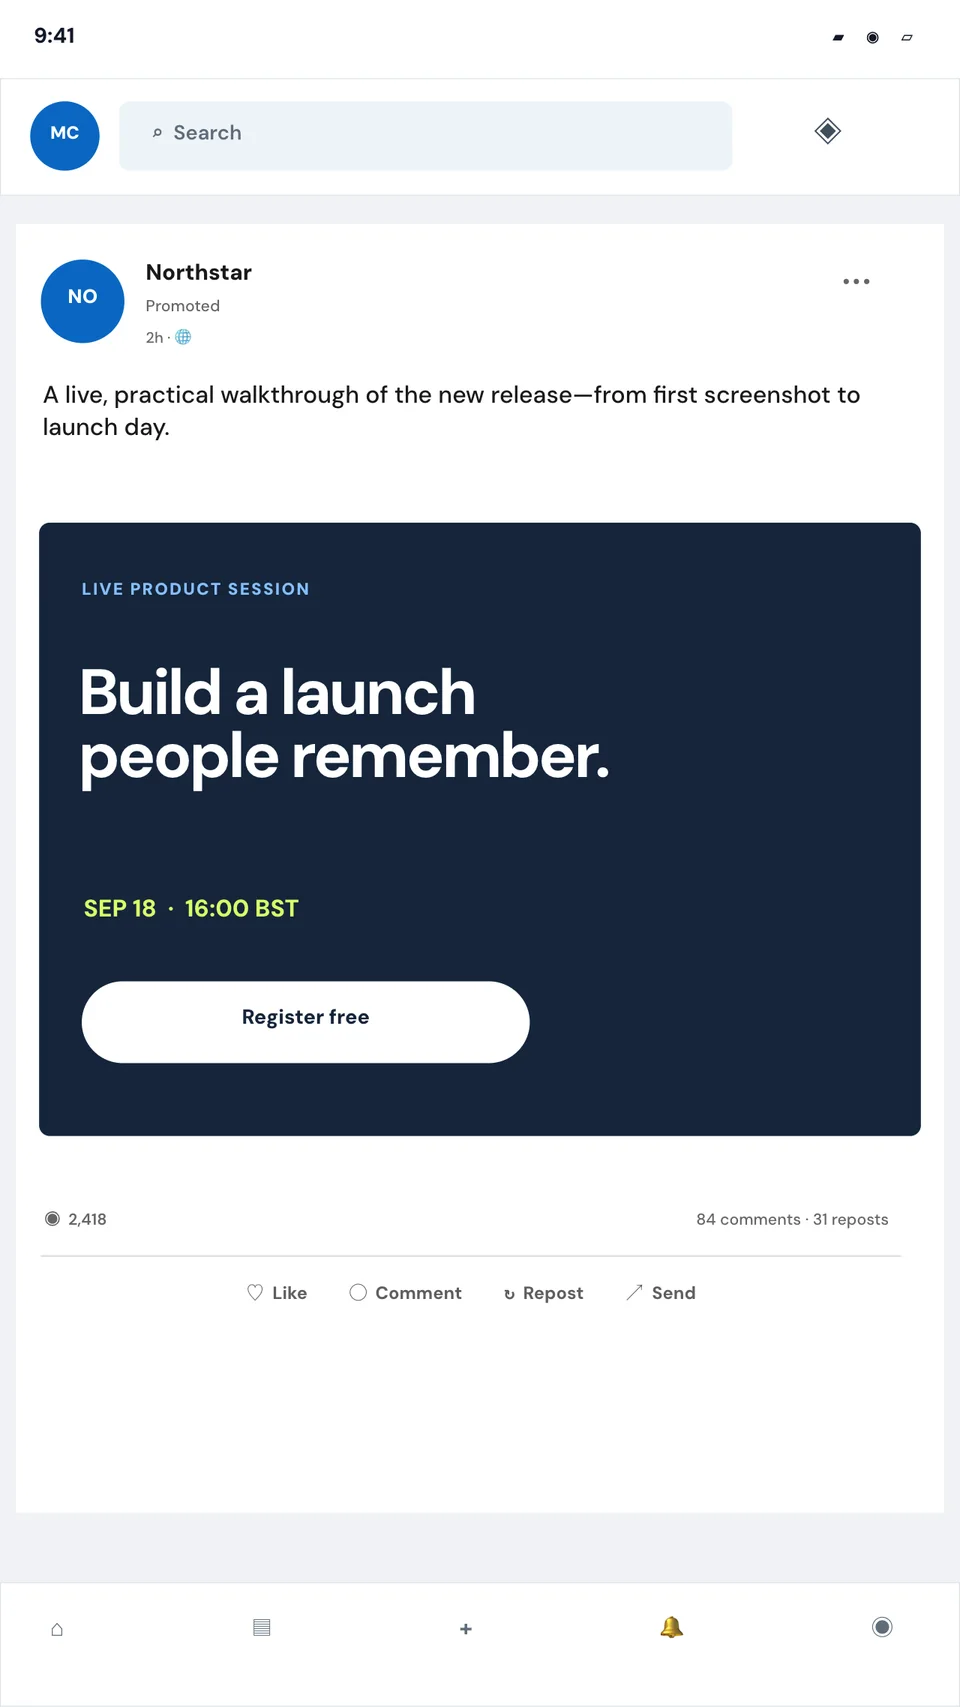
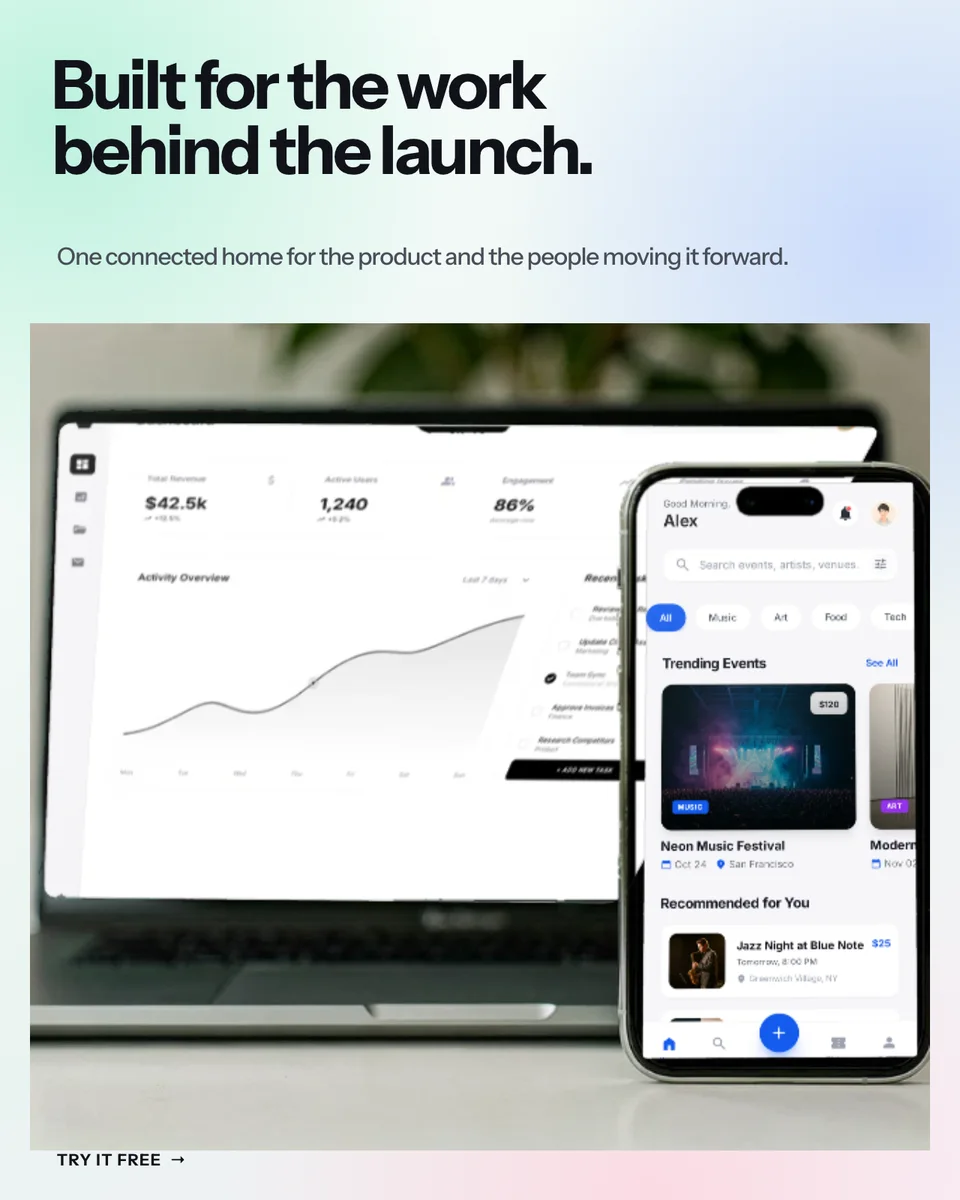
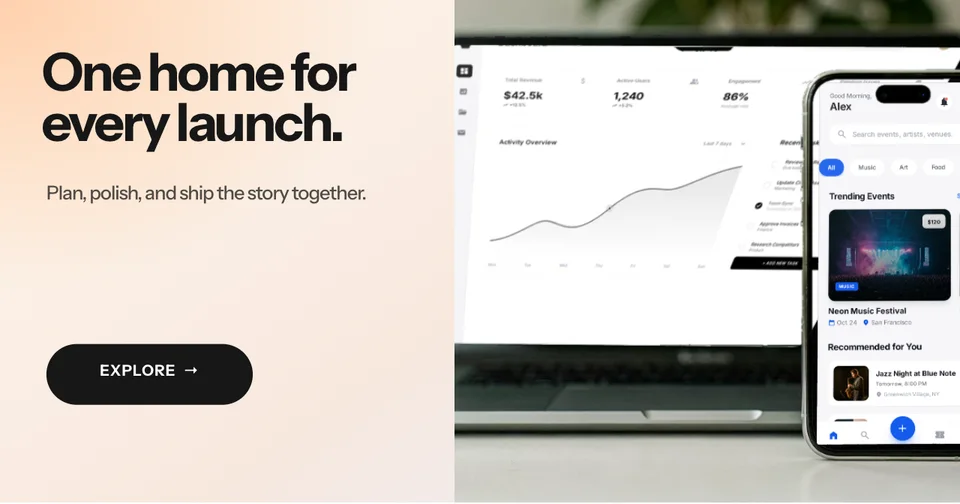
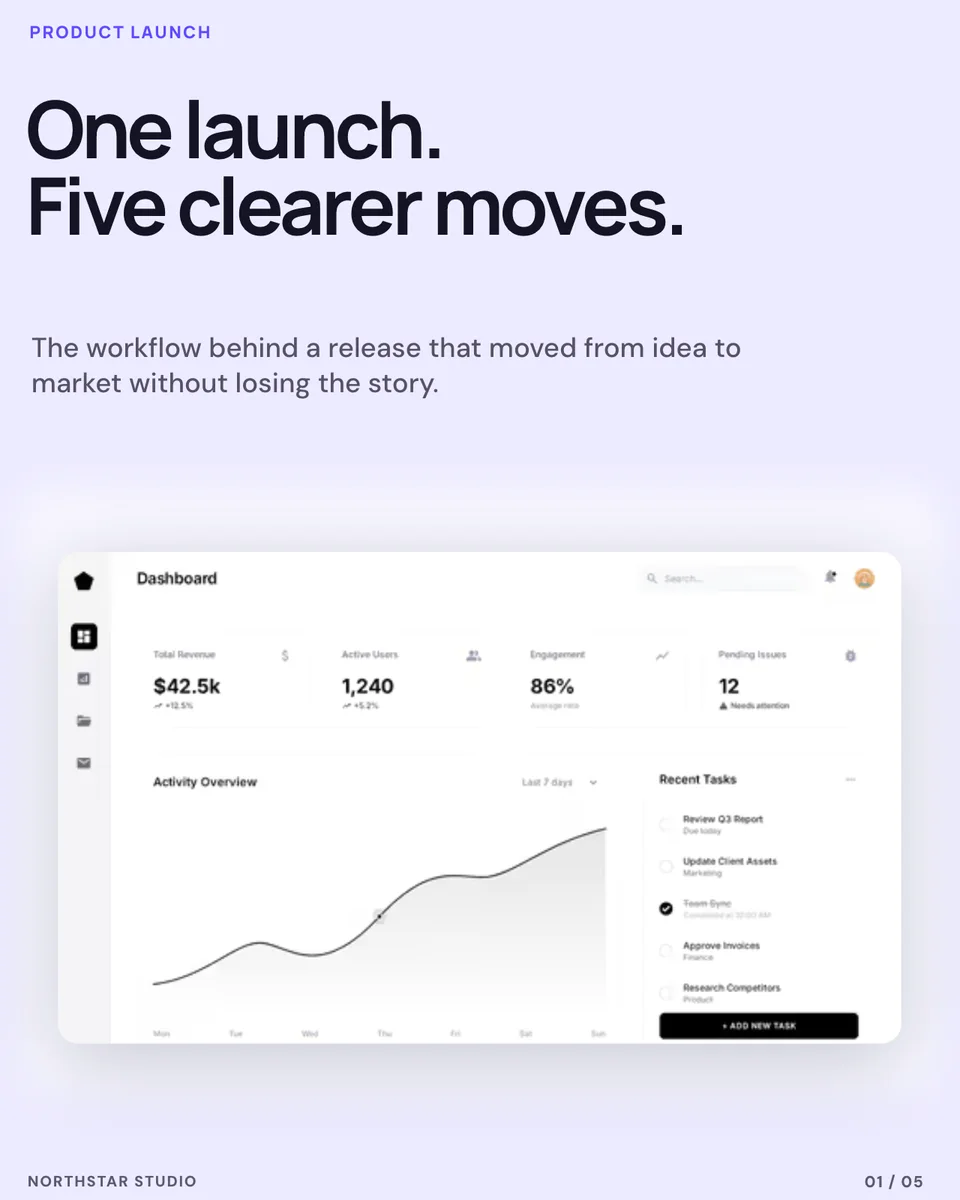
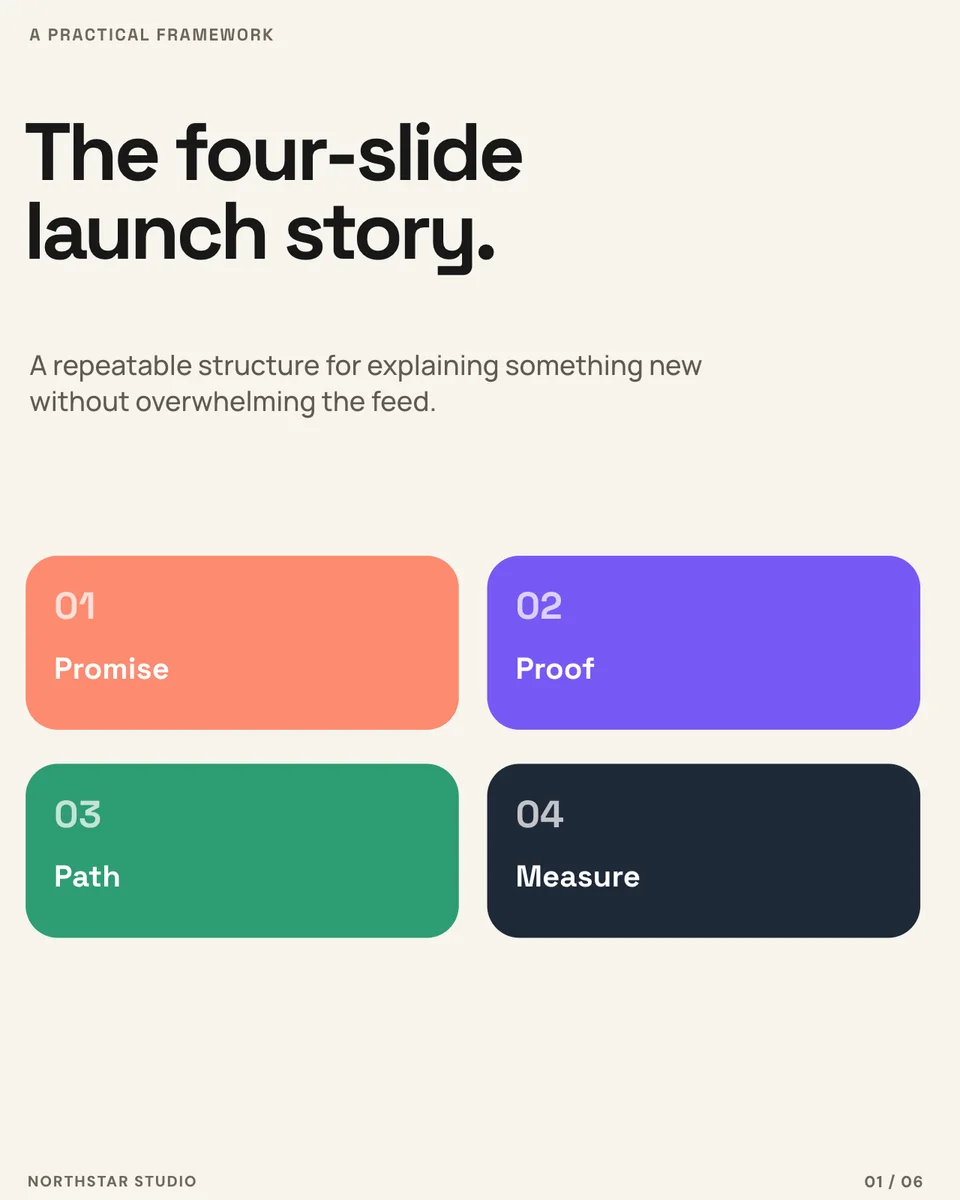
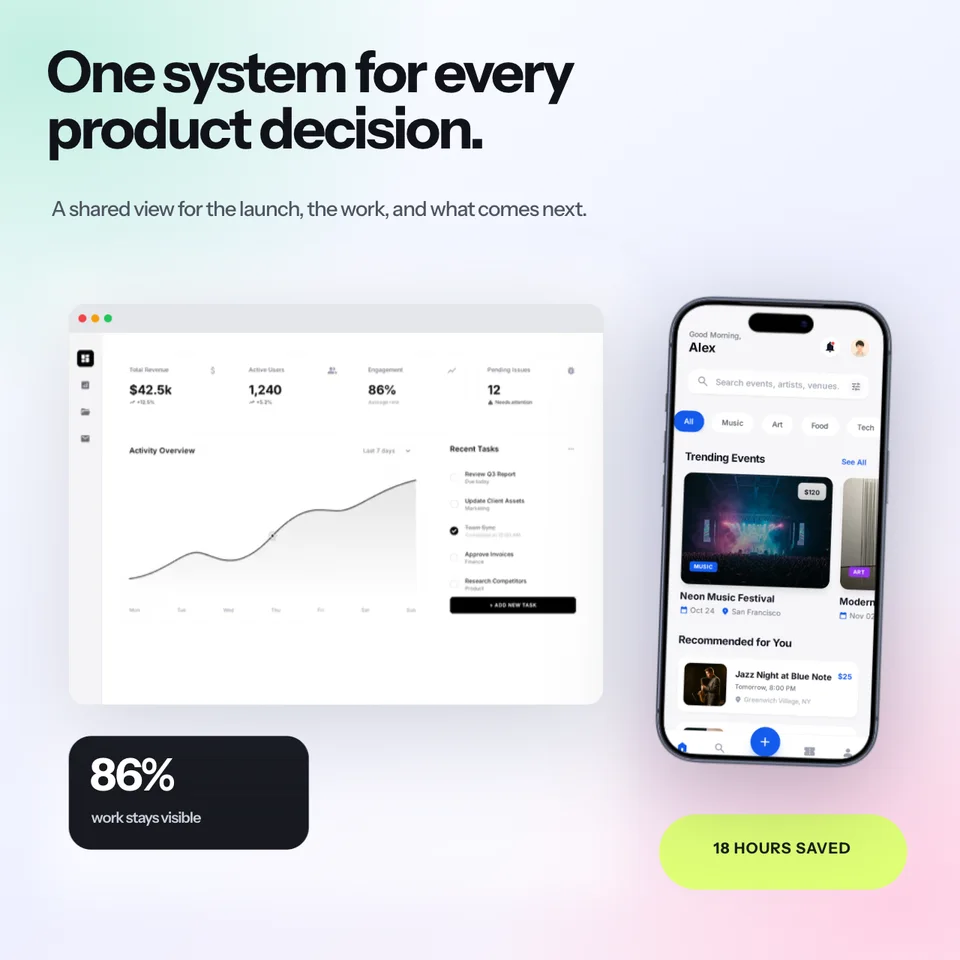
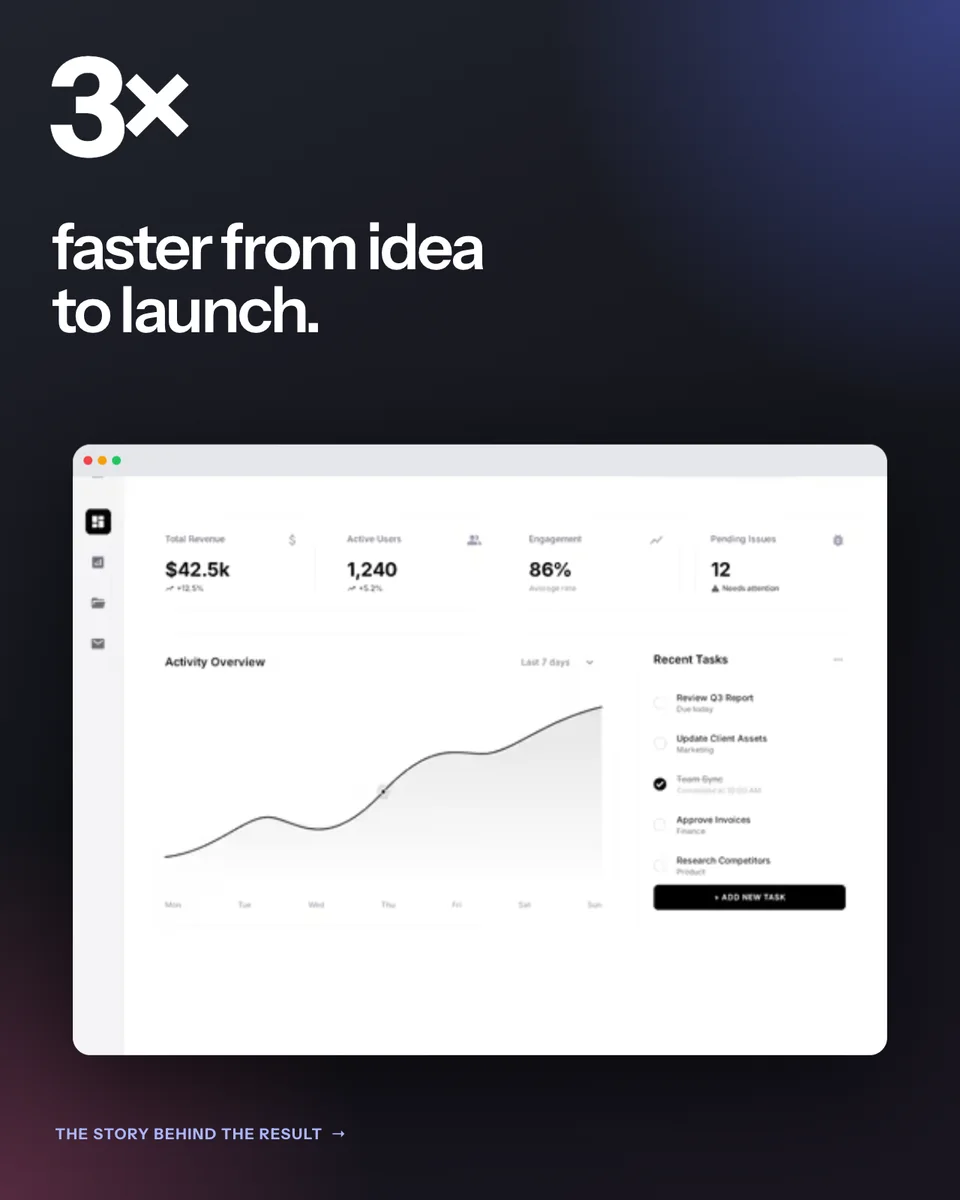
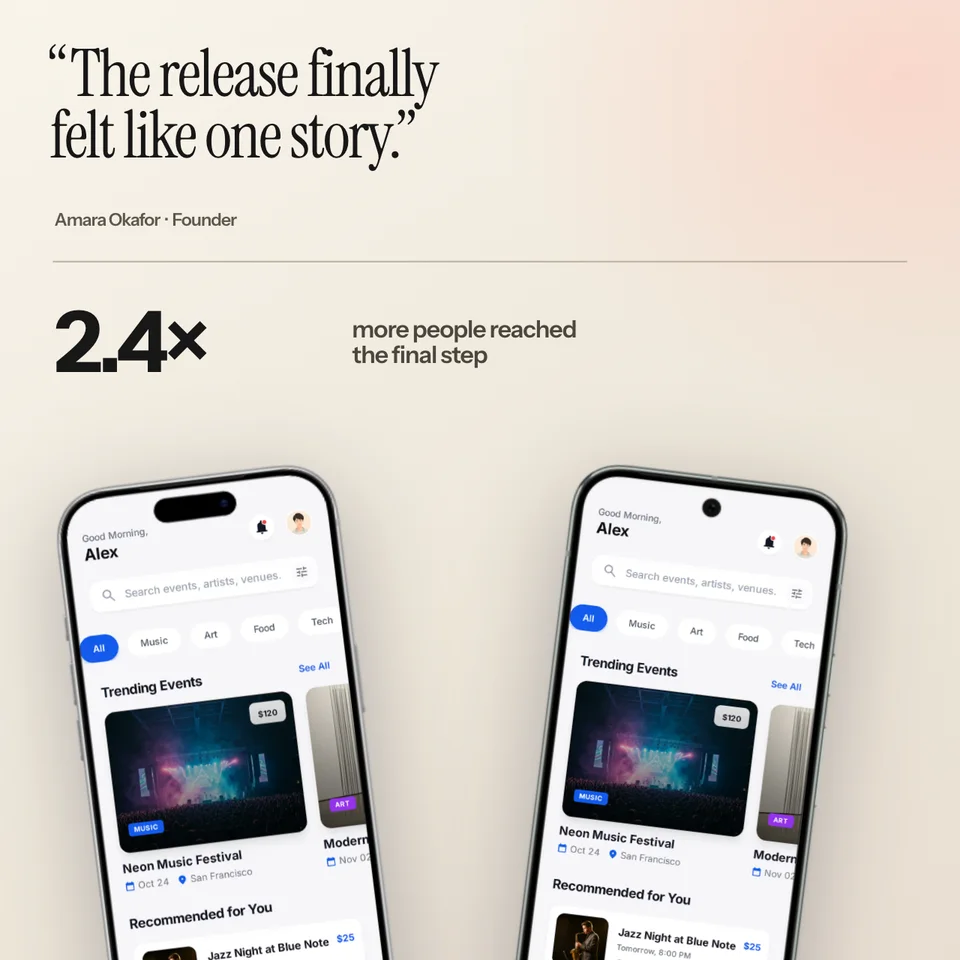
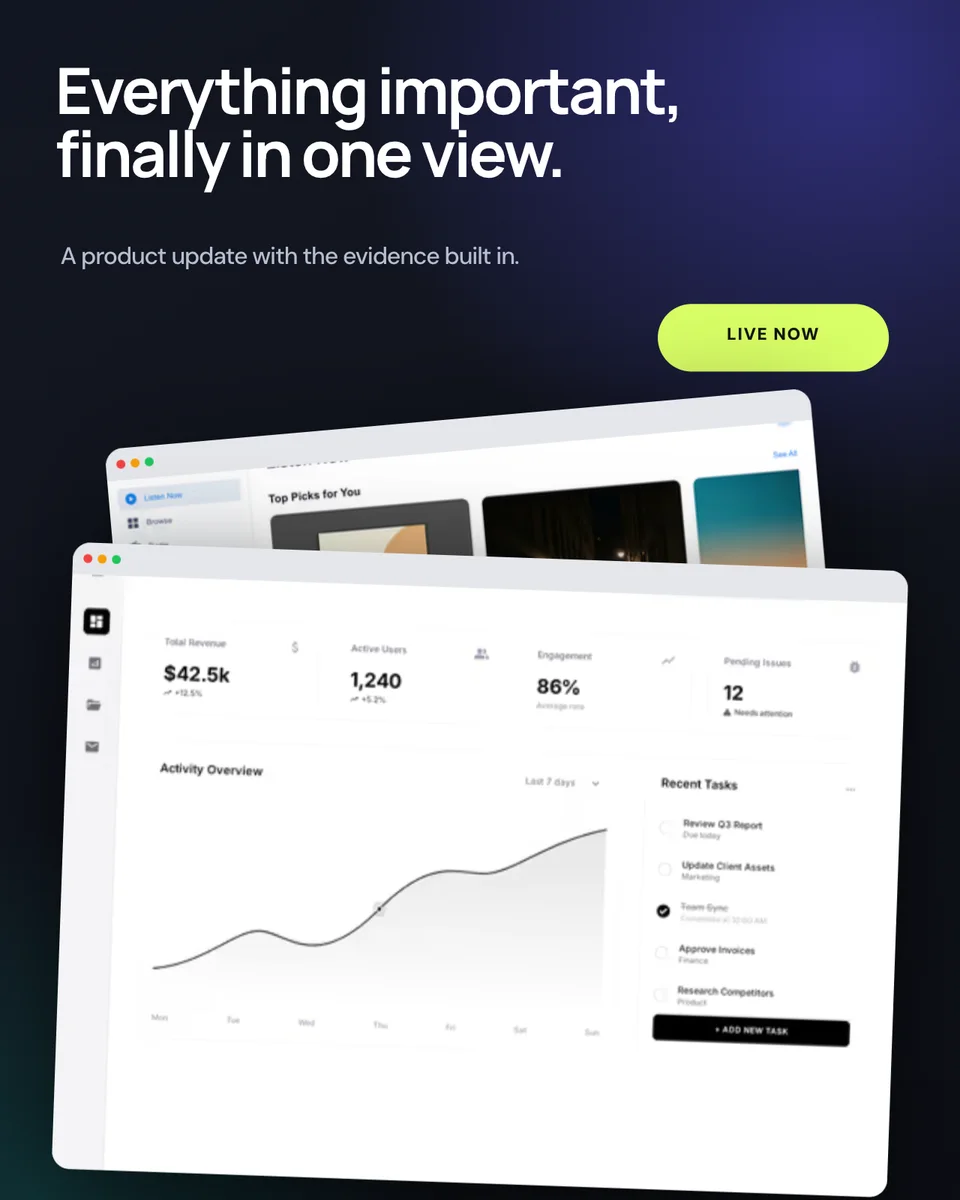
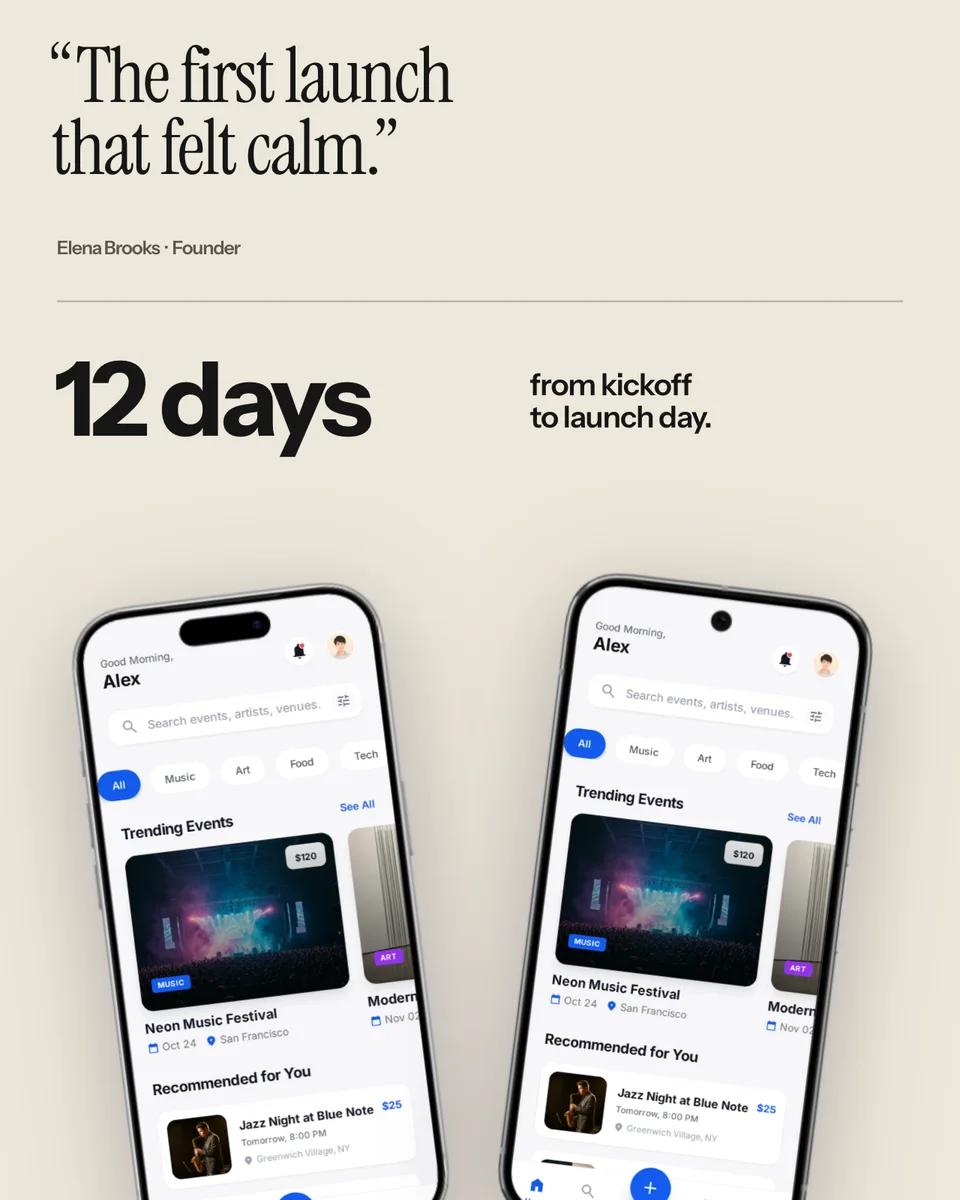
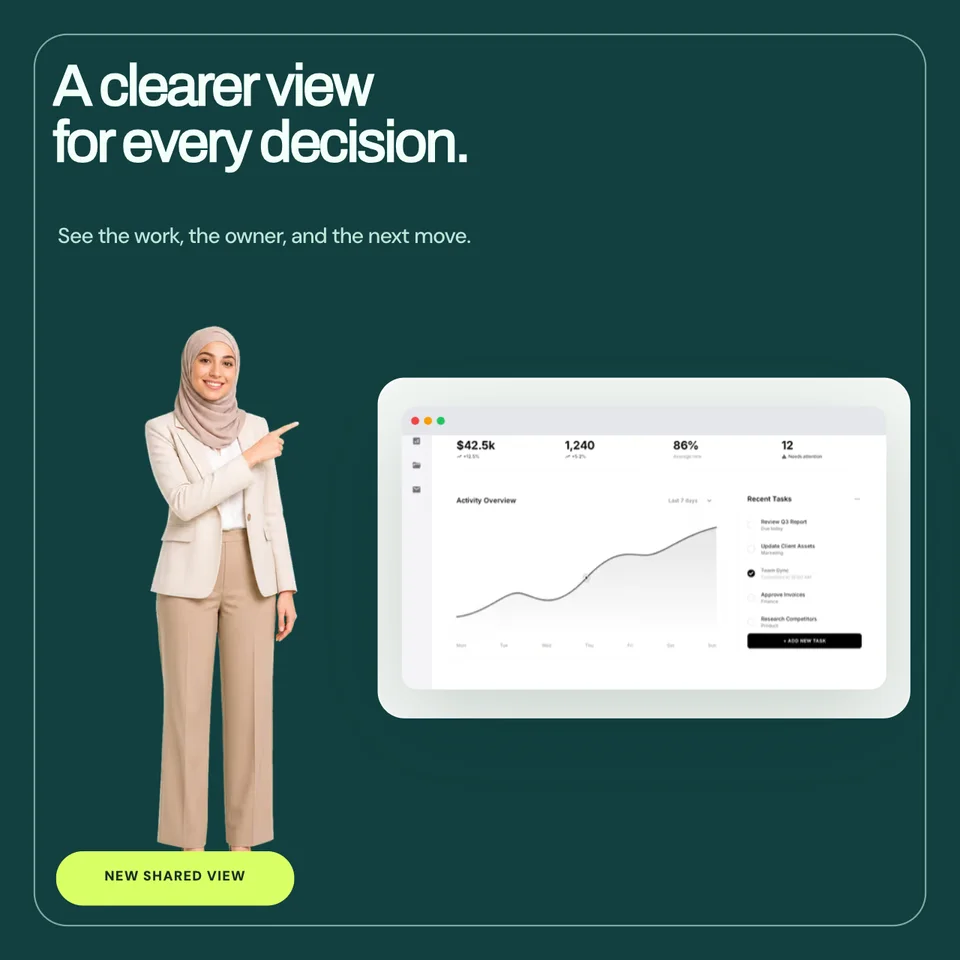
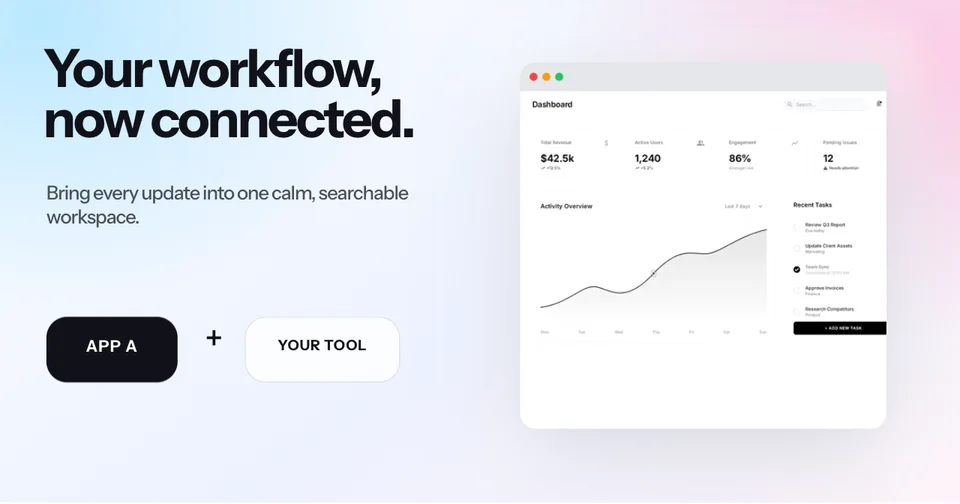
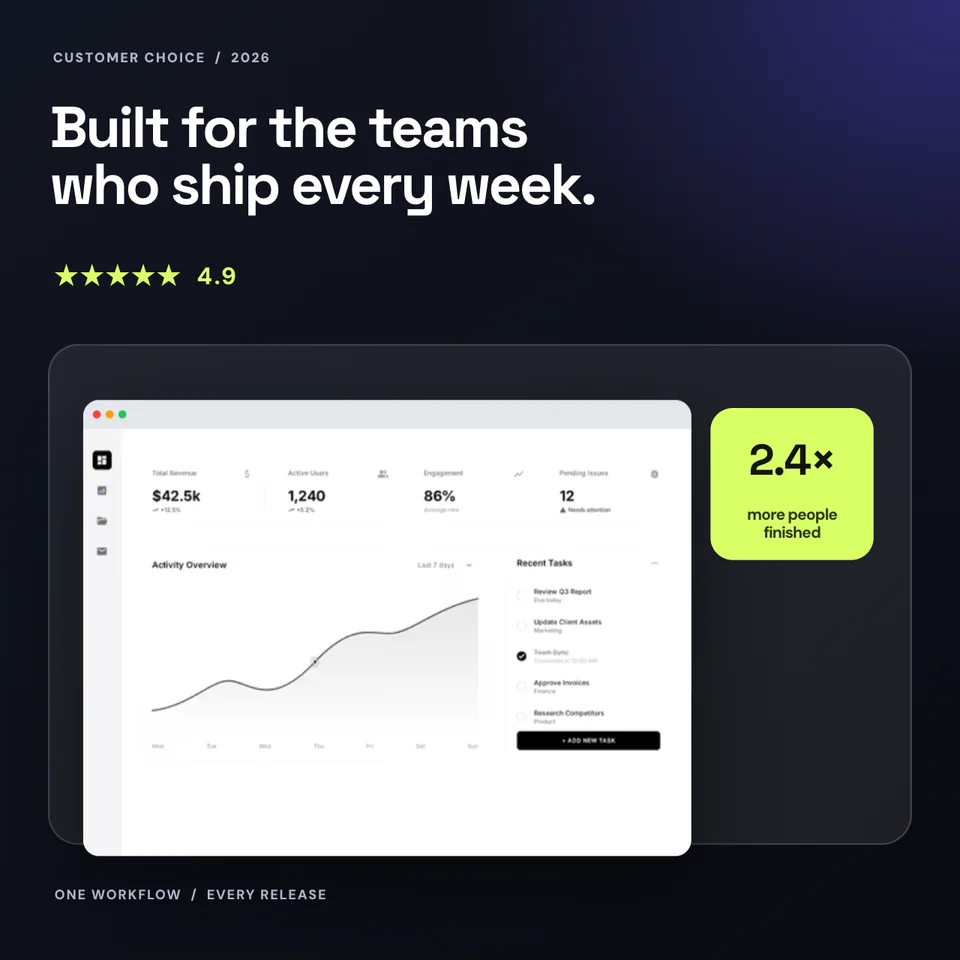
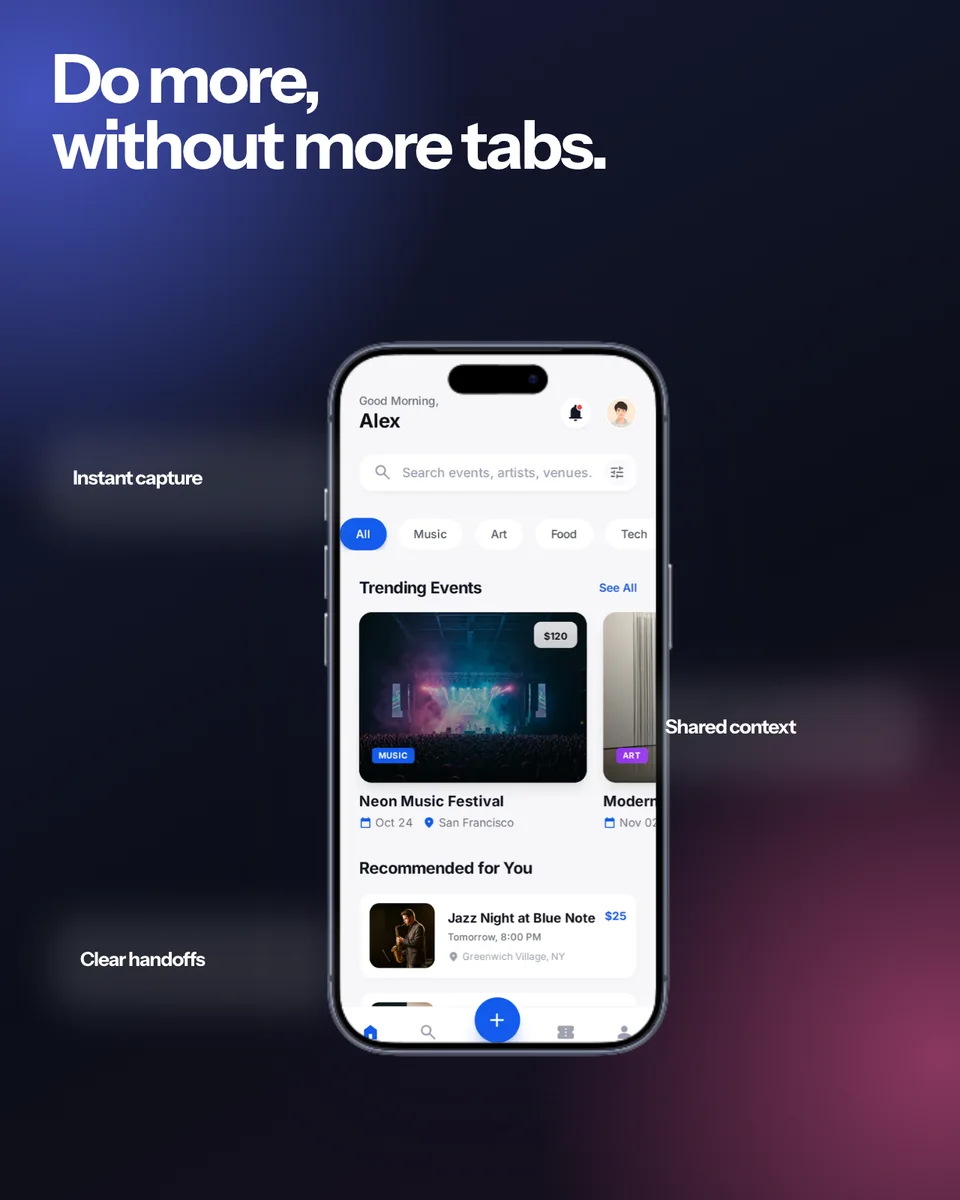
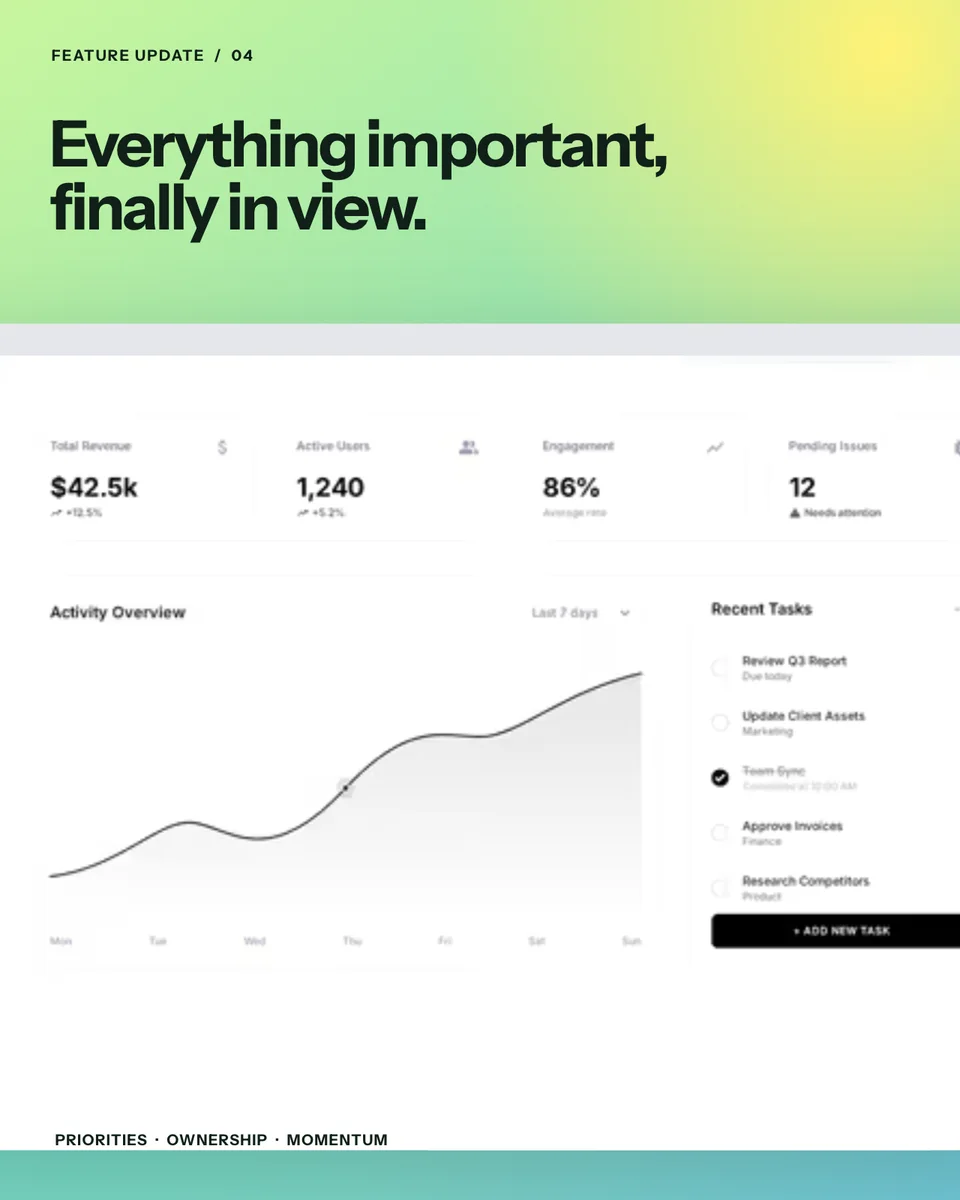
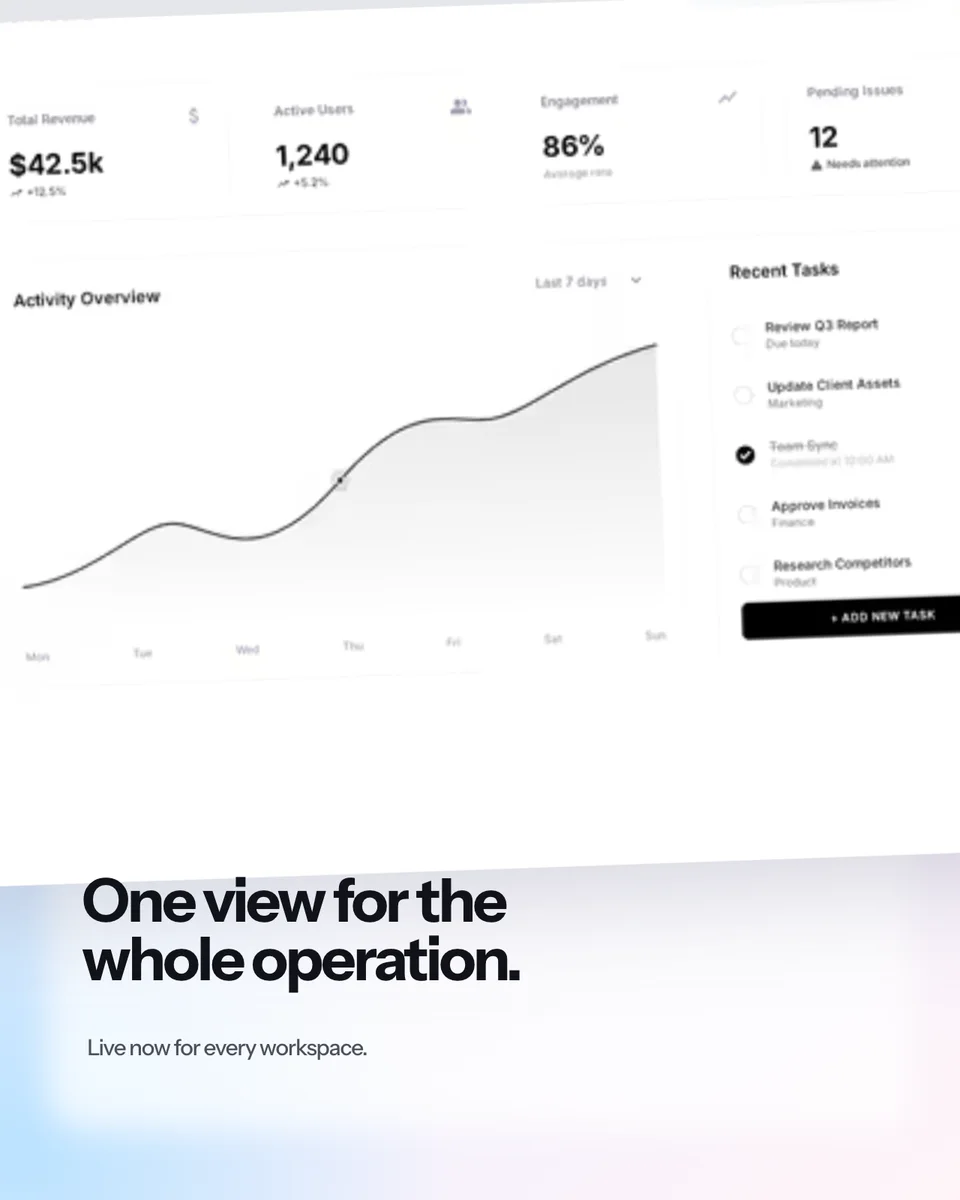
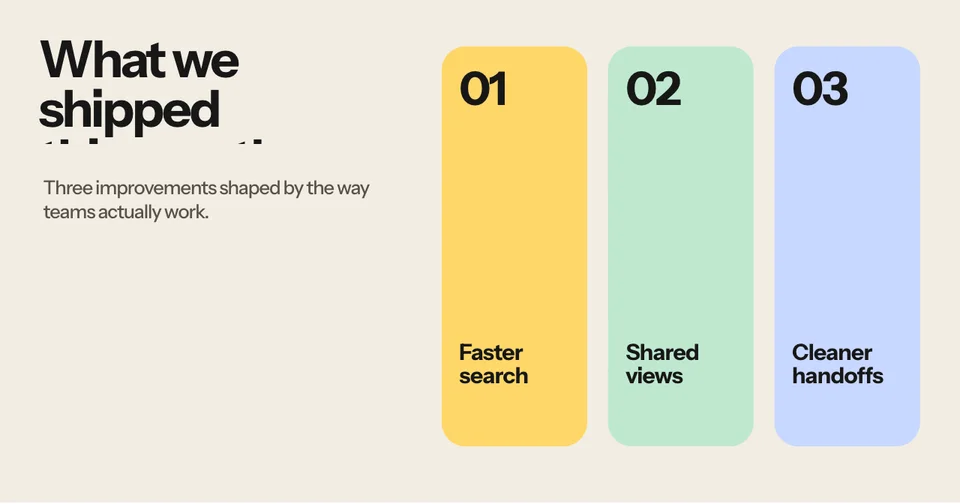
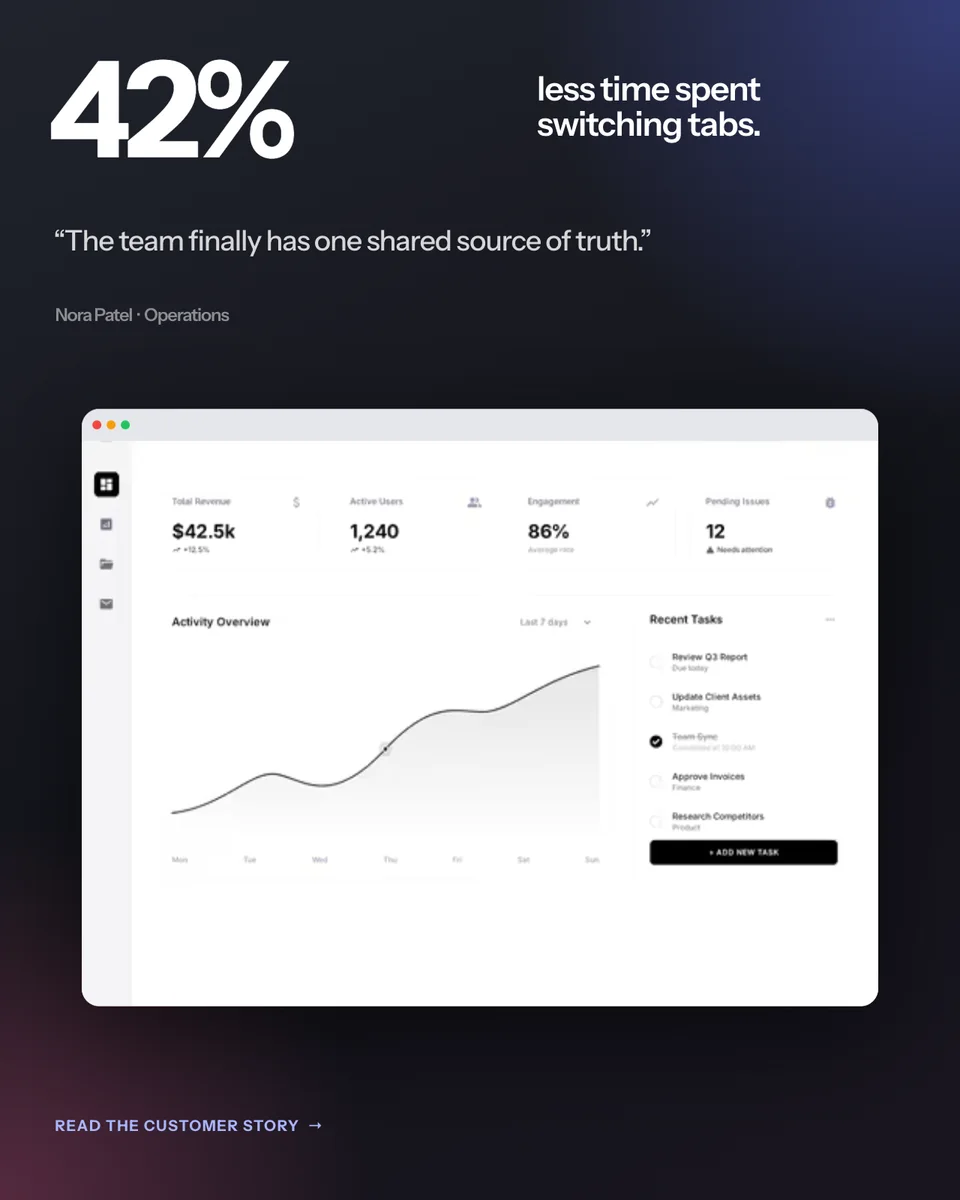
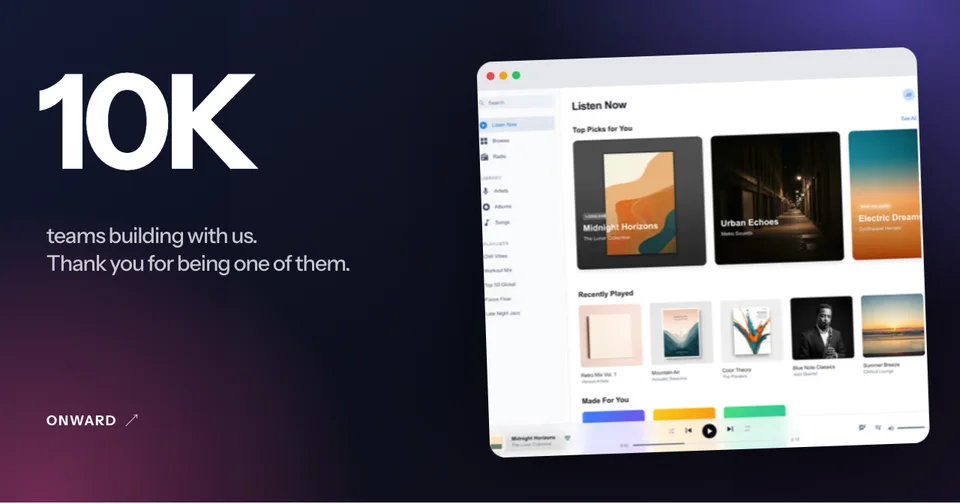
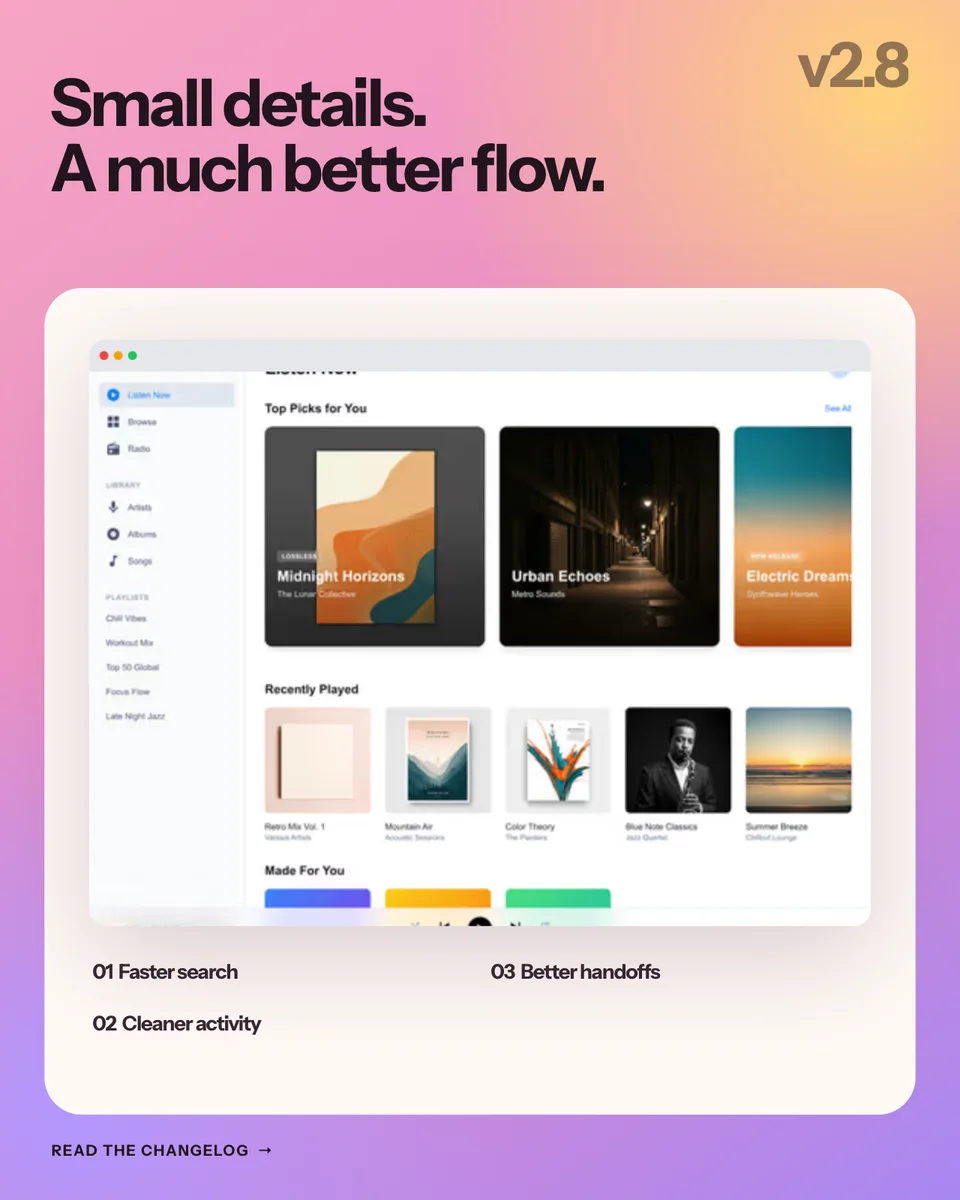
Create realistic LinkedIn post screenshots and polished campaign graphics. Edit the author, copy, timestamp, metrics, poll options, headlines, and calls to action, then replace the product image with your own.
Loved by 3,000+ creators
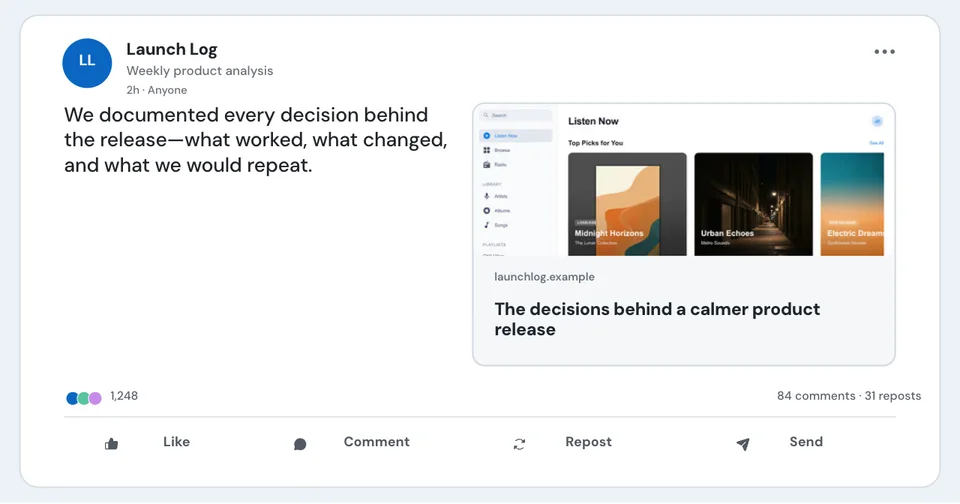
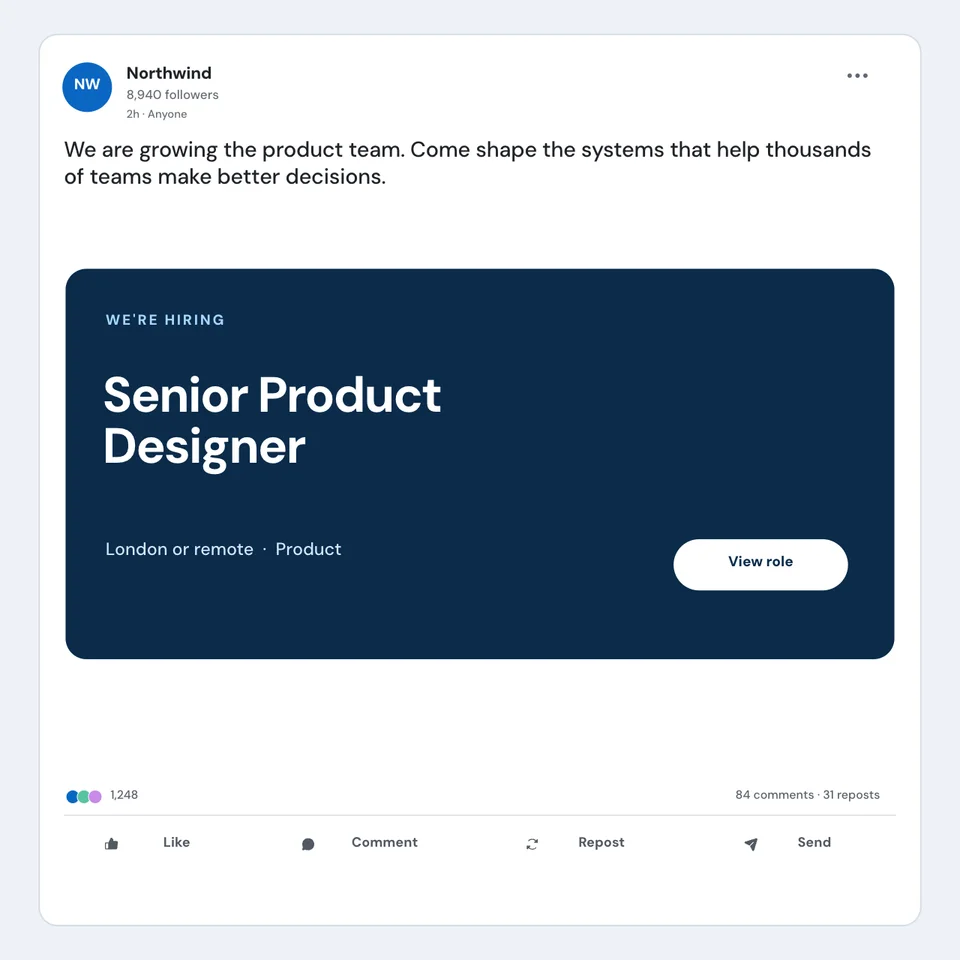
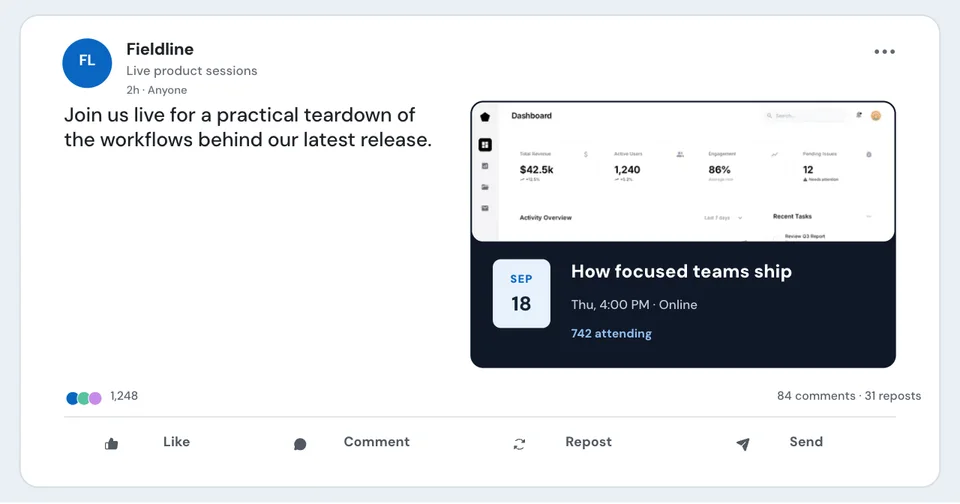
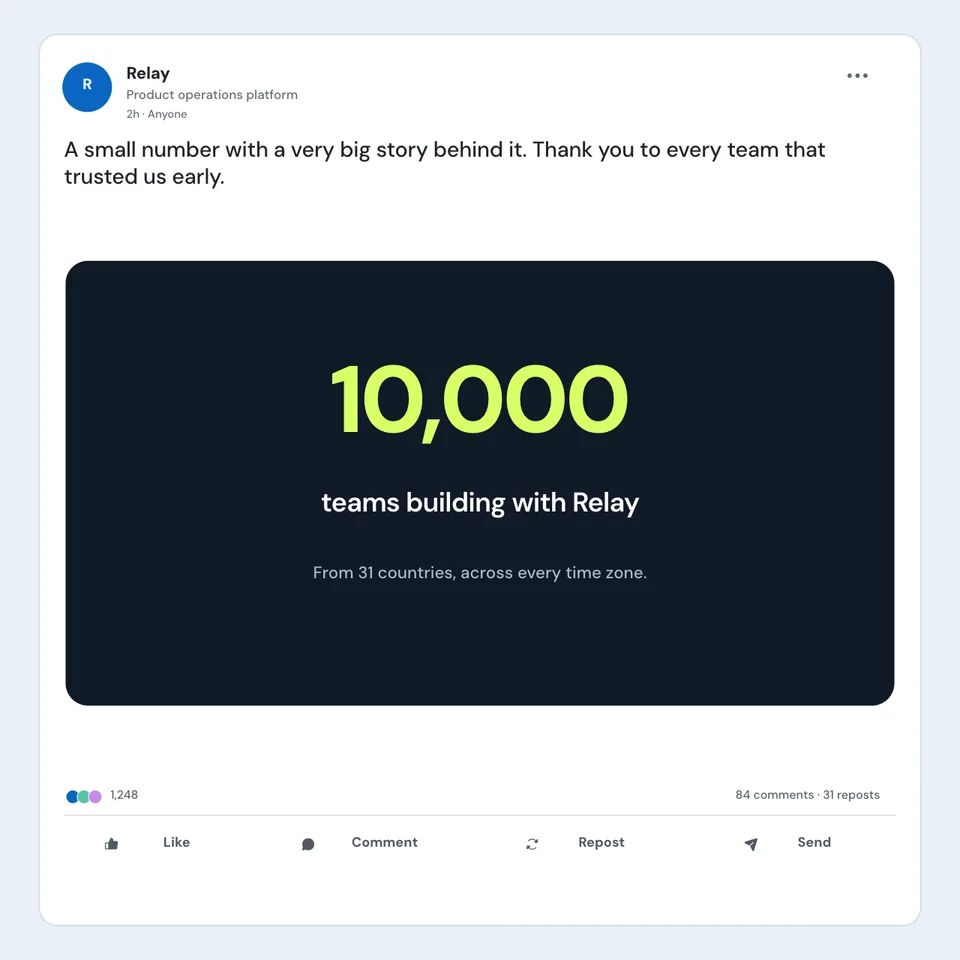
Start with an editable image post, text post, mobile app view, document carousel, poll, link preview, hiring card, event, or milestone—then explore the wider campaign library.
LinkedIn images come in several forms, each serving a different purpose for your professional content. The most common is the link preview image — the 1200×627 graphic that appears when you share a URL in a LinkedIn post or article. This is pulled from your page's Open Graph meta tags.
Post images are photos or graphics you upload directly. LinkedIn currently accepts ratios from 3:1 to 4:5 and recommends an image width of at least 1080 pixels. Square and 4:5 portrait canvases are useful starting points, but preview the draft because display can vary by device. LinkedIn's current article-cover guidance uses a 16:9 image.
A useful visual should make the subject clear without relying on a ranking trick: use accurate product captures, readable type, enough contrast, and a message that still makes sense when the image is viewed on a small screen.
Use these as practical starting points, then check the current LinkedIn specification for the format you are publishing.
Link Share
1200×627
LinkedIn's recommended 1.91:1 URL preview
Square Post
1200×1200
Practical 1:1 canvas within the accepted range
Portrait Post
1080×1350
Practical 4:5 canvas within the accepted range
Article Cover
1920×1080
LinkedIn's current 16:9 cover guidance
Company Page Cover
4200×700
Current recommended LinkedIn Page cover size
Sources: LinkedIn's photo-upload guidance, URL-preview requirements, and LinkedIn Page image specifications.
Five practical choices for matching the format to the message before you publish.
Decide whether the image is explaining a feature, supporting a claim, announcing an event, or previewing a link. Remove elements that do not help that job.
If you include a metric or chart, label the period and source. Do not invent engagement counts or customer outcomes in a mock post.
Use one focal point, a readable headline, and only the supporting text needed to understand the image at feed size.
Reuse a small set of colors, type styles, and spacing rules so related campaign assets feel connected without forcing a logo into every corner.
Use sufficient contrast, keep key text away from edges that may crop, add image alt text in LinkedIn, and check the post on a narrow screen.
Move from source material to a polished launch asset without rebuilding the design in another tool.
Choose a visual template, a store-listing set, a Launch Kit, or an empty canvas for full control.
Add screenshots, photo scenes, device frames, text, icons, annotations, backgrounds, layers, and motion in the browser editor.
Download PNG, WebP, JPEG, GIF, WebM, or MP4, or export organized iOS, Google Play, and Chrome screenshot ZIPs.
Screenhance covers the full path from a raw screenshot or screen recording to coordinated, editable launch assets.
Use current device frames, stylized treatments, or photorealistic placements across phones, tablets, laptops, watches, TVs, print, apparel, and outdoor media.
Start with a complete composition for mockups, Product Hunt, OG images, website heroes, Play feature graphics, or Chrome Web Store promo assets, then edit every layer.
Create coordinated iOS, Google Play, and Chrome Web Store screenshot sets, edit localized copy across supported languages, and export organized PNG ZIPs, including fastlane-ready iOS folders.
Animate layers with editable motion styles and export GIF or WebM, or record and polish a product demo in Studio with frames, cursor motion, captions, audio, and MP4/WebM export.
Start from a LinkedIn-shaped composition, then replace the parts that should be true for your post.
Edit the author, role, body copy, timestamp, poll labels, event details, and visible metrics.
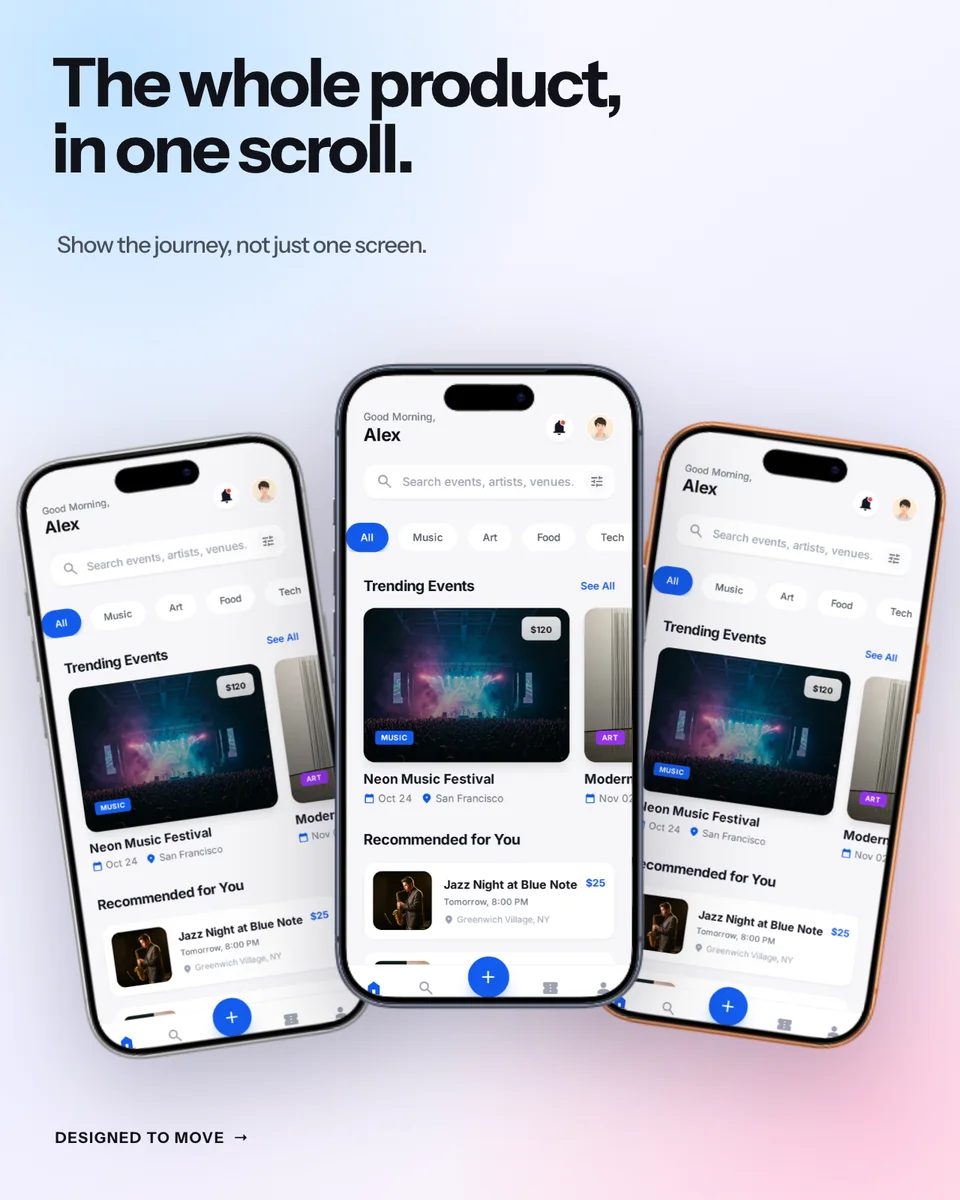
Replace screenshot areas, crop the image, and choose an iPhone, laptop, or browser frame when it helps explain the product.
Reuse typography, backgrounds, and spacing across a single image, link preview, or multi-page slide set.
Export PNG for text and interface detail or JPEG for photographic work, then inspect the final file before posting.
Choose the format that lets the audience understand the material clearly, then use LinkedIn analytics to compare genuinely comparable posts over time.
A single image works well when one screenshot, chart, or statement carries the idea. Keep text large enough to read in the feed and let the post copy provide context that would make the image too dense. If a chart uses data, label the source and period inside the design or caption.
A URL post and an uploaded-photo post create different reader paths: LinkedIn creates a 1.91:1 preview for a shared URL, while a native photo can use a broader aspect-ratio range. Place the link where the next step is clearest, and make sure the post remains useful on its own when the link sits in the first comment.
Match each format to the job: motion for timing or interaction, a multi-page document for a sequence, and a link preview when the destination page is the focus. Measure the complete post in the context of its creative, audience, offer, and publishing window.
Use a document-style carousel when the value is sequential: a framework, walkthrough, comparison, or set of related examples. Plan each page to contribute a distinct step, and make the first page clear enough that the reader knows what the sequence covers.
Use a single image when the value is one visual claim: one product view, one sourced chart, or one announcement. A multi-page format adds friction if later pages simply repeat the headline.
Before publishing, export the full sequence and inspect page order, type size, contrast, and any screenshots at phone width. If the format requires a document upload, combine the exported pages into the accepted document format outside Screenhance and check the current LinkedIn upload controls.
When the idea is genuinely sequential, start with the complete multi-page systems in the LinkedIn carousel generator.

Yes. Names, roles, post copy, timestamps, metrics, poll answers, event details, headlines, and calls to action are separate text layers in the editor. Screenshot and product-image areas are replaceable too. Text baked into an image you upload is the only exception.
For a URL preview, LinkedIn recommends a 1.91:1 image at 1200×627 pixels. For an uploaded photo, LinkedIn accepts ratios from 3:1 to 4:5 and recommends a width of at least 1080 pixels. Preview square, landscape, and portrait designs in a draft because placement can vary by device.
A custom preview gives you control over how a shared URL appears. Keep it legible and true to the page, then measure clicks and engagement in your own post analytics.
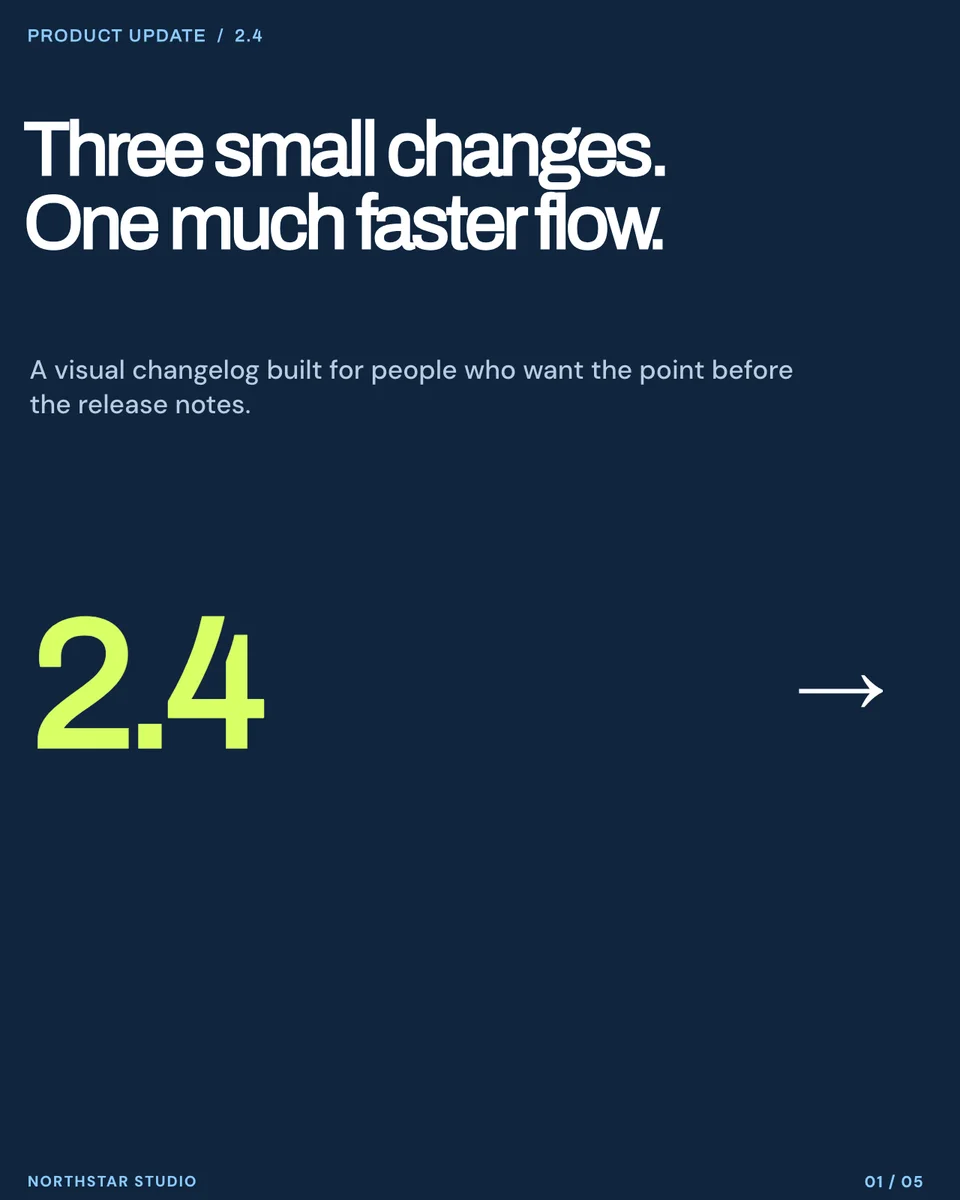
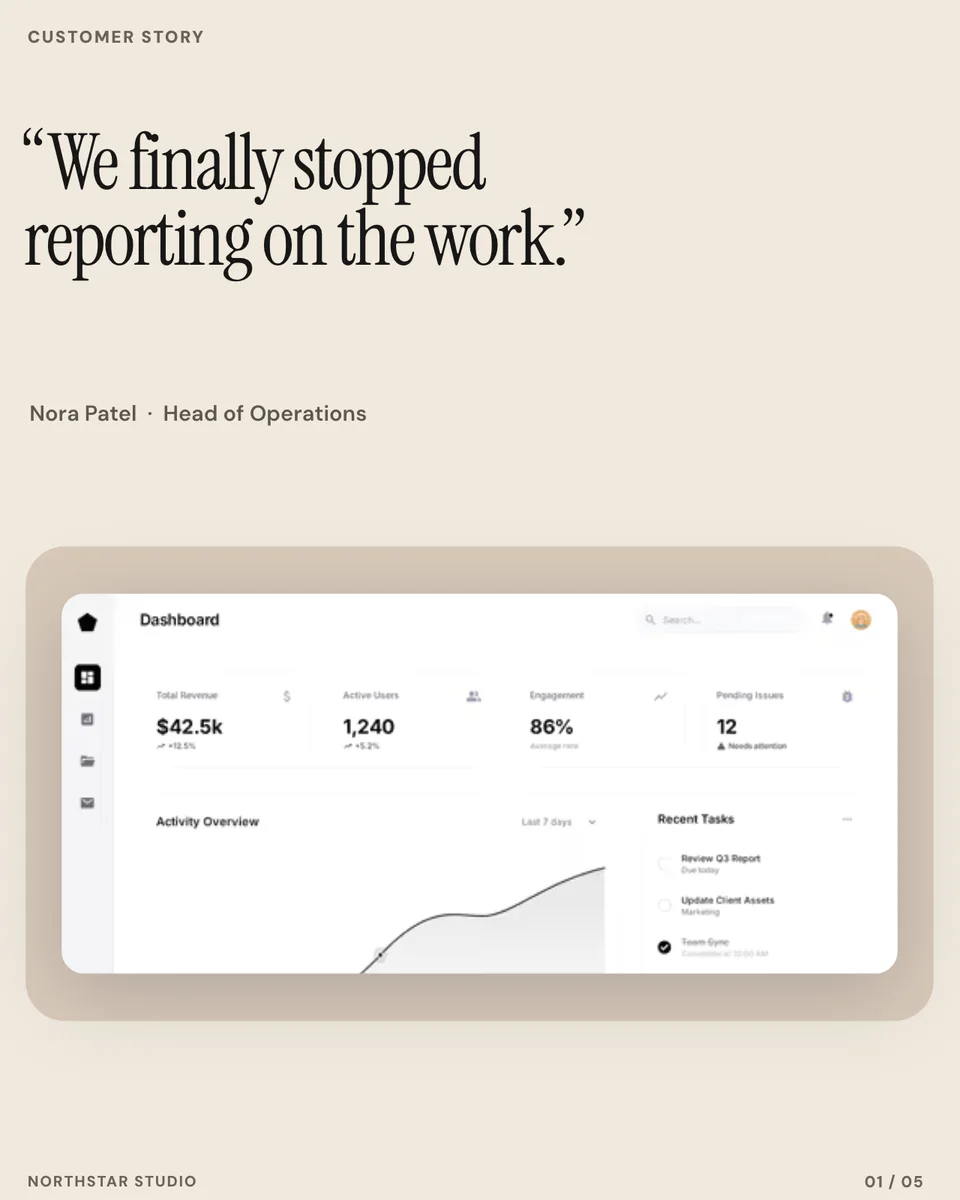
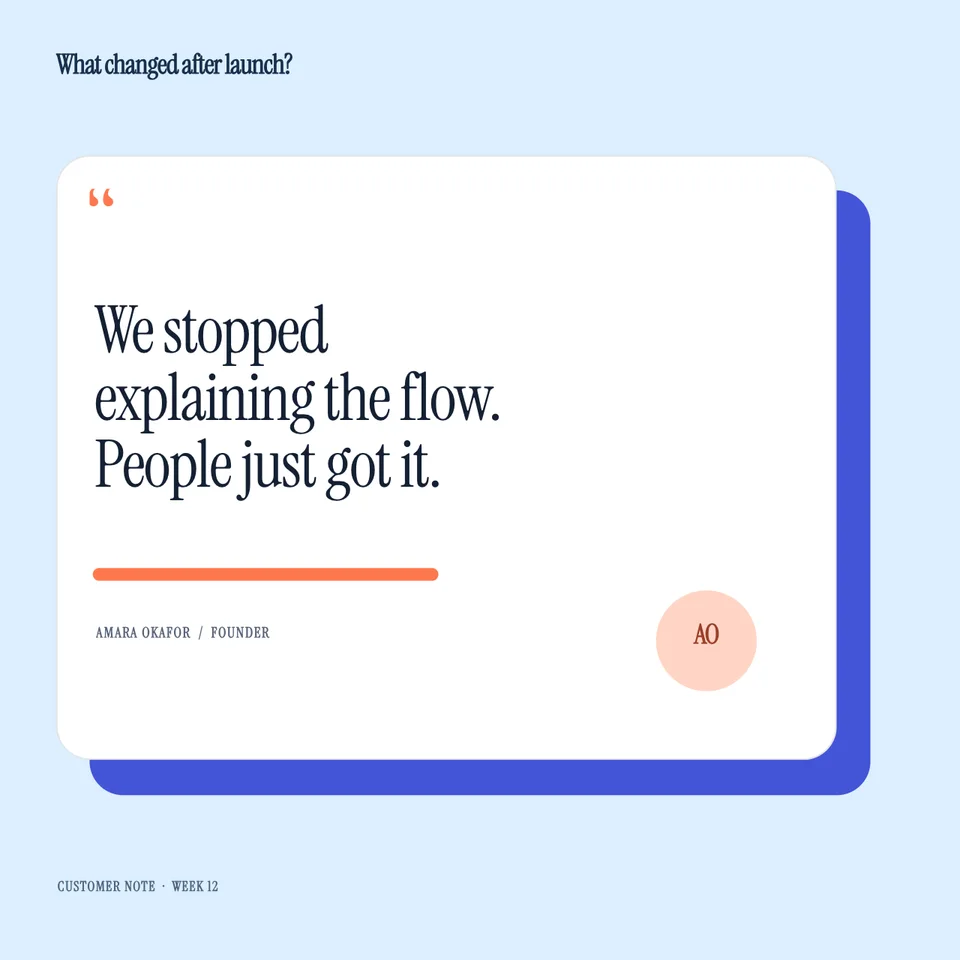
Yes. Screenhance includes complete multi-page LinkedIn carousel systems for product launches, frameworks, changelogs, customer stories, and case studies. Edit the pages together, then export the ordered set.
Use PNG for interface captures and text-heavy graphics; use JPEG for photographic images when a smaller file is useful. LinkedIn's current photo-upload limit is 5 MB. Screenhance exports PNG and JPEG, among other static formats.
Use the LinkedIn Post Inspector tool (linkedin.com/post-inspector) to preview how your link will appear. You can also paste your URL into a new LinkedIn post draft. If you’ve updated your image, use the inspector to refresh LinkedIn’s cache.
Yes. Screenhance can place a product capture inside a MacBook, iPhone, or browser frame. Keep the interface large enough to read in the feed and use only product states you can support publicly.
A shared URL produces a link preview, while an uploaded-photo post creates a different reader path. Put the link where the next step is clearest, then compare the results in your own analytics.
Both fit LinkedIn's current accepted photo range. A 4:5 portrait canvas gives tall material more room, while square or landscape can preserve a wide product interface. Preview the actual draft and choose the ratio that keeps the important content legible without awkward cropping.
Choose a cadence your team can sustain with genuinely useful material, then review reach, meaningful comments, clicks, and downstream conversions across several comparable posts.
Yes, when the content is genuinely sequential, such as a framework, walkthrough, or comparison. Use a single image when one visual can make the point, and compare both formats with your own audience data.
1200×627 pixels. LinkedIn pulls this from the og:image meta tag on your page, so the image you generate has to live on your site at that URL. If your site uses dynamic OG generation, set the size at 1200×627 and let LinkedIn render it natively. Pasting an image into the post body is a different format — that one wants 1200×1200 or 1080×1350.
Turn the same product story into a post, share card, or launch gallery.
Launch posts, carousels, and Stories built around your product
Start creatingYour post on a real phone in the feed
Start creatingEditable, realistic profiles with bio, metrics, actions, and a post grid
Start creatingSponsored feed, lead, app-install, and Story ad previews
Start creatingMulti-page product launches, frameworks, changelogs, and case studies
Start creatingProduct launches, feature threads, proof, and updates for X
Start creatingCreate a clear, accurate LinkedIn visual and preview it at the final feed size before publishing.