
%2FOlivia%20Rhye.webp&w=64&q=75)
%2FPhoenix%20Baker.webp&w=64&q=75)
%2FLana%20Steiner.webp&w=64&q=75)
%2FDemi%20Wilkinson.webp&w=64&q=75)
%2FDrew%20Cano.webp&w=64&q=75)
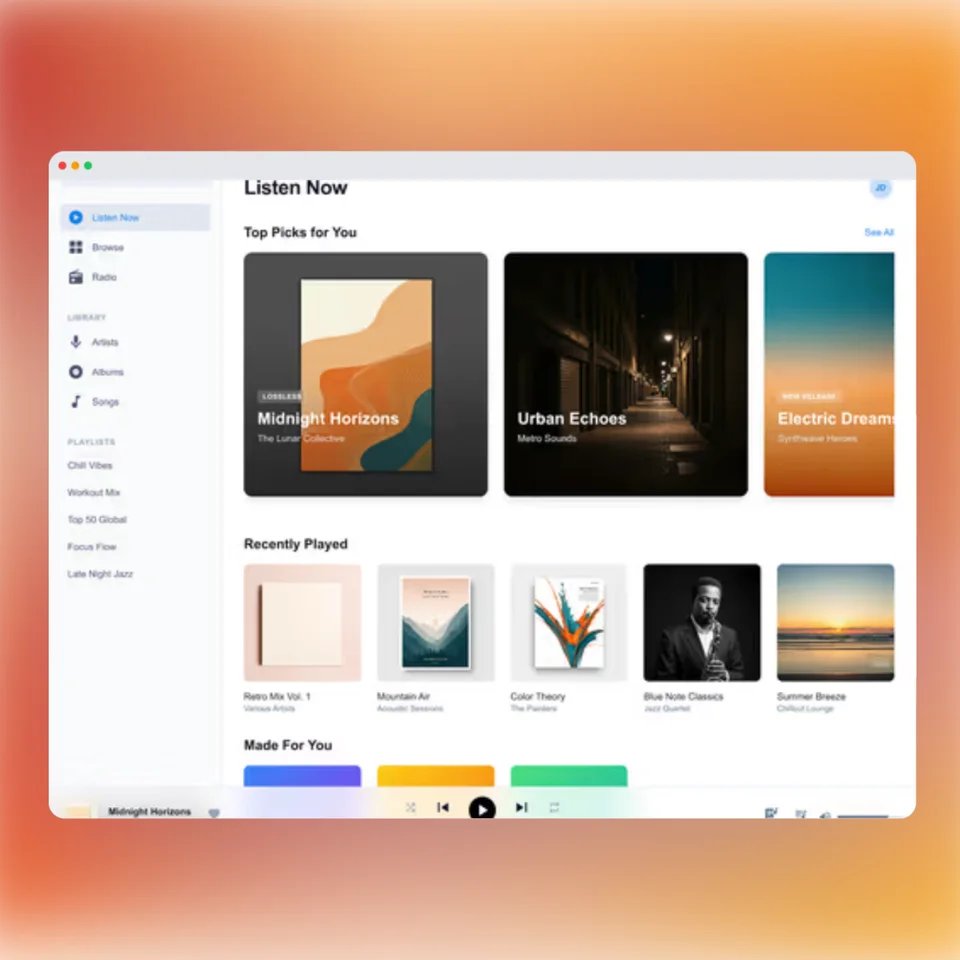
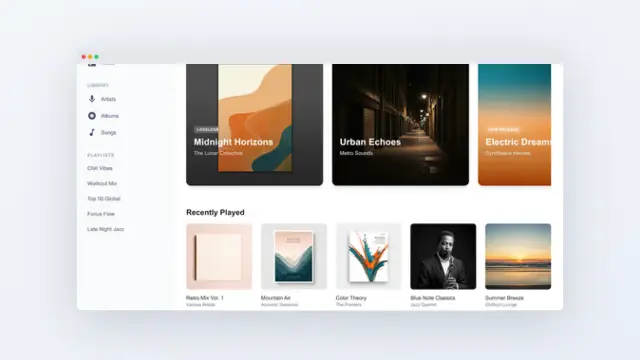
Above the fold
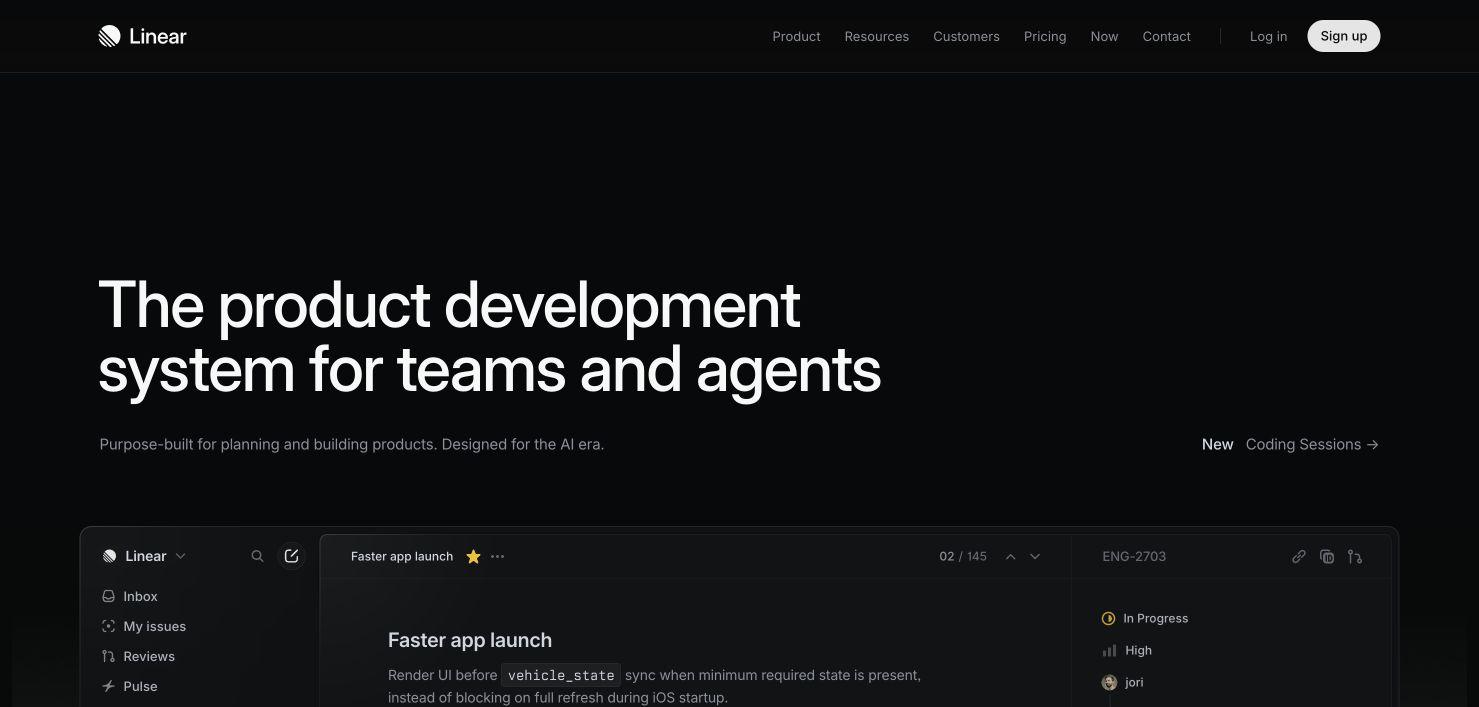
Hero image
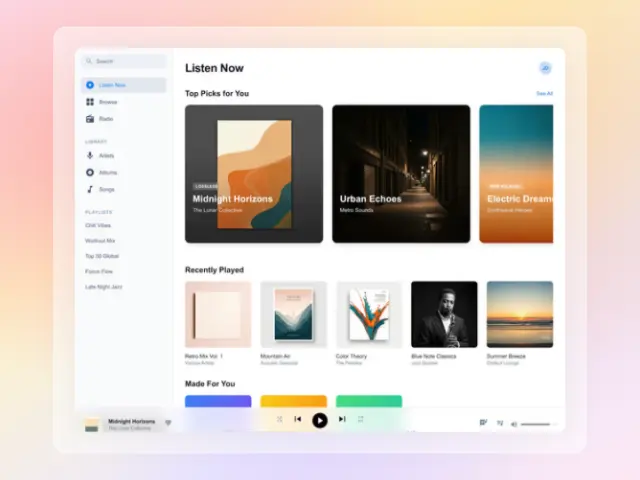
Show the full product promise with one dominant interface—not a collage competing for attention.
Turn a real product screen into a polished hero image, feature visual, comparison, or portfolio piece. Add a browser or device frame, background, text, and spacing without rebuilding the interface in a design tool.
Loved by 3,000+ creators
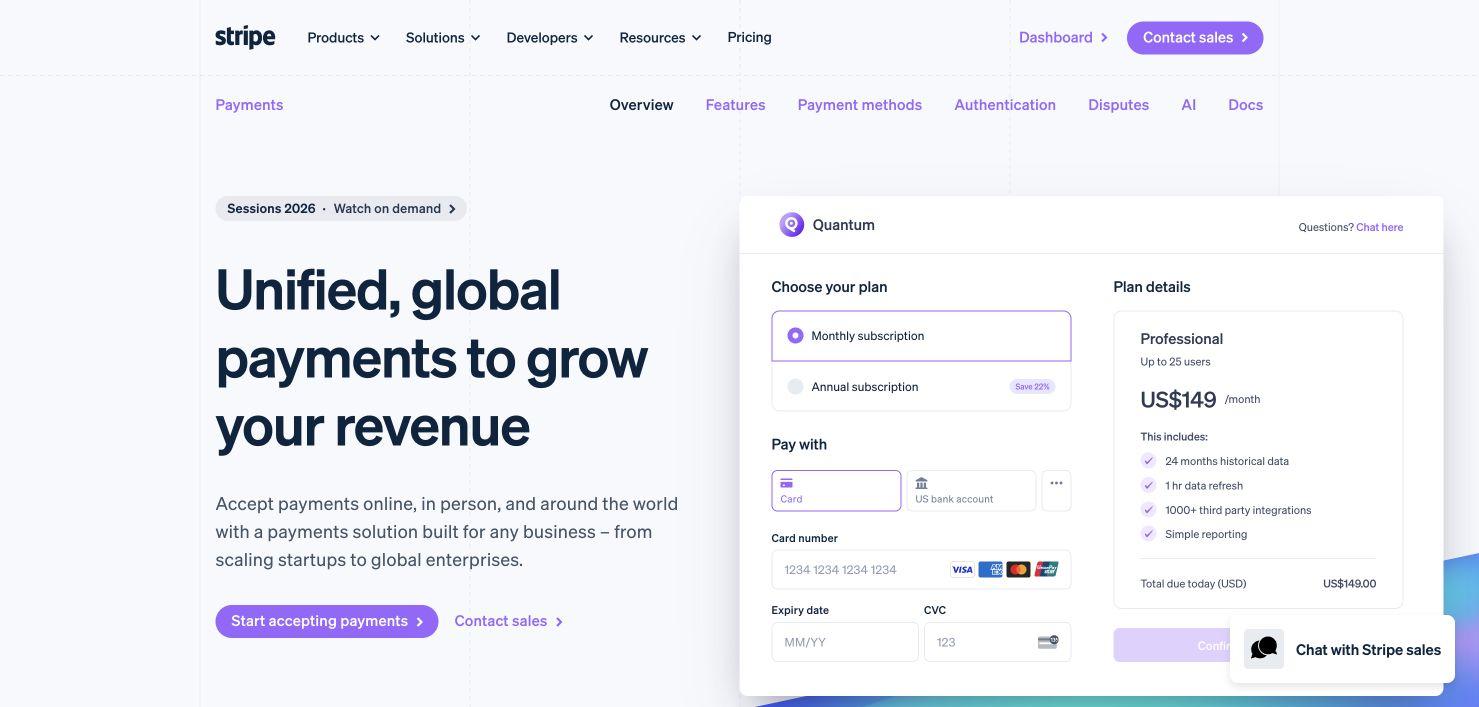
Choose a browser-oriented treatment, replace the sample capture, and adjust the composition for your page.
Website screenshots work harder when each placement has a job: earn attention above the fold, explain the product below it, and carry the same story into social previews.
Show the full product promise with one dominant interface—not a collage competing for attention.
Crop tightly around one workflow.
Show the before, after, or result.
Reuse the story without shrinking the whole page.
Compose the screenshot for the section where it will live. Screenhance keeps the crop, spacing, frame, background, and supporting text editable while you shape the visual for that job.
01
Take the screenshot before opening Screenhance. Include the UI that supports the point you want the image to make, and avoid capturing unrelated tabs, notifications, or private data.
02
Upload the capture, choose an aspect ratio that fits its intended container, and adjust the crop, padding, background, text, and optional browser or device frame.
03
Export in a format and scale available on your plan, place the image in the real page layout, and check that important interface text remains legible on both wide and narrow screens.
A hero screenshot should help a visitor understand what the product is while they read the headline and primary action. Give one recognizable product view enough space to remain legible, and remove browser chrome or interface detail that does not help that first explanation.
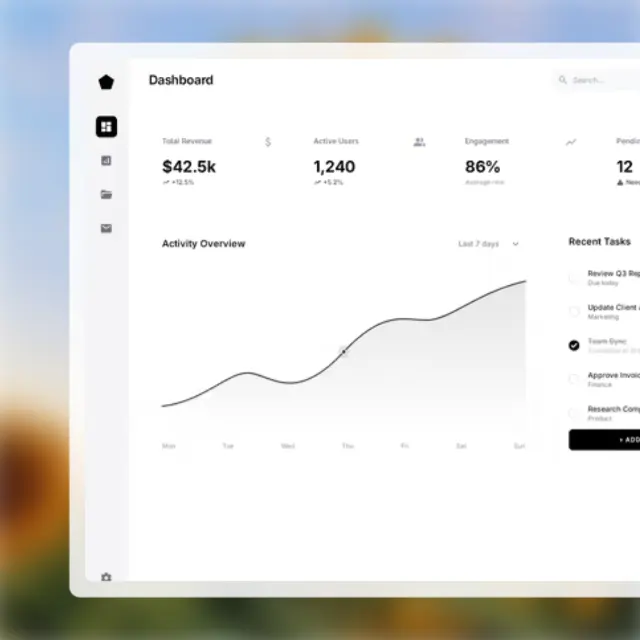
Feature-section screenshots have a different job: they explain a specific capability. Crop closer to the relevant UI, pair the image with one focused piece of copy, and use an arrow, callout, or numbered step only when it makes the workflow easier to follow. Repeating the same wide dashboard image in every section makes each feature harder to distinguish.
On smaller screens, check the actual rendered page rather than assuming the desktop composition will scale down. A separate mobile crop can keep the product readable without hiding the most important control or shrinking the interface into noise. The mobile hero-image guide covers crop, source-set, and layout decisions in more detail.
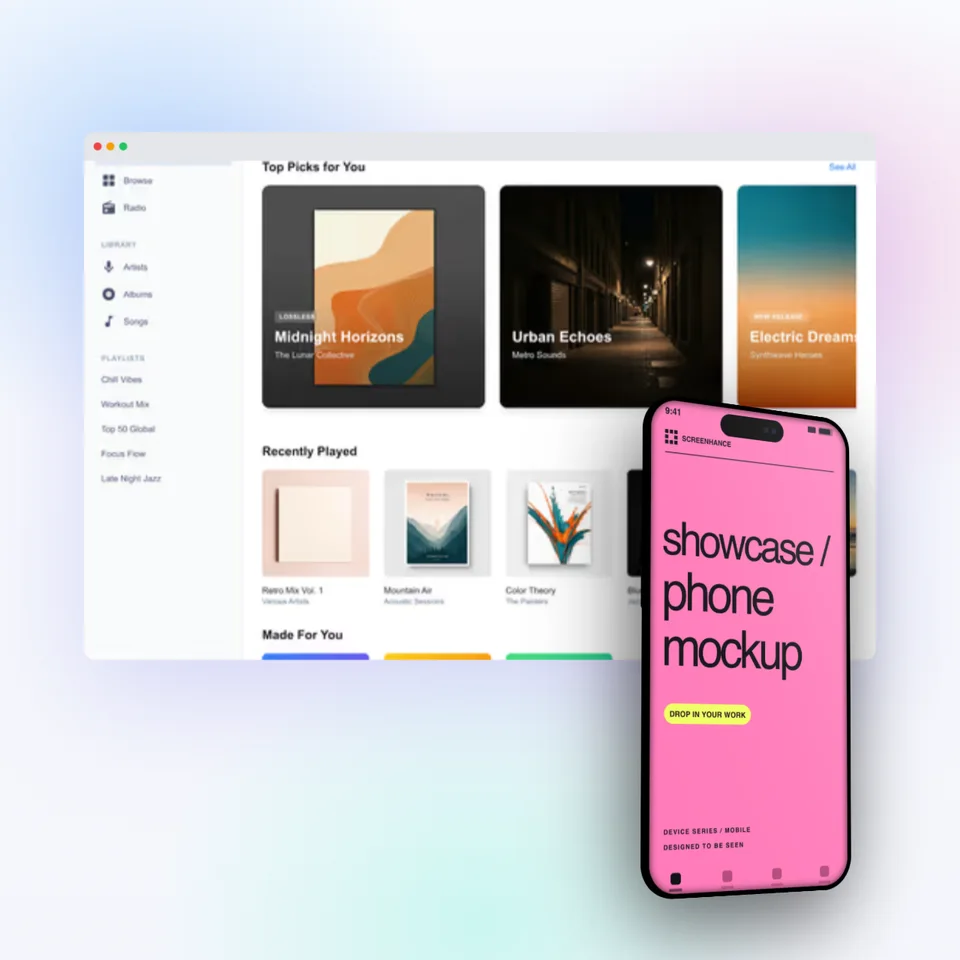
Place the capture in a browser, laptop, or responsive device composition for a portfolio or launch page.
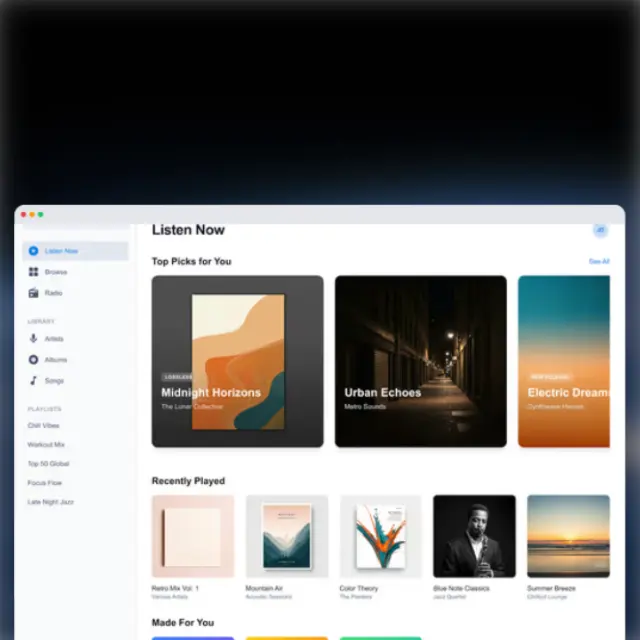
Open tool →Use a clean browser frame when tabs, address-bar context, or a web-app viewport helps the story.
Open tool →Remove irrelevant UI, add restrained annotation, and prepare a focused feature-section image.
Open tool →Combine the product screen with a headline-ready layout, background, spacing, and optional device frame.
Open tool →Use a static screenshot when one product state explains the point. It is easier to scan, simpler to serve responsively, and keeps the page useful when motion is reduced or unavailable. Use motion when the change itself matters—a transition, drag, zoom, filter, or short before-and-after sequence.
Screenhance motion templates can export GIF or WebM on Pro. Keep a strong first frame, avoid looping decorative movement that adds no information, and test the final asset in the real page so it does not compete with the headline or primary action.
Add a PNG, JPEG, WebP, HEIC, or HEIF image up to 10 MB. Editing and compression happen in your browser. Guest images remain in local browser storage; signed-in project images use private storage for autosave.
Free includes 3 watermarked PNG exports at 1x each month. The 7-day Launch Pass includes 10 clean PNG, WebP, or JPEG exports up to 3x. Pro includes unlimited clean exports and GIF or WebM for motion designs.
No. Take the screenshot with your browser, operating system, or screenshot extension first, then upload that image to Screenhance. Screenhance styles an existing capture; it does not visit or capture a live URL.
Screenhance accepts PNG, JPEG, WebP, HEIC, and HEIF images up to 10 MB. Choose a capture that keeps the interface text readable at the size where the finished visual will appear.
The free plan includes all templates, device frames, and core editing tools, plus 3 watermarked PNG exports at 1x each month. The 7-day Launch Pass includes 10 clean static exports as PNG, WebP, or JPEG up to 3x. Pro includes unlimited clean exports and adds GIF and WebM for motion designs.
Editing and image compression happen in your browser. Guest images stay in local browser storage. When you sign in, project images are uploaded to private storage so Screenhance can autosave and reopen the project.
Use a browser frame when the browser context helps explain a web product. Use a phone, tablet, or laptop frame when the physical device matters to the story. You can also leave the capture unframed when the interface itself should take up the available space.
Reuse the same source screenshot for another practical output.
Create marketing visuals for SaaS
Start creatingHighlight features with annotated visuals
Start creatingEvery launch visual from one brief: App Store, Product Hunt, OG, and website
Start creatingEdit, annotate, and reframe screenshots
Start creatingMake any screenshot look professional
Start creatingArrows, highlights, and auto-numbered steps
Start creatingOpen a fresh 16:9 canvas, upload your screenshot, and make the crop, background, spacing, text, and frame your own. Start editing before signing up.