Start with the whole screen
0:07The recording lands on a clean canvas with the timeline ready underneath.
Use Cases
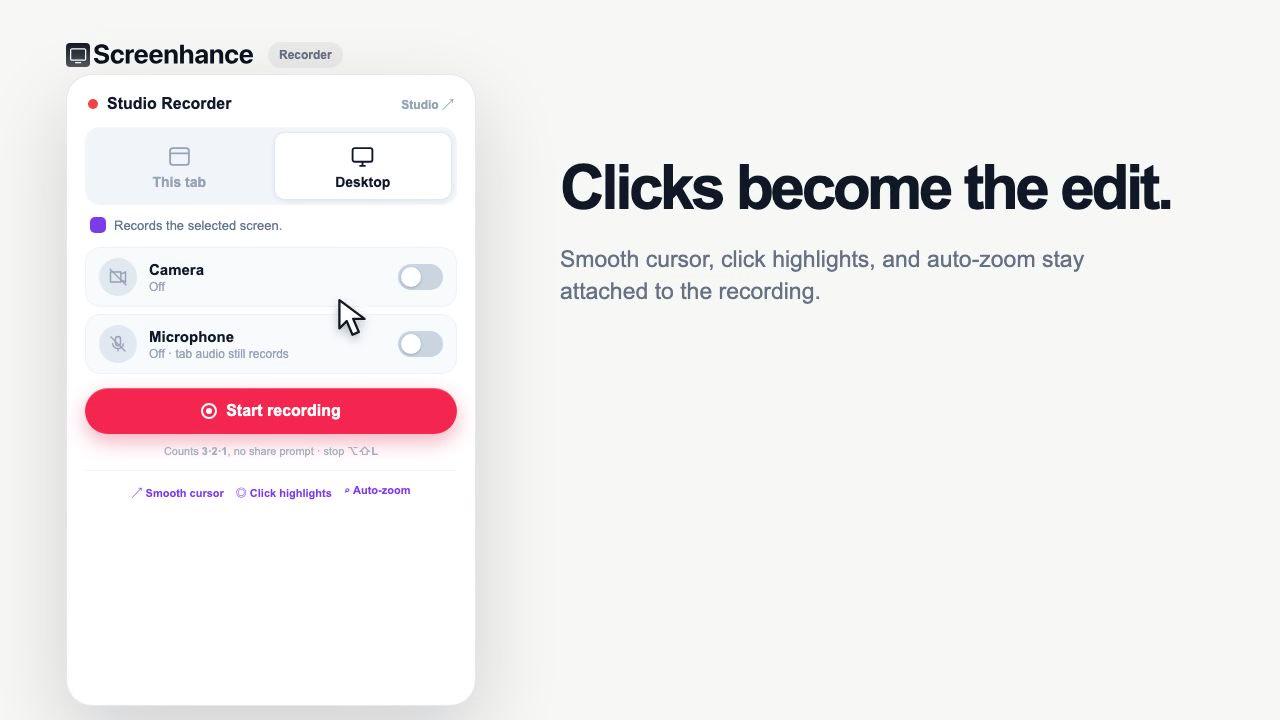
Record a Chrome tab with the real cursor path and clicks kept as data. When you stop, Screenhance Studio turns that take into smooth cursor motion, click highlights and auto zoom you can continue editing.
No account needed to record · Local until you choose to save or export
Normal screen recorders flatten everything into one video: the interface, the cursor and every click become pixels. Once that happens, an editor can crop the clip, but it cannot reliably recover the actual pointer path or the exact moments you interacted with the page.
Screenhance's Chrome extension records the tab and captures cursor movement and clicks separately. Studio can then redraw a steadier cursor, emphasise clicks and place zooms around the actions that matter. You still decide what the finished demo says; the extension simply preserves the information needed to make that edit fast.
Keep the real product interaction, then add the framing, spacing and visual direction that make it easy to watch.

The extension keeps the cursor path and clicks with the take.

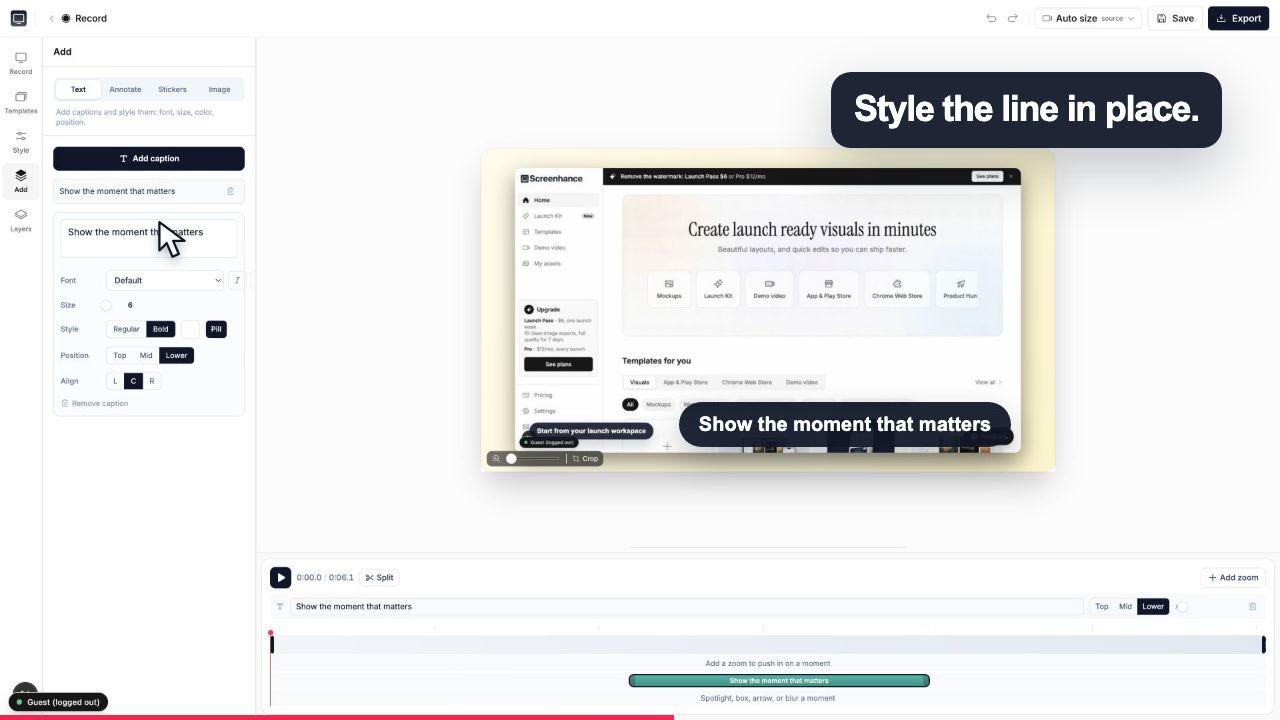
Add captions, effects and timing without leaving the browser.
Tab recordings preserve the interaction data Studio needs for smooth cursor treatment, click effects and automatic zoom suggestions.

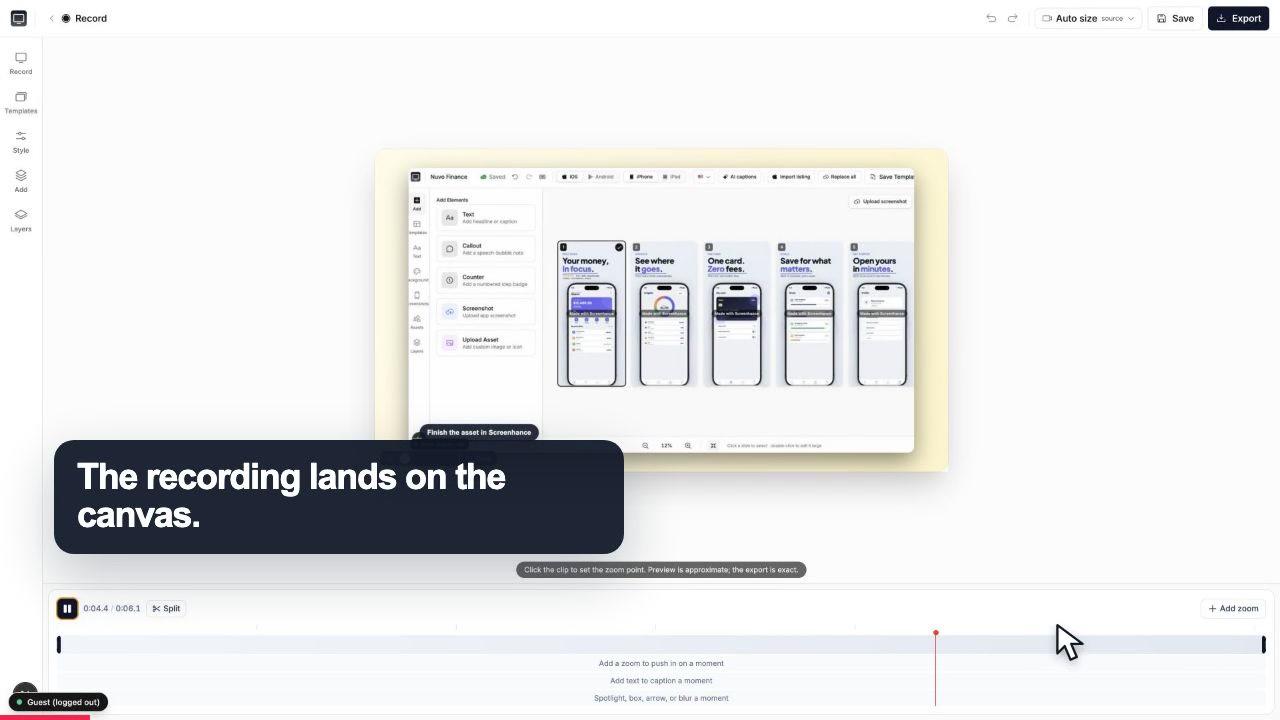
The recording lands on a clean canvas with the timeline ready underneath.

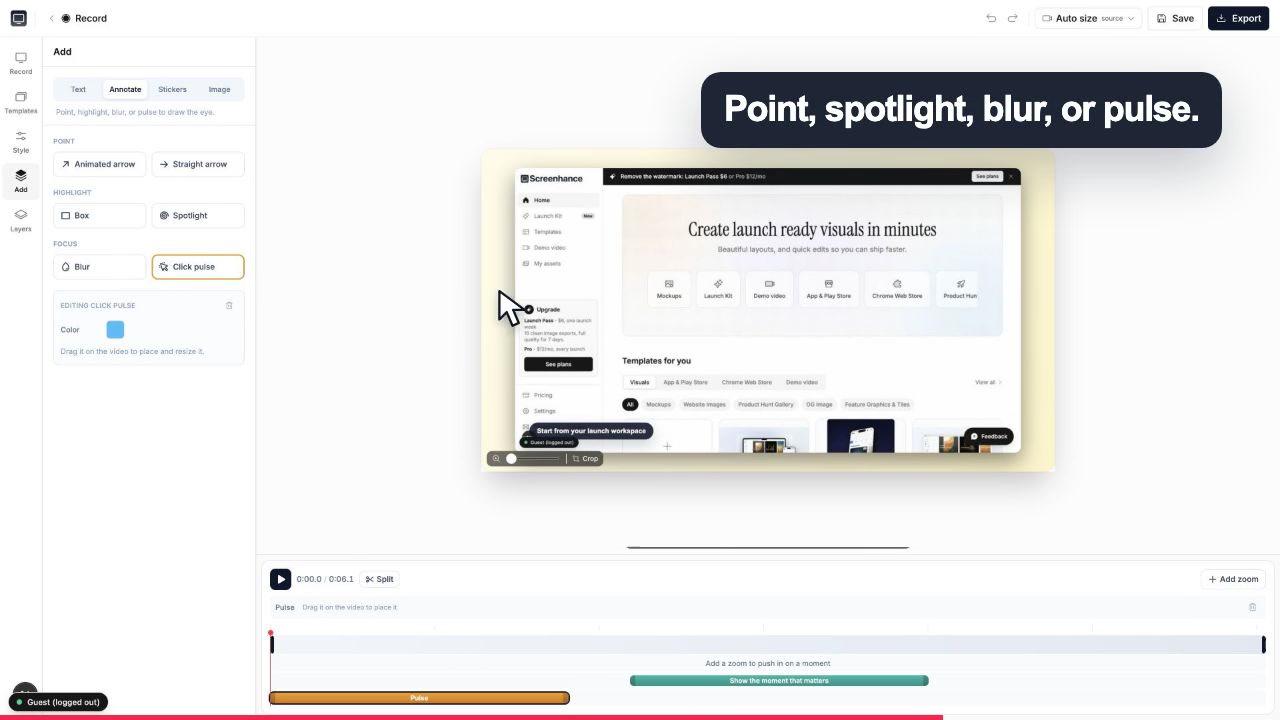
A click pulse and caption make the exact interaction obvious before the camera moves.

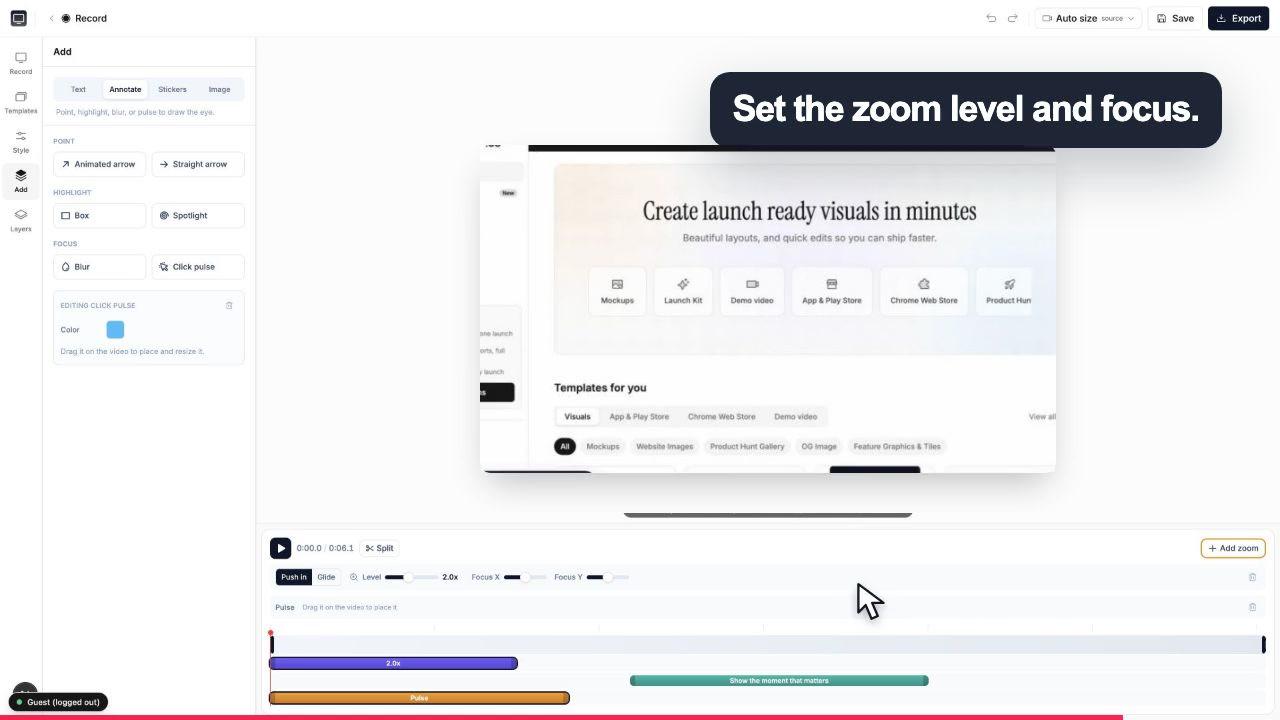
Choose the zoom level and focal point while the real controls stay visible around the canvas.
The extension handles capture. Studio handles the finished visual. There is no file-download-and-reupload step between them.
Install Screenhance Studio Recorder from the Chrome Web Store, pin it, and open the browser tab you want to demonstrate.
Press Record, complete the short task you want to show, then stop from the on-page control, the extension popup, or the keyboard shortcut.
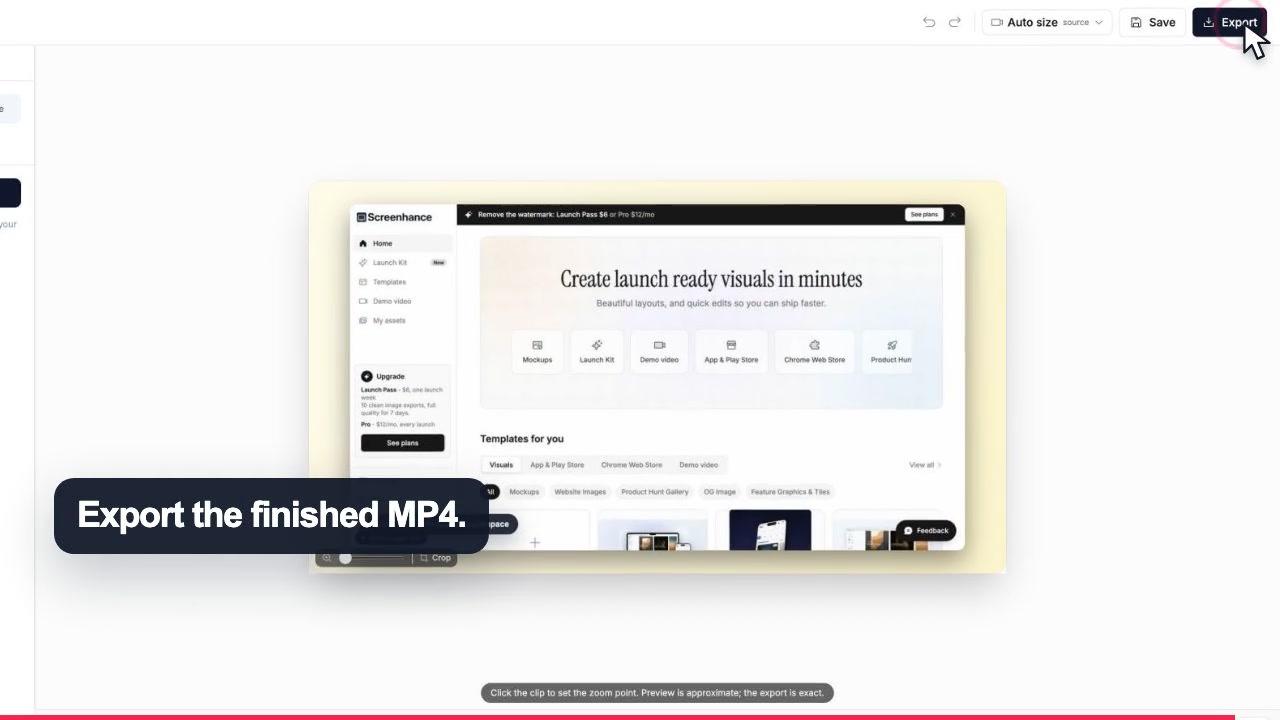
The recording opens in the browser editor with cursor and click data ready for smooth motion, click highlights and auto zoom. Trim it, add captions and frames, then export.
Screenhance is strongest when the recording is meant to become a polished launch or marketing asset, not merely a link to a meeting replay.
Keep a busy dashboard readable by letting each important click guide the viewer to the right control.
Explore this workflow →Turn the core product flow into a short launch video, then pair it with a matching still-image gallery.
Explore this workflow →Show the new interaction directly instead of asking users to decode a paragraph and a static screenshot.
Explore this workflow →Use click highlights, captions and deliberate zooms to keep every step understandable without a complex timeline.
Explore this workflow →Reframe the same product story for a landing-page hero, a feed post or a vertical social clip instead of recording the flow again.

16:9
Landing pages and YouTube

1:1
Feed posts

9:16
Reels and Shorts
The recorder starts only when you tell it to record a tab. The recording, tab audio, cursor positions and clicks are processed locally and delivered to the Screenhance Studio tab. Nothing is uploaded by the extension itself; saving and exporting are choices you make in Studio.
For the exact permission and data-use details, read the Screenhance privacy policy and the disclosure on the Chrome Web Store listing.
The live Chrome extension records the browser tab you choose, including tab audio when available. For tab recordings it also captures the real cursor path and click positions as data, which lets Screenhance Studio redraw a smoother cursor, add click highlights and place automatic zooms after the recording.
An ordinary screen recording bakes the cursor into the video pixels. The extension keeps cursor movement and clicks as separate data, so Studio can smooth the path and use the clicks to guide effects. That is the difference between a raw capture and a demo you can continue styling after you stop.
No. Screenhance Studio Recorder is specifically for recording video. After a take opens in Studio, you can turn the same product story into video exports and build matching launch images with Screenhance's screenshot, mockup and store-listing tools.
No account is needed to start a recording with the extension. When you stop, the take opens in Screenhance Studio for editing. An account is only needed when you choose account features such as saving work.
The extension processes the recording locally and hands it to the Screenhance Studio tab. It stays on your machine until you choose to save or export inside the app. Recording begins only after you press the visible record control.
Yes. Screenhance Studio also has an in-browser recorder, so you can try the editor without installing anything. The extension is the better path for Chrome-tab product demos because it captures cursor and click data that a normal pixel-only screen share cannot provide.
It is free to record and try the editing flow. Free video output includes a Screenhance watermark. Pro removes the video watermark and unlocks clean MP4 export; current plan details are on the Screenhance pricing page.
It solves a different part of the job. Loom is centred on quickly sharing hosted recordings and viewer collaboration. Screenhance is centred on producing polished product-demo files with cursor treatment, zoom, frames, backgrounds, captions and multiple output shapes. Choose based on whether the deliverable is a share link or a launch-ready visual asset.
Looking for the broader workflow? See the screen-recording editor guide or compare Screenhance with Screen Studio.
Explore more ways to create stunning visuals with Screenhance.
Edit, annotate, and reframe screenshots
Try it freePut your design or app on a photorealistic billboard
Try it freePrint your graphic onto a real t-shirt photo
Try it freeCreate marketing visuals for SaaS
Try it freeRecord, zoom, and export product demo videos in the browser
Try it freeRecord, zoom, and caption product onboarding videos
Try it freeRecord the real product in Chrome, then continue in Studio with the cursor and interaction data intact.