
How to Make a Product Demo Video (5-Step Recipe)
A 5-step product demo video recipe: show the outcome first, frame each click, keep it focused, and export a polished 1080p MP4.
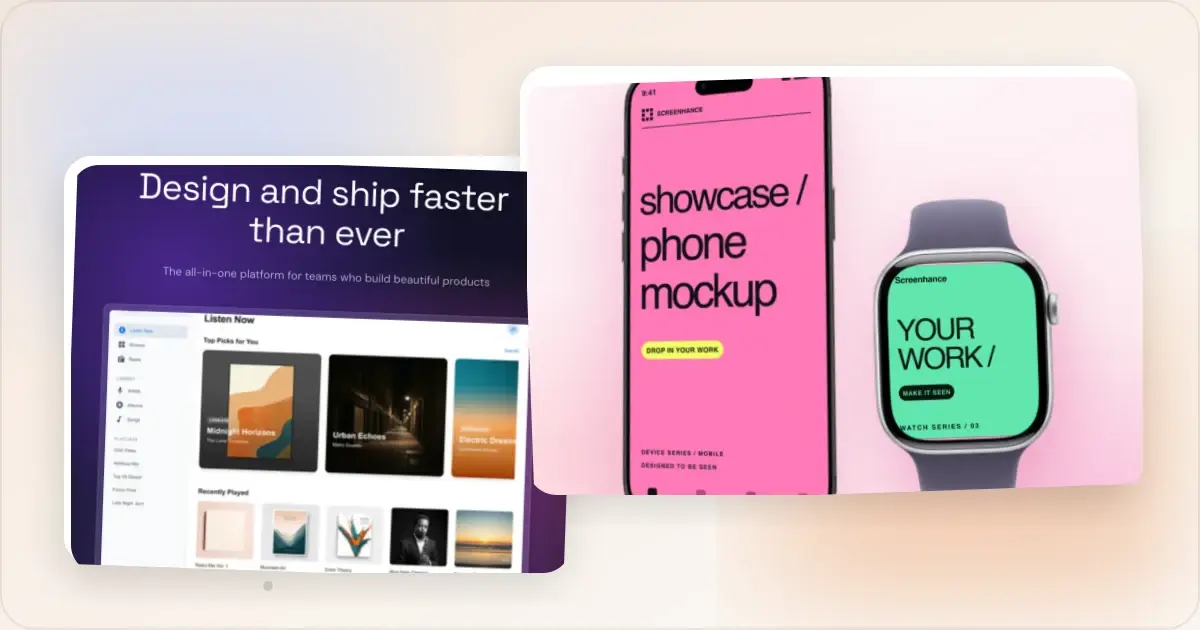
Here is the workflow up front: script one clear job, open with the outcome, zoom only where detail would otherwise be missed, remove dead time, and export in the format required by the destination. Preview the result with sound off and on the smallest target screen before publishing.
Step 1: Script One Job, Not the Whole Product
The most common demo mistake is trying to show everything. A demo video is not a feature tour; it is proof that your product does one valuable thing well. Pick the single job your best users care about most, write down the 3 to 5 clicks it takes to do that job, and script only those. If you cannot say what the video is proving in one sentence, it is not scripted yet.
Write the opening line as the outcome, not the setup. "Watch this turn a raw screenshot into an App Store listing" is more concrete than "First, let me show you the dashboard." Lead with the payoff, then confirm the opening remains understandable without narration.
Step 2: Record a Clean Take
Set your window to a generous size, close notifications, and use realistic demo data instead of "test test 123." Record the scripted path in one clean take if you can; short products often fit in a single pass. If you need multiple takes, keep them short and record the same action a couple of times so you can pick the best one.
You do not need a Mac or a heavyweight desktop editor for this. Screenhance Studio can record in the browser, while the Chrome screen recorder is the stronger path for browser-tab demos because it preserves cursor movement and clicks as data for smoothing, highlights, and automatic zoom. Recording into the same workflow means the capture and the polish stay connected.
Step 3: Beautify, Then Zoom Every Click
A raw screen recording looks like a raw screen recording. Add a background, some padding, rounded corners, and a soft shadow, and it immediately reads as a product, not a bug report. Templates do this for you: you drop the recording in and the frame is already composed.
Then zoom. The single biggest quality jump between an amateur demo and a polished one is click-focused zoom, easing into each interaction so the viewer's eye follows the cursor. Place a zoom on every meaningful click. Screenhance's demo video maker does click-to-place eased zoom without a timeline, so you tap where the action is and it handles the motion.
Step 4: Cut Everything That Does Not Support the Job
Choose length from the destination's current rules and the job being demonstrated. App previews have platform-specific limits, while landing pages and launch galleries have different viewing contexts. Remove pauses, repeated clicks, and secondary features, then test whether an unfamiliar viewer can explain the outcome after one watch.
Design for silent playback. Most demo views happen muted, on autoplay or a scroll-by, so on-screen labels have to carry the story. Treat narration and music as a bonus, never as load-bearing.
Step 5: Export a Real 1080p MP4
Export a real H.264 MP4, not a WebM or a GIF, if the destination is an app store, a landing page, or a social post, because MP4 is what those surfaces expect and it plays everywhere. 1080p is the right baseline for a demo; you rarely need 4K for a UI recording, and higher resolutions just inflate the file. If you are targeting the App Store, export at the exact device-class size the store asks for so the upload is not rejected for dimensions.
The Whole Thing in One Place
The recipe is simple; the friction is usually that these five steps live in five tools. Recording in one app, beautifying in another, zooming in a third, and exporting the right size in a fourth is why a "quick demo" eats an afternoon.
Doing it from one capture fixes that. Record, beautify from a template, zoom, and export a 1080p MP4 in the browser, then reuse the same capture for your Product Hunt launch video, App Store preview, and launch post. For Product Hunt, upload the finished MP4 to YouTube and add the full video URL to the gallery. Same product, actually moving, no editing detour.
Related Reading
- Product Demo Video Examples - See the recipe applied
- Best Screen Studio Alternatives in 2026 - Tools for making the video, compared
- App Preview Videos vs Screenshots - When to invest in video at all
Screenhance examples
Two editable starting points from the Screenhance library, selected for this motion guide.


Ready to create stunning visuals?
Free to start. No credit card required.
Keep reading
Related, product-tested guides from Screenhance.
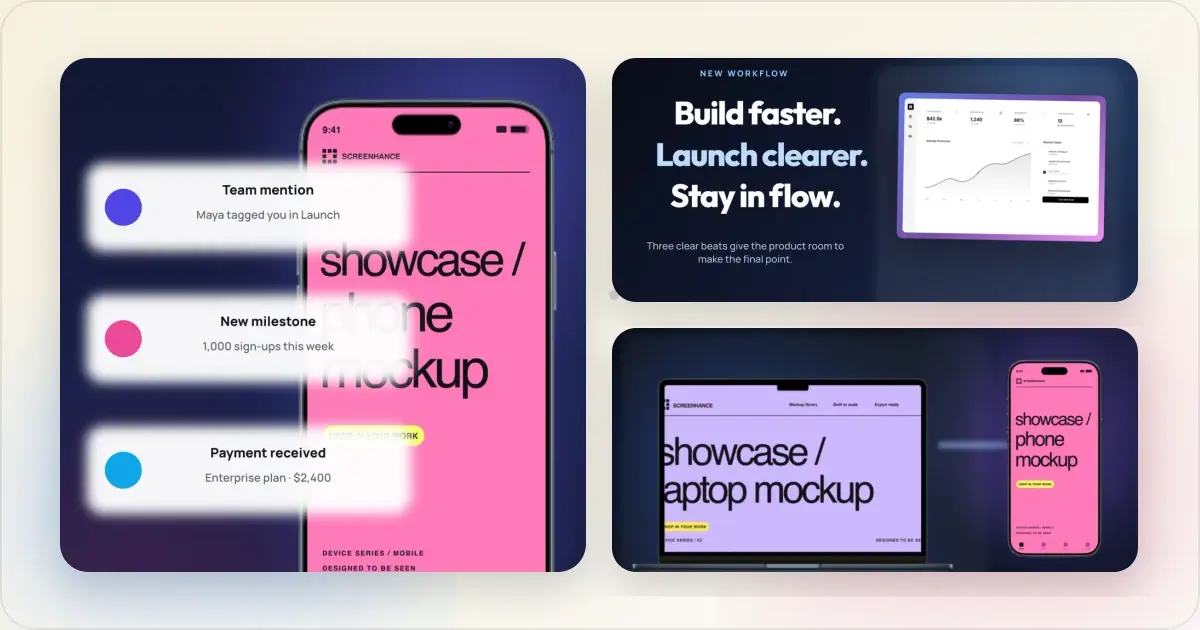
4 Product Demo Video Examples and Why They Work
Four original product demo video examples for feature tours, launch films, before-and-after stories, and vertical clips—with editable templates.
1 Jul 2026 · 5 min read
GIF vs MP4 for Animated Mockups: File Size and Screen Clarity
Compare real Duo and MacBook GIF and MP4 exports: measured file sizes, actual downloads, screen-detail crops and a responsive video example.
11 Sept 2026 · 4 min read
How to Make an iPhone Duo Folding Mockup With Two Screens
Make an iPhone Duo mockup with two editable screens. Follow the folding tutorial, crop each screenshot, or start with a realistic photo scene.
11 Sept 2026 · 5 min read