
How to Create Product Screenshots for a Pitch Deck
Create clear, accurate product screenshots for a pitch deck, including capture, framing, annotation, privacy and presentation checks.
A pitch deck may be read asynchronously, presented live or both. Product screenshots can help a reader understand what exists, how a workflow operates and which claims the product itself can demonstrate.
Visual polish is not evidence of business quality, and there is no universal number of seconds an investor gives a deck. Prioritize accurate, readable product material over attempts to infer what every investor thinks.
Why Product Visuals Matter in Pitch Decks
Screenshots can provide concrete evidence that a product state exists and make an abstract workflow easier to discuss. They can also create risk if they expose private data, show an outdated interface or imply results the product has not achieved.
A good product slide connects the image to a specific statement. The frame, background and annotations should support comprehension rather than stand in for evidence.
Where Screenshots Go in Your Pitch Deck
Not every deck needs the same product slides. Add a screenshot only when it supports the point on that slide.
The Product Slide
A product slide can pair a concise explanation with a legible view of the product. A device frame is optional; use it when platform context helps and use a direct crop when the interface needs more room.
The Demo or How It Works Slide
If you have a multi-step flow, a short sequence can show the user journey. Include only the steps needed to understand the claim and label them clearly.
The Traction Slide
A product visual belongs on a traction slide only if it explains the metric or evidence. It must not be used to imply that sample data represents real customers or usage.
How to Present Product Screenshots in Slides
The format of your pitch deck dictates the screenshot approach. Many decks use a 16:9 slide, but verify the actual template and delivery format before composing the images.
Use device frames when they add context. A browser, laptop or phone frame can identify the platform, but it also reduces the area available to the UI. A pitch deck mockup generator provides editable starting points; compare the framed result with a direct crop. Choose a background that preserves separation. Light and dark product interfaces need different treatment. A solid slide color, subtle gradient or transparent export can work if the product edge remains clear and text contrast is sufficient. Size matters. Crop to the portion needed for the point rather than shrinking an entire complex screen until nothing is readable. Test from the viewing distance used in the presentation. Limit images according to legibility. One or two screenshots often leave more room for detail, but a clearly structured sequence can use more. The test is whether each image remains readable and necessary.Formatting Tips
- Export with enough pixels for the size at which the image appears in the deck
- Use PNG format for UI screenshots to avoid compression artifacts
- Use a consistent set of frame and annotation styles
- Match your screenshot backgrounds to your slide template colors
Common Pitch Deck Screenshot Mistakes
Raw Screenshots with No Context
A raw screenshot is not inherently wrong. It becomes a problem when it is uncropped, unreadable or lacks the context needed to understand it.
Outdated UI
Update screenshots before sending the deck, or label a concept clearly if it is not the current product. Avoid presenting roadmap designs as shipped functionality.
Too Many Screenshots on One Slide
When several screenshots are reduced until their UI cannot be read, split the sequence or crop each image more deliberately.
Inconsistent Styling
One slide may use a browser frame while another uses a direct crop. That can be appropriate, but unexplained changes in frame, scale and background may make the story harder to follow.
Use a mockup generator to establish a small set of styles and apply them consistently where they fit.
Showing Too Much
Show the screens needed for the audience and claim. A settings or user-management screen may be relevant for an enterprise-security or administration story.
A Practical Workflow for Pitch Deck Screenshots
Here is a practical process. Timing depends on the number of screens, approvals and whether the captures contain sensitive data.
Step 1: Map claims to screens. Identify which product states support the deck's product, workflow or evidence slides. Step 2: Prepare the UI. Remove personal and confidential information. Use truthful sample data and label concepts or simulated states where necessary. Do not hide a limitation that is material to the claim. Step 3: Capture the intended viewport. Use enough source pixels for the size the screenshot will occupy in the slide. Keep an uncropped original for later revisions. Step 4: Apply purposeful framing. Use frames, backgrounds and annotation styles consistently, while allowing direct crops where they improve legibility. Step 5: Size within the deck. Export for the slide format and the image's actual placed size. Avoid unnecessary resolution that makes the deck difficult to send or open. Step 6: Test on a projector or large screen. Screenshots that look great on your laptop can look different projected in a conference room. Check readability at distance.Questions a Product Slide Should Answer
Different investors focus on different evidence. A useful product slide should make it possible to answer:
- What product state am I looking at?
- Which user or workflow is it for?
- What does the image demonstrate, and what does it not demonstrate?
- Is the content current, real, sampled or conceptual?
- Can the important interface detail be read in the delivered deck?
You do not need a designer to ask these questions, but important decks benefit from editorial, privacy and factual review.
Final Thought
A pitch deck is a selective explanation of the business. Product screenshots are useful when they provide accurate evidence and make a workflow easier to understand. Use a frame only when it helps that job.
Match Screenshots to the Evidence Available
The product evidence available to an early prototype is different from the evidence available to a mature product. Adjust the deck to what is true now rather than assigning fixed screenshot rules to a funding stage.
A prototype deck might clearly label a concept, show a working flow and explain what remains to be built. A product with customers can show current workflows or aggregate, permissioned evidence that supports the business claim. Do not expose customer records merely to make a dashboard look convincing, and do not use sample data in a way that could be mistaken for traction.
When a screenshot contains a metric, define it in the deck and ensure it matches the source used elsewhere. Visual consistency cannot repair a contradiction between the interface, financial model and spoken pitch.
Build a Visual Narrative Around the Deck
Screenshots should follow the deck's argument rather than a compulsory five-slide sequence. Possible roles include:
- Showing the current process or problem, using material you have permission to reproduce
- Introducing the product and its primary user
- Explaining a short workflow through sequential states
- Supporting an outcome with properly defined, sourced evidence
- Separating shipped functionality from a clearly labeled roadmap concept
Use only the roles the deck needs. Repeating the same hero image can waste space, while forcing a screenshot into every stage can imply evidence that does not exist. A pitch deck mockup generator can help keep the chosen images visually consistent, but it cannot decide whether a claim is supported.
Frequently Asked Questions
What resolution should pitch deck screenshots be for projector display?
Start with the deck's slide dimensions and the size at which the screenshot is placed. Use enough source detail to avoid enlargement, but balance that against deck file size. Test the exported deck on the actual room display when possible and on the asynchronous viewing path you plan to send.
Should I annotate screenshots in pitch decks?
Annotate when a label, highlight or sequence marker reduces ambiguity. Keep annotations readable, do not cover evidence and make sure the narration or adjacent copy does not depend on color alone. Several labels can be appropriate for a technical diagram; the number is less important than clarity.
Are before-and-after slides effective in pitch decks?
They can be, when both states are comparable and accurately labeled. Use the same scale and define what changed. Obtain permission to reproduce a third-party interface, and do not construct an artificially poor “before” state to exaggerate the result.
Demo video versus static screenshots in a pitch deck, which wins?
Static screenshots are dependable and easy to scan. Video can explain motion or a sequence that still images cannot. If you use video, test playback, carry an offline copy where appropriate and provide a useful poster frame or static fallback. Choose based on the product and presentation environment rather than a universal winner.
How many mockups should each slide contain?
Use as many as the slide can support at the intended viewing size. One or two often allow more detail; a short, clearly labeled sequence may use more. Split the slide when individual screens or annotations become unreadable.
Related Reading
- How to Display Screenshots on a SaaS Landing Page — adapt screenshots for a website
- Visual Branding for Startup Screenshots — establish a consistent visual system
- Website Screenshot Mockup Guide — choose browser frames and export formats
- How to Create SaaS Hero Images — plan a hero composition
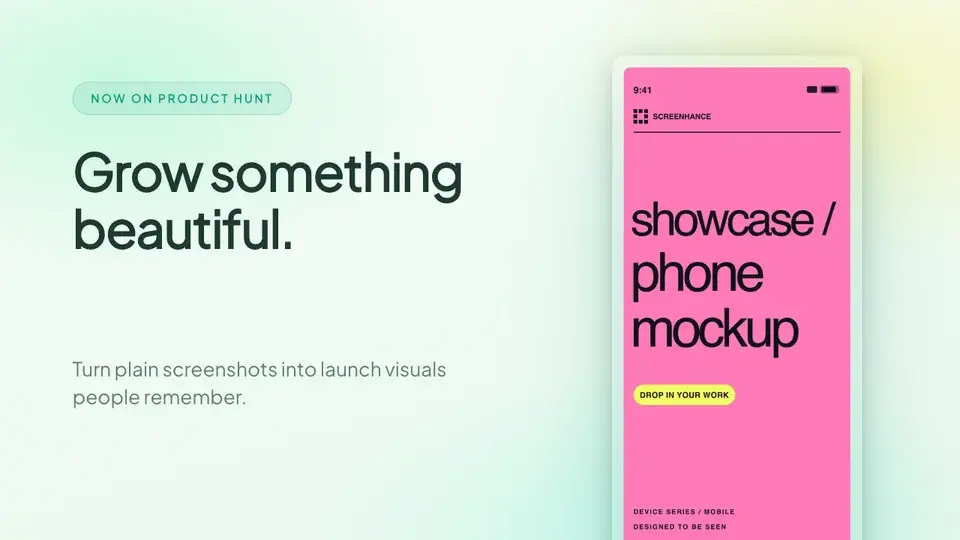
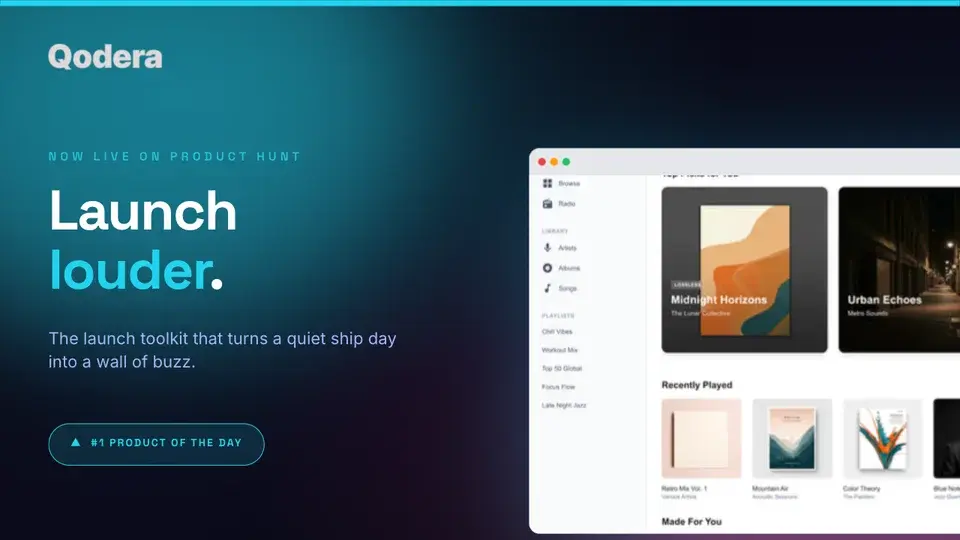
Screenhance examples
Two editable starting points from the Screenhance library, selected for this launches guide.
Ready to create stunning visuals?
Free to start. No credit card required.
Keep reading
Related, product-tested guides from Screenhance.
14 Best Fonts for App Screenshots and Launch Graphics
Choose readable fonts for App Store screenshots, Google Play graphics, social posts, and launch visuals, with practical pairings and editable examples.
1 Sept 2026 · 10 min read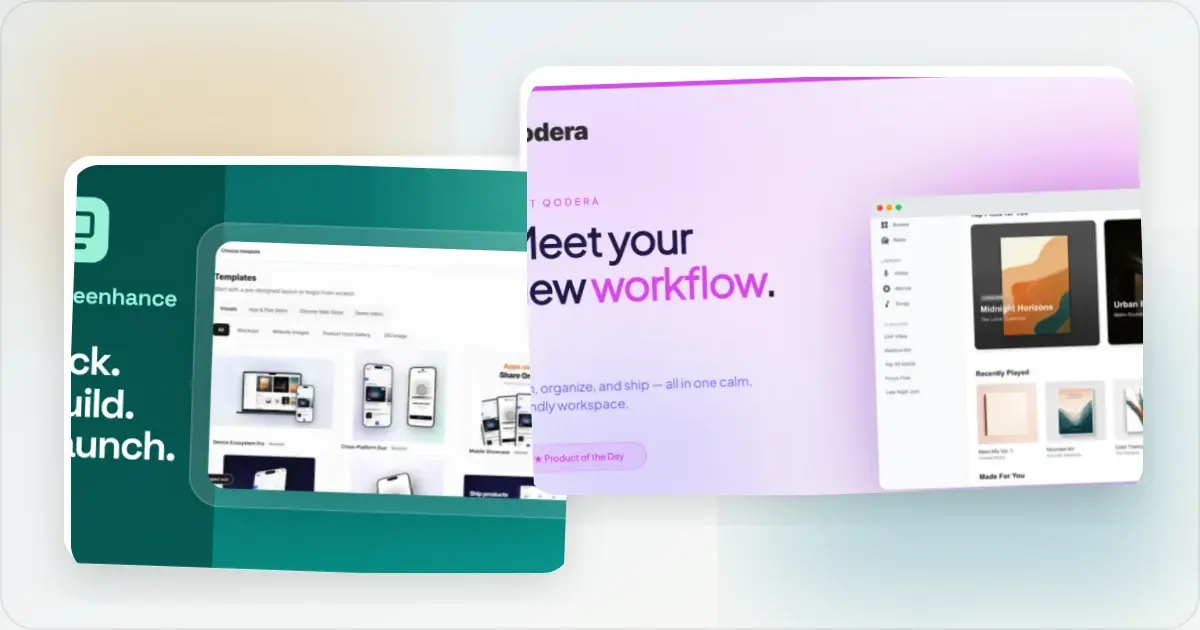
How to Launch an App in 2026: The Complete Step-by-Step Checklist
The complete 2026 app launch checklist: a 4-6 week timeline across pre-launch, launch day, and post-launch, plus every store, Product Hunt, and OG asset needed.
4 Jul 2026 · 8 min read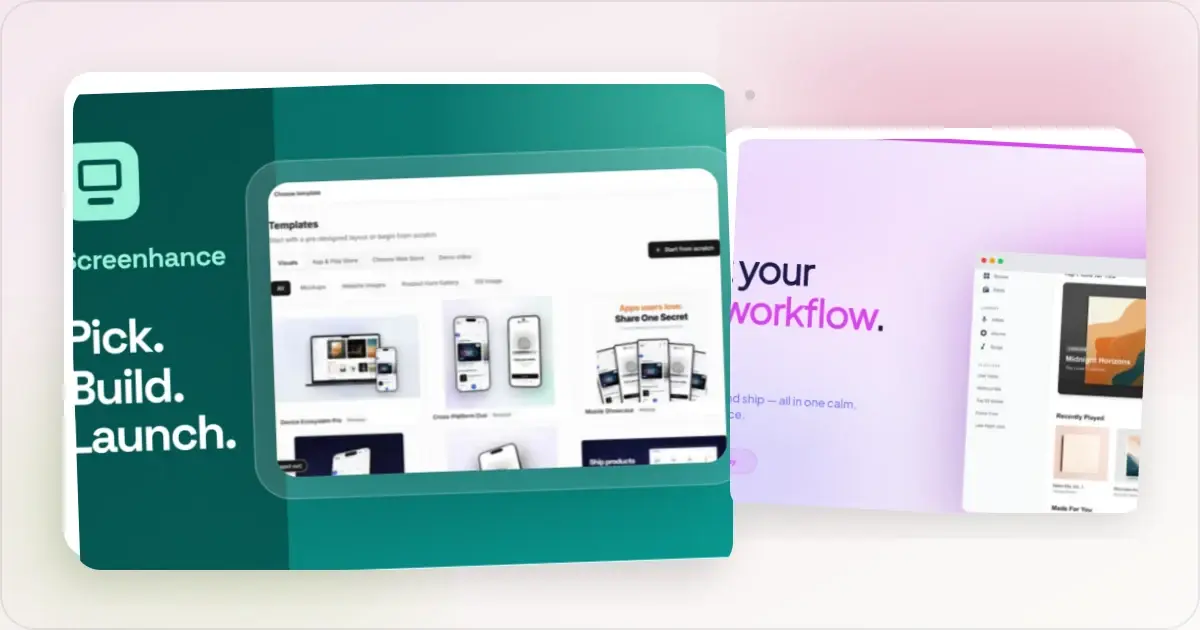
How to Publish an AI-Built App to the App Store (Lovable, Bolt, Replit)
A practical App Store submission walkthrough for AI-assisted apps: enrollment, builds, listing metadata, screenshots, privacy details, and review preparation.
2 Jul 2026 · 5 min read