
How to Display Screenshots on Your SaaS Landing Page
Learn how to choose, frame, and optimize product screenshots for a clear, responsive SaaS landing page.
Your SaaS landing page has one job: convert visitors into users. And the screenshots you choose play a huge role in that.
Here's how to get them right.
Why Screenshots Matter
Visitors decide in seconds whether to keep reading or bounce. Your product screenshots help them:
- Understand what your product actually does
- Visualize themselves using it
- Trust that it's polished and professional
- Get excited about the features
A bad screenshot creates doubt. A great one builds confidence.
The Hero Screenshot
Your above-the-fold hero image is prime real estate. Make it count:
Show the core valueDon't show a settings page or login screen. Show the main thing your product does - the dashboard, the editor, the results.
Use a device frameA MacBook or browser frame adds instant professionalism. It helps visitors picture your product in their own workflow.
Add a beautiful backgroundGradients work well. They add visual interest without distracting from the product. Match your brand colors if possible.
Keep it high resolutionBlurry screenshots make interface details hard to read. Export enough pixels for the rendered size and target display density, and use responsive variants on the web.
Feature Section Screenshots
As visitors scroll, they want to see more. Your feature screenshots should:
Focus on one feature eachDon't try to show everything in one image. Let each screenshot highlight a specific capability.
Add contextA screenshot of a chart is okay. A screenshot of that chart in a MacBook frame with a caption like "Real-time analytics" is better.
Be consistentUse the same device frames, backgrounds, and styling throughout. This creates a polished, cohesive feel.
What Device Frames to Use
Match your frames to your audience:
- MacBook - Best for web apps, dashboards, B2B tools
- Browser window - Good alternative to MacBook, feels lighter
- iPhone - Mobile apps, responsive designs
- iPad - Tablet apps, apps with larger interfaces
- Multiple devices - Show cross-platform support
Common Mistakes
Raw screenshotsUse a plain screenshot when the raw interface is the clearest evidence. Otherwise, crop deliberately and add only the framing or context the page needs.
Outdated devicesAn old device frame can imply support or positioning you did not intend. Use a frame that accurately represents the device and campaign.
Too much clutterCrop out unnecessary UI elements. Focus on what matters.
Fake or placeholder dataReal data (even anonymized) looks more trustworthy than "John Doe" and "123 Main Street."
Inconsistent stylingMixing different background colors, frames, and styles looks unprofessional.
Quick Process
Here's a simple workflow:
- Capture clean screenshots of your product
- Choose 4-6 key screens to highlight
- Upload to a landing page mockup generator
- Apply consistent device frames and backgrounds
- Export at high resolution
- Place on your landing page
Above the Fold vs Below
Above the fold (hero):- Your best, most impressive screenshot
- Shows the core product experience
- Large and prominent
- Device frame with beautiful background
- Supporting screenshots
- One per feature section
- Can be slightly smaller
- Same styling for consistency
The Hero Screenshot Decision Tree
The single screenshot above the fold is the most-load-bearing visual on the whole site. Pick it with intent.
If your product is visually rich (design tools, dashboards, editors): lead with a clean, full-product shot in a browser mockup. Show the canvas, not the chrome. No annotations, no marketing copy on the screenshot itself — the product is the headline. If your product is utility-led (CLIs, APIs, infrastructure): a screenshot alone doesn't sell it. Pair a small terminal/output screenshot with a strong typographic headline and a code snippet beside it. The screenshot is supporting evidence, not the hero. If your product is mobile-first: use an iPhone mockup and choose a flat or angled view based on the surrounding composition. Lead with a representative, useful product state rather than assuming onboarding is the right screen. If your product is brand-new and nobody knows the category: lead with a before/after rather than a single screenshot. "Without us" vs "with us" works because viewers can see the problem before they understand the solution.Whichever you pick, test it under comparable conditions. Run each candidate long enough to collect meaningful CTA data for your traffic level, and avoid changing the headline or offer at the same time.
Feature Screenshots: One Job Each
The biggest mistake on feature sections is showing the _whole product_ in each screenshot. Each feature screenshot should answer one question only.
A useful content pattern is:
- Headline: feature name
- Sub-line: outcome it delivers (not how it works)
- Screenshot: the single screen where that feature lives, cropped tightly to that area
- Optional caption underneath: 1–2 sentence detail
Repeating the same wide product shot across every feature section adds little information. Crop each screenshot to the area that supports its accompanying feature claim.
If you have many features, group related ones and show a representative screenshot for each group. On long pages, review scroll depth and usability rather than assuming that adding every screenshot will help.
Frequently Asked Questions
Should the hero screenshot be a real screenshot or a marketing composition?
A real screenshot inside a clean frame is a clear default. A stylised composition can work for launch or brand storytelling, but it should not obscure what the product actually looks like. Test the choice if it is a meaningful page variable.
How many screenshots is too many on a landing page?
There is no universal conversion threshold. Include enough screenshots to explain the main product journey without repetition, and move detailed feature shots to focused sub-pages when the main page becomes difficult to scan.
Do I need different screenshots for mobile vs desktop landing page versions?
Use a separate mobile crop when the desktop composition becomes unreadable in a narrow column. Lead with a different feature only when your product data or research shows that mobile visitors have a different priority. A feature screenshot generator can help manage those variants.
Should I include UI annotations on landing page screenshots?
Use light annotation when it explains something non-obvious, and keep the hero uncluttered when the surrounding copy already does the work. A consistent accent colour and a small number of focused callouts are easier to scan than a dense diagram.
How often should I refresh landing page screenshots?
Refresh a screenshot when a product release makes the pictured UI inaccurate. A recurring review can catch stale images; set the cadence based on how often the shown parts of the product change.
How Screenshots Interact With the Rest of the Landing Page
Landing-page screenshots aren't standalone — they live inside a sequence of copy, CTAs, social proof, and conversion elements. Treat them as part of the page conversation, not as decorations.
Above the hero CTA. The hero screenshot is the visual answer to the headline. If the headline says "ship App Store screenshots in minutes," the screenshot should show exactly that: a finished App Store screenshot set. A vague image breaks the headline-to-visual handoff and can make the promise harder to understand. Between feature blocks. Use screenshots where they clarify text-heavy sections. A short explanation followed by a relevant screenshot and transition is a useful structure, but not every feature needs an image. Near social proof. With permission, a customer testimonial can be paired with a relevant screenshot of the customer's result. This makes the example more concrete than an unidentified logo alone; measure its effect on your own page if conversion is the goal. Around the pricing section. Keep the pricing block focused on plan comparison. A small "what you get" preview can sit before pricing when it clarifies what the plans include. At the footer / final CTA. A second hero image — different from the top of the page — can sit above the final CTA. This catches readers who've scrolled past the original hero and need a visual reminder of what they're signing up for.The same product screen may also appear in an onboarding sequence, launch email, or newsletter, but the landing-page crop is rarely the best email crop. The email product screenshot guide explains how to simplify the composition for a narrower reading column, while the startup visual branding guide helps keep those separate exports recognisably part of one system.
Mobile Landing Page Screenshot Challenges
Do not skip the mobile review. Your own analytics should determine how much traffic arrives on narrow screens, and screenshots that work on desktop can become unreadable in a mobile column.
Hero screenshot scaling. A dense landscape hero can become unreadable when squeezed into a narrow column. Use responsive crops or art direction: a centred portrait version for mobile and the full landscape version for wider screens. Use the framework's responsive-image tools to serve an appropriate asset. Feature screenshot density. Three feature screenshots in a horizontal row on desktop becomes three stacked screenshots on mobile, multiplying scroll depth. Either crop tighter for mobile (showing just the most important screen region) or reduce the count of feature screenshots in the mobile layout. Text overlays. Text baked into a wide screenshot can become unreadable on a narrow screen. If the image relies on overlay text, create a mobile composition or move the message into the surrounding HTML copy. Animated mockups. Playback depends on browser rules, attributes, user settings, and reduced-motion preferences. If the hero is animated, ship a static poster image and an appropriate reduced-motion fallback. A hero image generator that exports both formats from one design saves the manual work.The fastest mobile audit: open the landing page on an actual phone, scroll to every screenshot, and ask "can I tell what the product does from this screenshot alone?" If the answer is no for any screenshot, fix that screenshot before adding new ones elsewhere.
Related Reading
- How to Take Better Screenshots: Tips for Professional Results - Capture techniques
- How to Present App Screenshots: A Complete Guide - Presentation strategies
- How to Create SaaS Hero Images That Convert - Hero image best practices
- Product Screenshots for Email - Adapt the same product story to a narrower channel
- Visual Branding for Startups - Keep landing-page and launch visuals consistent
- 7 Screenshot Mistakes That Make Your Product Look Amateur - Common mistakes to avoid
Conclusion
Your landing page screenshots are selling your product before visitors ever sign up. Invest the time to make them look professional.
The right amount of framing depends on the page: sometimes a raw interface is the clearest proof, while a composed mockup provides useful context elsewhere.
Make every pixel count.
Screenhance examples
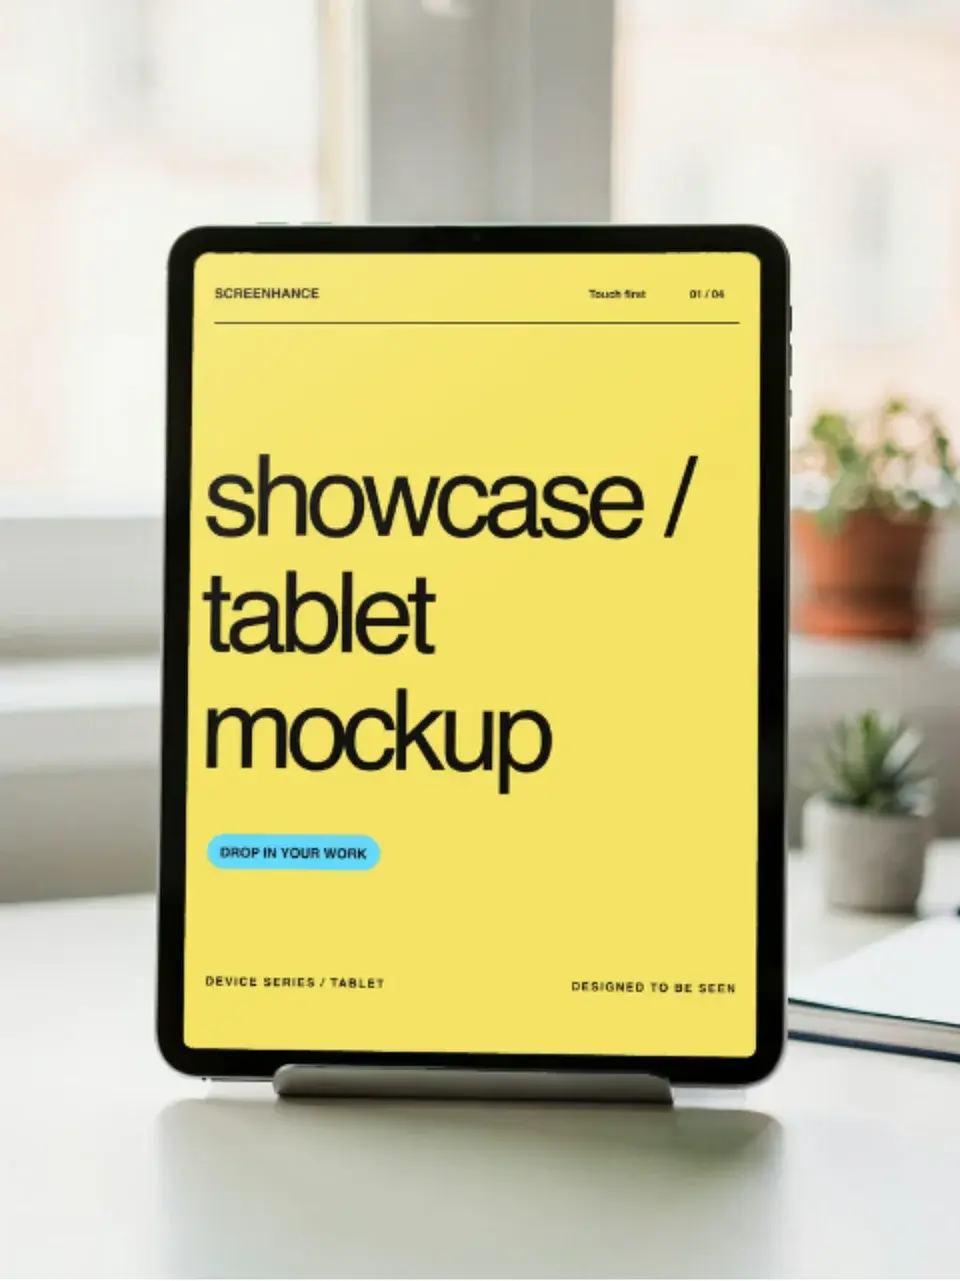
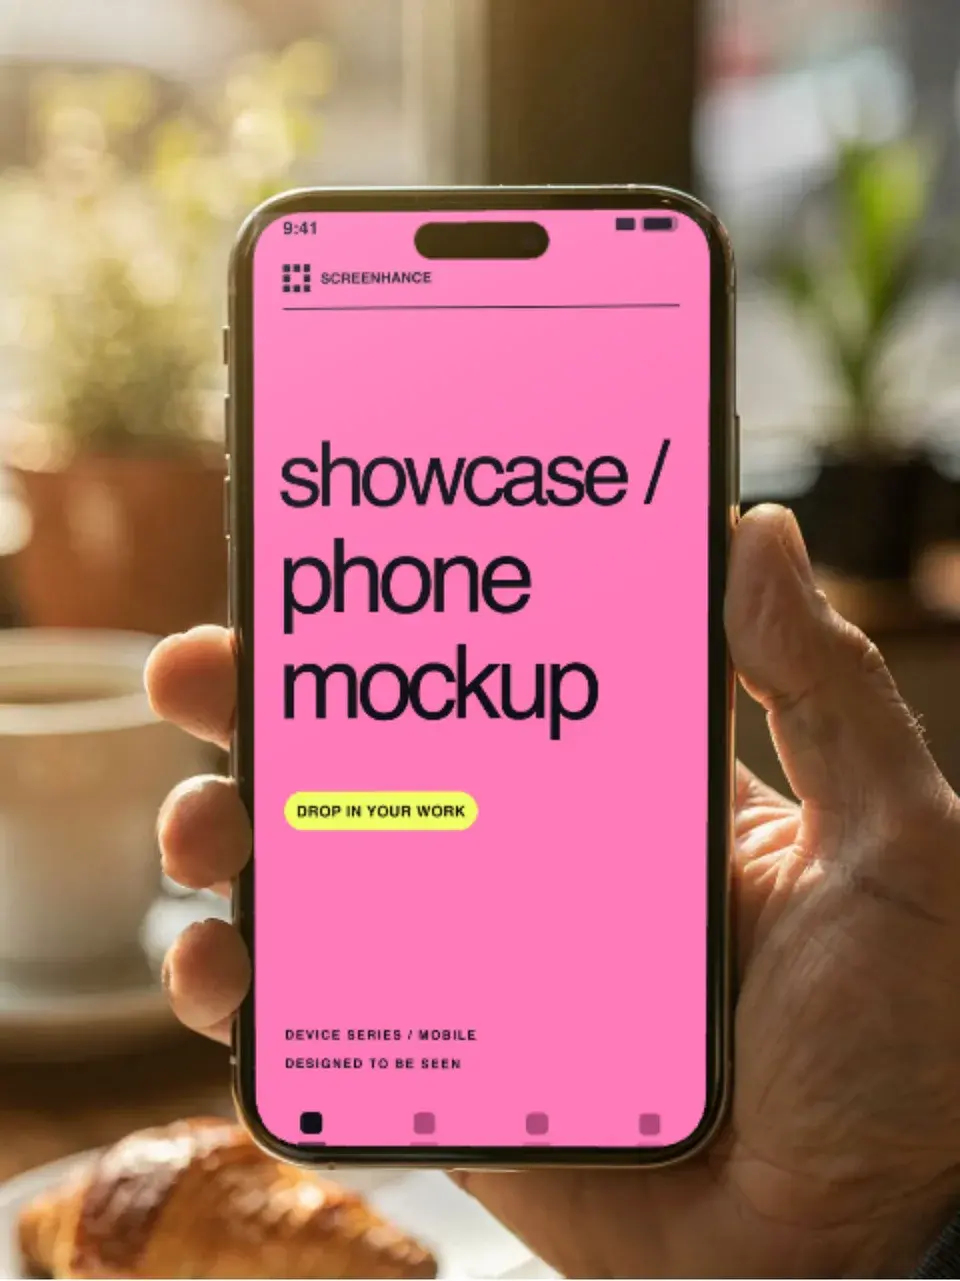
Two editable starting points from the Screenhance library, selected for this mockups guide.
Ready to create stunning visuals?
Free to start. No credit card required.
Keep reading
Related, product-tested guides from Screenhance.
Hero Image Mobile Optimization: Display Beautiful Visuals on Every Screen
Most hero images look great on desktop and terrible on mobile. Here's how to build responsive hero visuals that work beautifully on every screen size.
7 Feb 2026 · 8 min read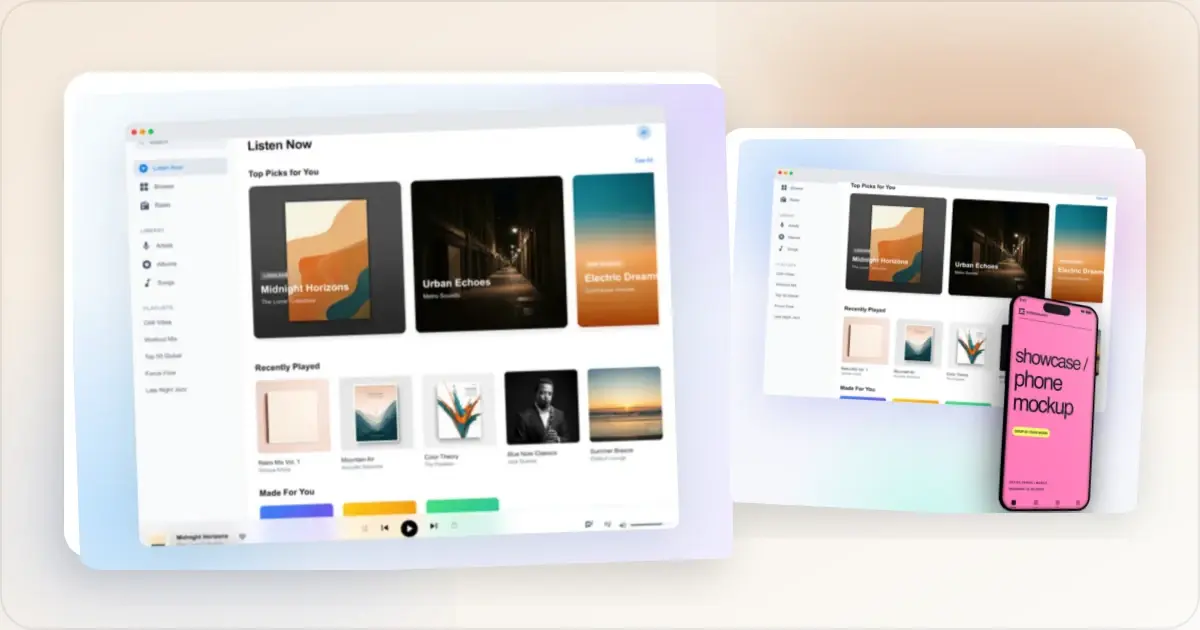
How to Design Feature Section Screenshots for Your SaaS Landing Page
Feature sections sell your product, but most SaaS teams use raw screenshots that look amateur. Here's how to design feature screenshots that convert.
7 Feb 2026 · 10 min read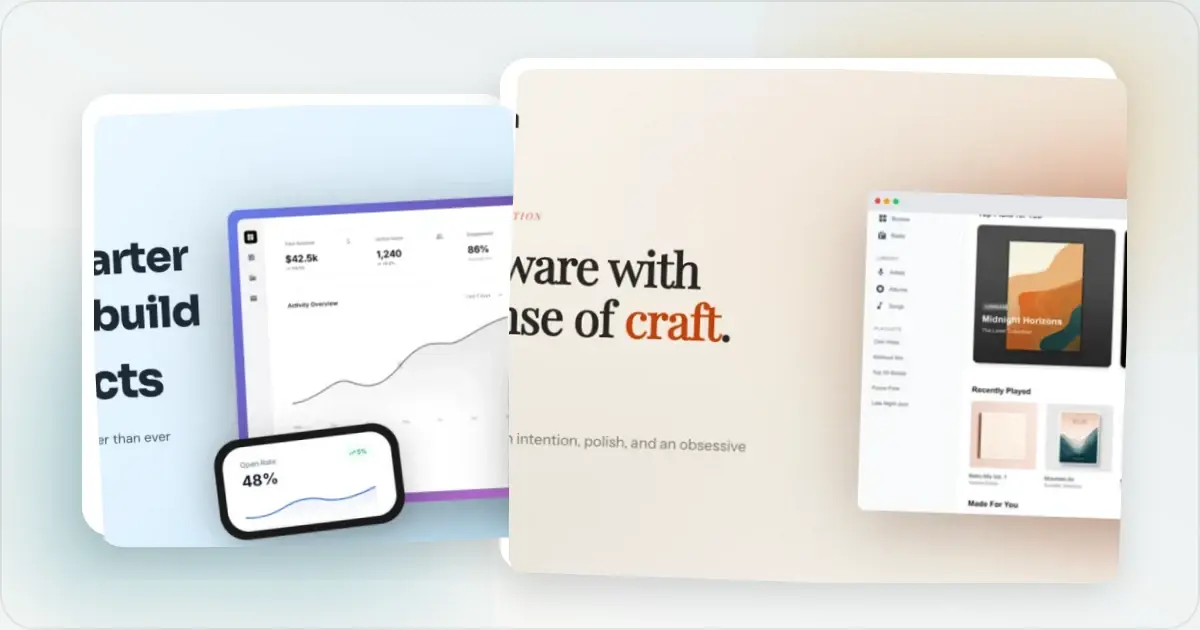
How to Create SaaS Hero Images That Convert
Create accurate, responsive SaaS hero images that show the product clearly and support the landing-page message.
21 Apr 2026 · 9 min read