
App Store Screenshots for Japan: A Practical 2026 Guide
How to localize App Store screenshots for Japan: Japanese copy, typography, in-app captures, native review, export, and measurement.
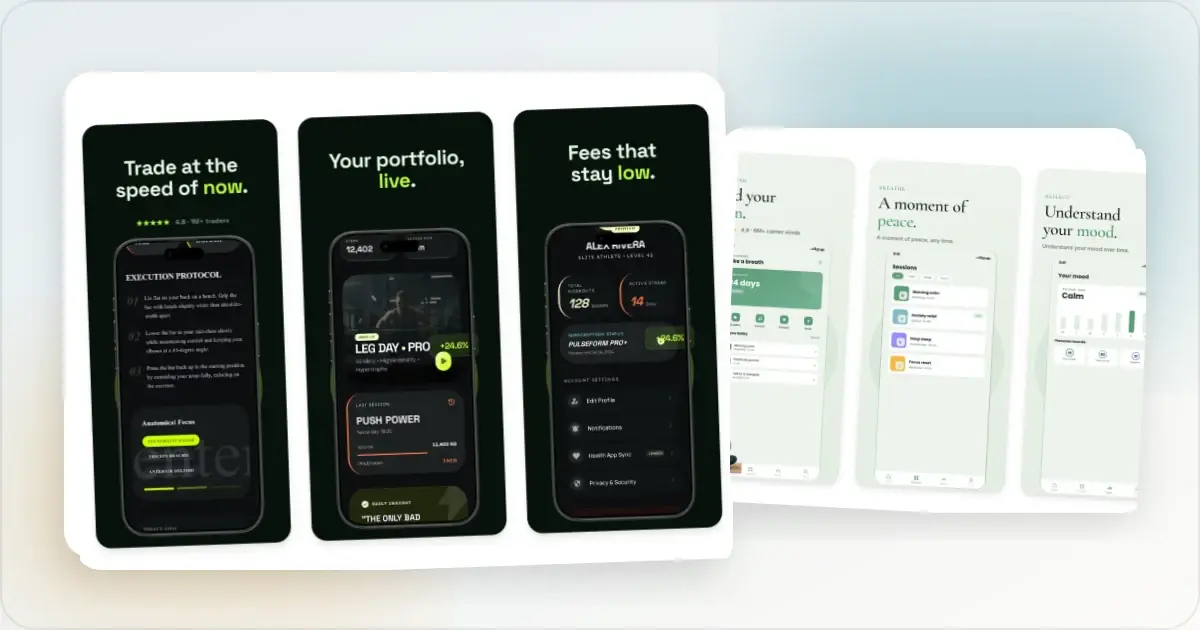
Localizing App Store screenshots for Japan means more than replacing an English headline with Japanese text. The captions, typography, in-app UI, sample data, and store metadata should describe the same product experience.
This guide focuses on the parts that need deliberate Japanese-language review. It does not assume Japan should be every app's first localization. Start with your own App Store Connect data, product readiness, and support capacity.
Decide whether Japan is the right next locale
Use evidence from your app rather than a generic market ranking. Look at product page views, downloads, proceeds, retention, support requests, and existing traffic from Japan. A Japanese screenshot set is most useful when people in Japan are already finding the app, the app can support them after install, and the opportunity justifies translation and QA work.
Apple treats localized store metadata separately from localization inside the app binary. A Japanese product page does not make the app itself Japanese. Apple's localization guidance recommends localizing both the product and its App Store metadata for the regions you support.
What to translate, what to leave alone
Localizing for Japan is not literal English-to-Japanese translation. Three categories of content behave differently:
Translate, with native-speaker review: Caption headlines, app description, keywords, release notes, and in-app onboarding text. Machine translation can help with a draft, but it cannot choose the right register or product terminology on its own. Give the reviewer the complete screenshot sequence and intended feature, not isolated strings. Translate carefully, watch for context loss: Feature lists, benefit statements, and calls to action. Japanese has multiple registers. Match the level of formality already used by the product rather than assigning one from the app category. Keep names consistent: Product, brand, device, and feature names should match the forms used by the product and its Japanese support material. Some stay in Latin script and some have an established Japanese form. Do not invent a transliteration only for the screenshot.Glyph density and font sizing
Japanese and Latin text have different visual proportions, so character counts do not predict whether a translated caption will fit.
There is no reliable percentage by which every Japanese caption should shrink or grow. Render the final copy in the real layout, rewrite for clarity where needed, and adjust each text area from what you see. Preserve the visual hierarchy without forcing every locale into the same line count.
Fonts: Use a Japanese-capable typeface with complete glyph coverage and suitable licensing. If the app has a Japanese design system, use its type choices as the starting point so the marketing and interface feel connected. Mixed Latin and Japanese strings: Headlines like "AIで分析する" (analyze with AI) mix Latin and Japanese characters. Make sure the font pair handles this gracefully, some Japanese fonts pair badly with their Latin fallback and create visible weight mismatches.In-app content: switch the simulator, don't just translate overlays
Leaving the underlying app screenshots in English while translating only the marketing overlays can create a misleading mismatch:
- The app shows English UI elements ("Settings", "Profile") with Japanese marketing captions claiming "fully localized experience"
- Dates and currency render in US format (12/31/2026, $9.99) instead of Japanese format (2026年12月31日, ¥1,500)
- Sample data uses English names and addresses ("John Smith, 123 Main St") in screenshots claiming to be a Japan-tailored experience
Sample content choices that matter
Beyond UI strings, the sample content shown in screenshots influences trust:
Names and addresses: When local context helps explain the feature, use plausible synthetic Japanese names and locations. Do not add regional details as decoration or expose a real person's data. Currency and dates: Let the app's Japanese locale formatting produce them. Verify the result rather than hardcoding a sample format just for marketing. Imagery: Use examples that are relevant to the product scenario and accurately available to Japanese users. Avoid treating cultural objects as a generic localization signal.Right-to-left? No. But formality registers matter.
Japanese is left-to-right top-to-bottom (the same direction as English for most modern app contexts), so there's no RTL layout flip to worry about. The cultural localization work shows up instead in tone and register.
The right register depends on the app's existing Japanese voice and relationship with the user, not a universal B2B or consumer rule. Ask a Japanese-native reviewer to keep sentence endings, feature names, and formality consistent across the listing, onboarding, and support content.
A practical production workflow
Once the translation is complete and a native reviewer has approved the captions:
1. Build a Japanese version from the approved source set. Reuse the structure, then adapt each layout to the actual copy.
2. Swap captions per screenshot. Paste the reviewed Japanese translations into each caption field. Rewrite or rebalance the layout if a string does not fit naturally.
3. Switch any rendered app screenshots to Japanese locale. If the underlying app captures need to be re-shot in Japanese, do this in Simulator: Settings → General → Language & Region → Japanese.
4. Export the required assets. Screenhance's App Store screenshot translator can help build and export localized screenshot sets from a shared design.
5. Upload via App Store Connect. Follow Apple's instructions to add localized app information and upload screenshots for other localizations.
Apple currently allows one to ten screenshots in JPEG, JPG, or PNG. If the UI is the same across device sizes and localizations, Apple says the highest-resolution required screenshots can scale down; Media Manager is available when you need custom assets for another size or localization. Check Apple's current specifications at upload time.
Measuring the impact
Record a baseline before changing the Japanese product page. Compare equivalent periods in App Store Connect, keeping acquisition source, promotions, seasonality, app version, and pricing changes in mind.
Review product-page conversion, activation and retention after install, source mix, and qualitative support feedback from Japan. A pre/post change does not prove the screenshots caused it. Where available, use Apple's product page optimization tools or a controlled rollout, and avoid changing captions, pricing, and onboarding at the same time.
Frequently Asked Questions
Is Japanese App Store localization worth it for a small indie app?
It can be when the app already has relevant traffic from Japan and can support users after install. Compare the opportunity in your own data with the translation, product, support, and QA work required.
Does Apple favor localized listings in App Store search ranking?
Apple documents that users can search using localized keywords in storefronts that support that language. It does not document a guaranteed ranking boost for localized screenshots. Treat keywords as a discovery input and screenshots as product-page communication, then measure the combined listing in your own data.
What's the difference between localizing for Japan and localizing for Japanese-speaking users elsewhere?
Apple lists Japanese as an App Store metadata localization, and the language shown can depend on the customer's storefront, device language, your available localizations, and primary language. Review Apple's current localization mapping rather than assuming location alone controls the page.
Do I need different screenshots for iPhone vs iPad in Japan?
Follow Apple's current requirements for the devices your app supports. Apple can scale a highest-resolution screenshot down when the UI is the same; use a custom iPad set when its interface, crop, or story genuinely differs.
Can I use machine translation for the first version and replace it later?
Use machine translation as a draft, then have a Japanese-native reviewer check the copy in its rendered context before publication. Register, feature terminology, and line breaks are product decisions, not only grammar checks.
What if my app doesn't have Japanese in-app localization yet?
Do not imply that the interface or support is available in Japanese. An accurate Japanese description of an English-language product can be used to test demand, but evaluate activation, retention, and support outcomes before expanding the campaign.
Related Reading
- App Store Screenshot Translator - The tool that ships this multi-language workflow
- App Store Screenshot Localization for South Korea - The other major CJK market, similar workflow with register differences
- App Store Screenshot Localization for Germany - German text layout and register guidance
- App Store Screenshot Localization for France - French register and regional review
- App Store Screenshot Localization Guide - The general playbook this Japan-specific guide builds on
- App Store Screenshot Dimensions 2026 - Check the current export requirements
- How to Create App Store Screenshots That Convert - The strategy playbook for screenshots in any locale
Check your image dimensions
Check the pixel size and file format for App Store screenshots. Files stay in your browser and are not stored.
This checks dimensions and file type only. Check the selected display slot, colour profile, transparency and artwork separately. A matching size does not guarantee store approval.
Accepted App Store screenshot sizes
- iPhone · Duo outer: 1398 × 2034 (landscape 2034 × 1398)
- iPhone · Duo inner: 2007 × 2853 (landscape 2853 × 2007)
- iPhone · Dynamic Island (large display): 1260 × 2736 (landscape 2736 × 1260)
- iPhone · Dynamic Island (large display): 1320 × 2868 (landscape 2868 × 1320)
- iPhone · Dynamic Island (large display): 1290 × 2796 (landscape 2796 × 1290)
- iPhone · Face ID (large display): 1284 × 2778 (landscape 2778 × 1284)
- iPhone · Face ID (large display): 1242 × 2688 (landscape 2688 × 1242)
- iPhone · Dynamic Island (medium display): 1179 × 2556 (landscape 2556 × 1179)
- iPhone · Dynamic Island (medium display): 1206 × 2622 (landscape 2622 × 1206)
- iPhone · Face ID (medium display): 1170 × 2532 (landscape 2532 × 1170)
- iPhone · Face ID (medium display): 1125 × 2436 (landscape 2436 × 1125)
- iPhone · Face ID (medium display): 1080 × 2340 (landscape 2340 × 1080)
- iPhone · Home Button (large display): 1242 × 2208 (landscape 2208 × 1242)
- iPhone · Home Button (medium display): 750 × 1334 (landscape 1334 × 750)
- iPhone · 4": 640 × 1096 (landscape 1136 × 600)
- iPhone · 4": 640 × 1136 (landscape 1136 × 640)
- iPhone · 3.5": 640 × 920 (landscape 960 × 600)
- iPhone · 3.5": 640 × 960 (landscape 960 × 640)
- iPad · 13": 2064 × 2752 (landscape 2752 × 2064)
- iPad · 13": 2048 × 2732 (landscape 2732 × 2048)
- iPad · 11": 1488 × 2266 (landscape 2266 × 1488)
- iPad · 11": 1668 × 2420 (landscape 2420 × 1668)
- iPad · 11": 1668 × 2388 (landscape 2388 × 1668)
- iPad · 11": 1640 × 2360 (landscape 2360 × 1640)
- iPad · 10.5": 1668 × 2224 (landscape 2224 × 1668)
- iPad · 9.7": 1536 × 2008 (landscape 2048 × 1496)
- iPad · 9.7": 1536 × 2048 (landscape 2048 × 1536)
- iPad · 9.7": 768 × 1004 (landscape 1024 × 748)
- iPad · 9.7": 768 × 1024 (landscape 1024 × 768)
Specifications checked 2026-10-13. Apple’s source requirements.
Screenhance examples
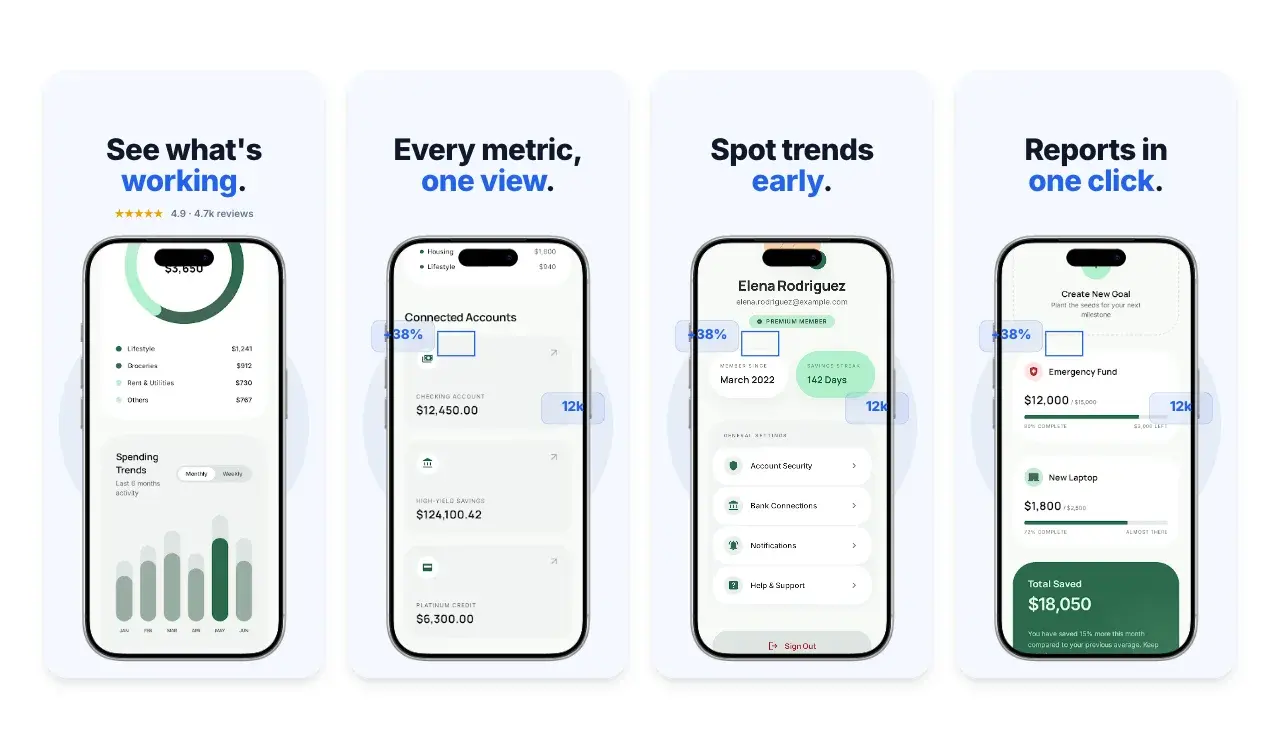
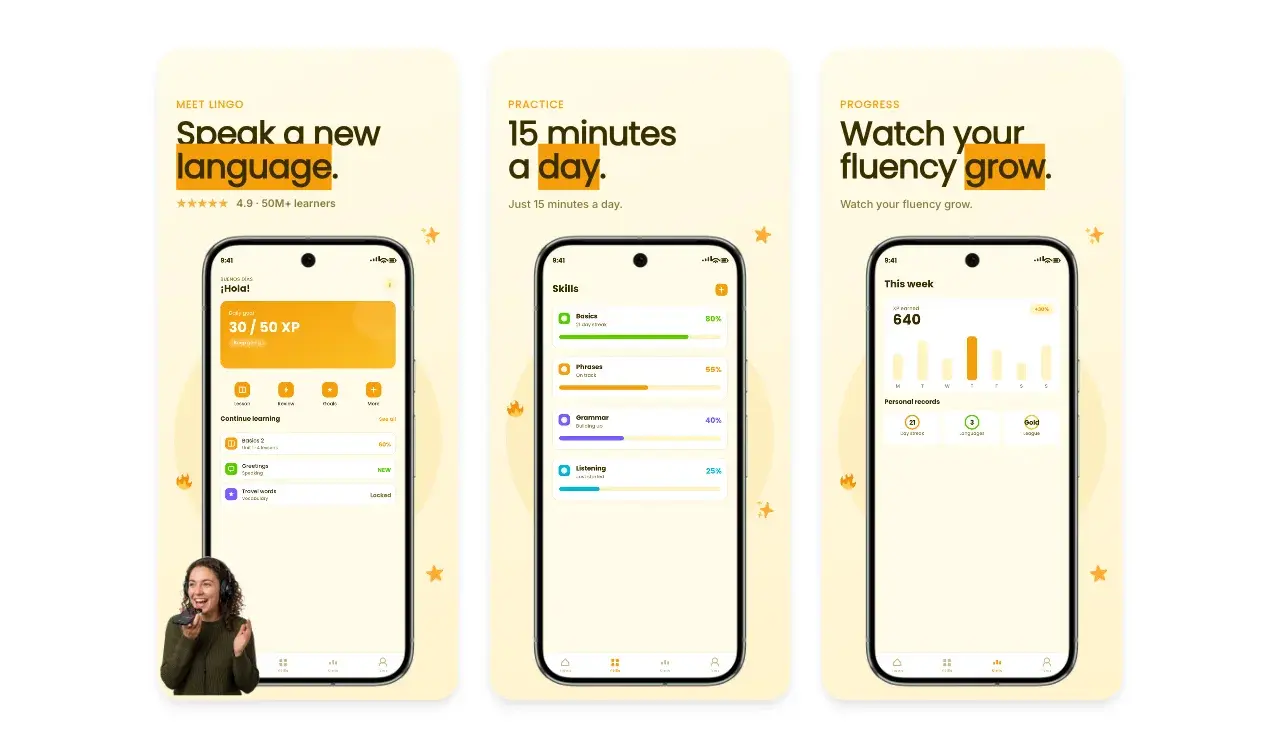
Two editable starting points from the Screenhance library, selected for this app stores guide.
Generate App Store screenshots free
Free to start. No credit card required.
Keep reading
Related, product-tested guides from Screenhance.
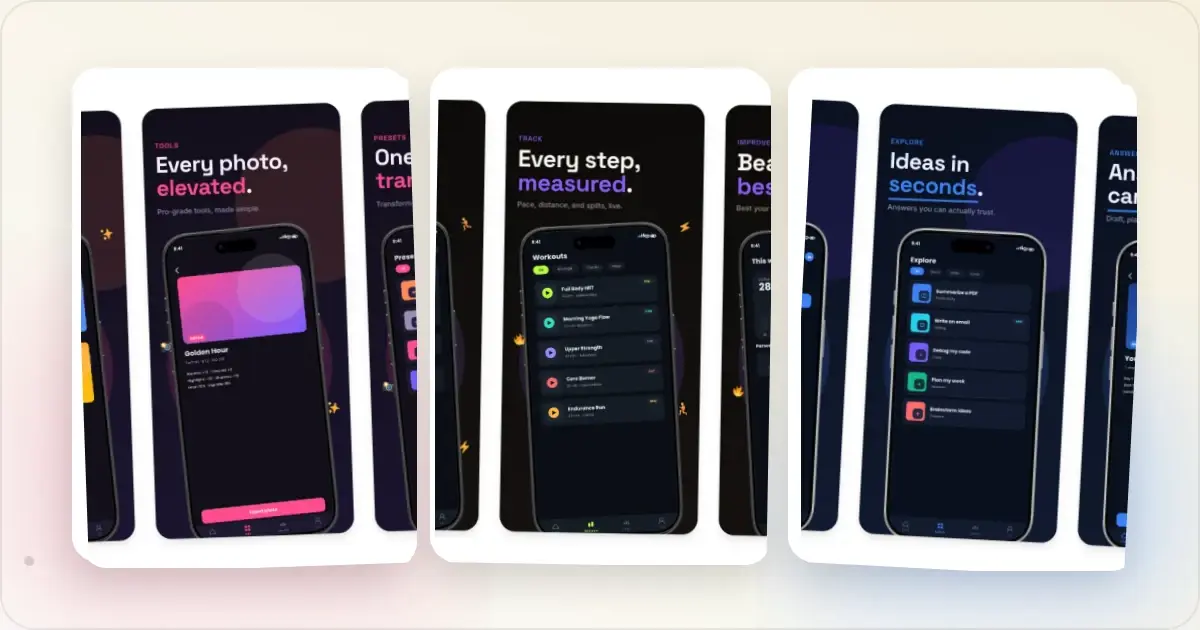
9 App Design Examples That Explain the Product Clearly
Study nine original app design concepts and the specific hierarchy, screenshots, contrast, and story decisions that make each product easier to understand.
20 Aug 2026 · 8 min read
The State of App Store Screenshots in 2026: Requirements and Testing
A current, source-linked guide to App Store screenshot requirements, localization, Product Page Optimization, and the checks to run before upload.
4 Jul 2026 · 3 min read
Best Google Play Screenshot Generators in 2026: 7 Compared
Compare seven Google Play screenshot generators across Android frames, phone and tablet workflows, localization, motion, pricing, and free access.
15 Jun 2026 · 6 min read