
App Store Screenshots by Market: The Complete 2026 Guide
The hub for per-market App Store screenshot guides: which markets to prioritize, what to change, and how to ship every market from one master set.
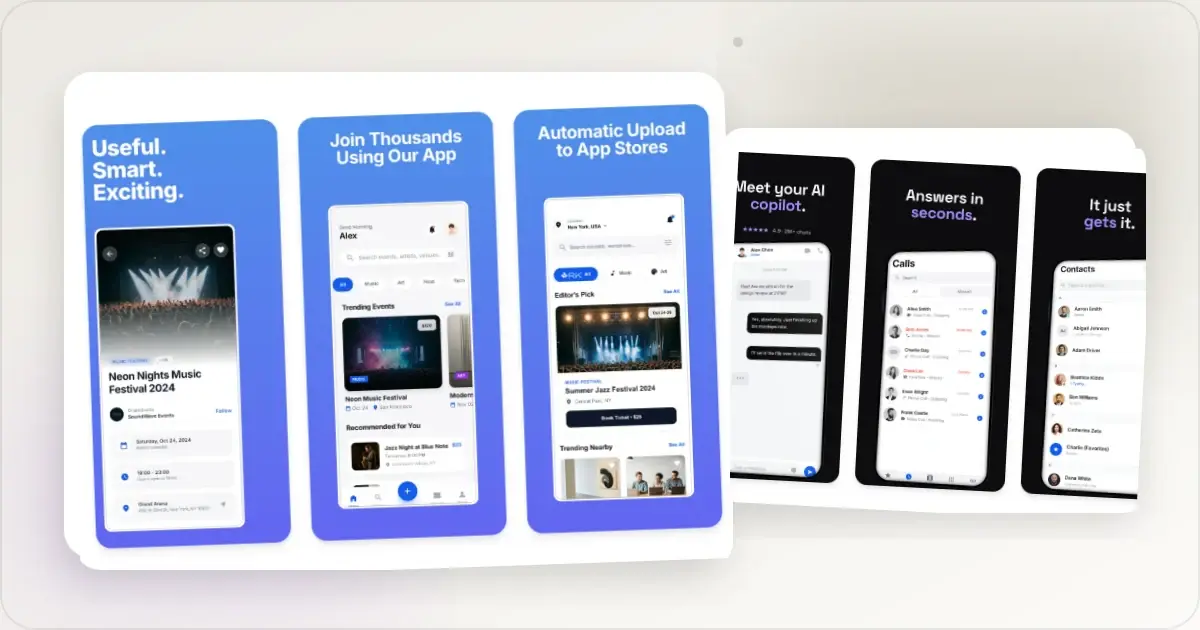
This guide explains how to choose markets from your own data, what to localize beyond the headline, and how to measure the result without promising a lift that may not apply to your app.
Guides by Market
Each market guide covers the decisions that generic advice skips: text behavior, register, local formatting, and the review gotchas specific to that storefront. Start with the market where your app already has traffic.
- App Store Screenshots for Germany - Text expansion, compound words, and the Sie vs du decision
- App Store Screenshots for Japan - CJK glyph density and formality choices
- App Store Screenshots for South Korea - Hangul typography and register choices
- App Store Screenshots for France - Vous vs tu register and accent handling
- App Store Screenshots for India - The dedicated landing page for shipping an India-ready screenshot set
- App Store Screenshots for Brazil: pt-BR listings, local pricing trust, and every size for both stores.
Why Localization Matters More Than You Think
Screenshot localization is not just a caption swap. The interface shown inside the frame, names, dates, currency, examples, and reading direction can all contradict the translated headline. A coherent localized set helps a visitor judge whether the app supports their language and context. The size of any conversion effect depends on the app, category, market, existing brand demand, and quality of the underlying product page, so test it rather than importing a benchmark from another company.
Top Markets to Localize For
There is no universal tier list. Start with the countries or languages where you already see one of these signals:
- Product-page impressions but a weaker install rate than your primary language
- Existing installs, trial starts, or revenue despite an English-only listing
- Support requests or wait-list demand in a particular language
- A product experience that is already localized end to end
- A launch, partnership, or paid campaign aimed at that market
Pick one meaningful market, ship a complete localized set, and compare it with the previous period or a controlled product-page test where the platform supports one. Expanding from evidence is more useful than assuming Japan, Germany, or any other country is automatically the best next market for every app.
What to Localize in Your Screenshots
Localization goes beyond running text through Google Translate. Here is everything you should consider for each market.
Text Overlays
This is the most obvious element. Every caption, headline, and call-to-action on your screenshots needs to be translated. But translation quality matters enormously.
Do:- Use native speakers or professional translation services
- Keep translations concise (some languages expand significantly from English)
- Verify that translated text fits your design layout without breaking
- Use locally appropriate phrasing, not just literal translation
- Use machine translation without human review
- Assume word-for-word translation preserves the original meaning
- Design text boxes so tightly that a longer translation cannot wrap cleanly
In-App Content
The content visible inside your app screenshots should match the locale. This means:
- Dates and times in local format (DD/MM/YYYY for Europe, YYYY/MM/DD for Japan and Korea)
- Currency symbols matching the local currency
- Names and usernames that are locally appropriate
- Sample content that resonates with the local audience
If your app shows a weather screen, use a city from the target market. If it shows a chat interface, use names common in that region. These details matter more than you think.
Device Frames
Match the frame to the store, supported device family, and interface actually shown. Do not infer a device choice from a broad regional stereotype. If you use a hardware frame, verify that the screenshot and frame belong to a compatible form factor and that the frame does not imply support your app lacks.
Cultural Considerations
Tone, examples, imagery, and symbols can carry different meanings across audiences. Avoid universal rules such as assigning one meaning to a colour for an entire country. Ask a native reviewer to check whether the copy sounds natural, whether examples feel plausible, and whether any icon, gesture, or image introduces an unintended meaning.
Right-to-Left Language Considerations
If you localize for Arabic, Hebrew, or other RTL languages, your screenshots need more than text translation. The entire layout logic may need to flip.
What changes in RTL:- Text alignment switches from left-to-right to right-to-left
- Reading direction means users scan from the right side of the screen first
- UI elements in your app screenshots should show the RTL version of your interface
- Screenshot order in the carousel should still flow logically, but the visual weight shifts
- Capture screenshots from your app's actual RTL mode rather than mirroring English screenshots
- Ensure that text overlays use proper RTL typography (not just reversed text)
- Test that captions read correctly and do not break mid-word
- Use fonts that support Arabic or Hebrew script with proper ligatures and shaping
RTL localization is more work than LTR languages, but the Arabic-speaking market alone spans over 20 countries. The investment pays off if your app has relevance in this region.
The Workflow for Batch Localization
Localizing screenshots for 5 or more languages can seem overwhelming if you approach it the way you created your original screenshots. The key is to build a system that scales.
Step 1: Create a master template. Design your screenshot layouts with localization in mind from the start. Use separate text layers that can be swapped. Keep text areas generous enough to accommodate longer translations (German, French, and Portuguese all tend to run longer than English). Step 2: Prepare all translations upfront. Before you start producing localized screenshots, have all text overlays translated and reviewed for every target language. Batch translation is more efficient and cheaper than translating one language at a time. Step 3: Capture localized app screenshots. If your app supports multiple languages, switch the device to each locale and capture fresh screenshots. This ensures dates, currency, and in-app text match the locale. If your app is not yet localized, use your English screenshots but localize only the overlay text. Step 4: Batch-produce localized sets. Using an App Store screenshot translator with built-in localization workflow (Screenhance supports multi-language sets with per-locale caption editing and RTL typography), swap the captions for each language and export a complete set. This is dramatically faster than duplicating Figma files for each language and manually replacing text across dozens of frames. Step 5: Upload per-locale sets. Both the App Store and Google Play support per-locale screenshot uploads. Use App Store Connect and Google Play Console to upload each localized set to its corresponding locale. Step 6: Monitor and iterate. Track conversion rates by locale in your analytics. Some localizations will show immediate improvement. Others may need refinement. Treat each locale as its own optimization project.Measuring the Impact
Localization impact is measurable. Track:
- Conversion rate by locale (impressions to installs) before and after localization
- Download volume by country as a raw count
- Page view to install rate to isolate the effect of screenshot changes from other factors
- Revenue per market if you monetize through purchases
App Store Connect and Google Play Console provide country-level performance data. Record the date each localized set goes live, avoid changing pricing and acquisition campaigns at the same time when possible, and compare a long enough window to smooth normal weekly variation. Treat a neutral result as useful information: it may mean the market is small, the app itself is not localized, or the screenshots were not the limiting factor.
An app store screenshot generator with a built-in multi-language localization workflow makes this entire process practical for solo developers and small teams. Without tooling that supports per-locale caption swap and batch export, localization becomes a bottleneck that only well-funded teams can clear.
Common Localization Mistakes
Translating but not localizing. Translation is converting words. Localization is adapting the entire experience. A translated caption on a screenshot showing US-specific content still feels foreign. Inconsistent localization. If your screenshots are localized but your app description is in English, the disconnect hurts credibility. Localize everything or clearly indicate which languages the app supports. Ignoring text expansion. A translation can be shorter or longer than the source, and long compound words can break a layout even when the sentence length is similar. Design with flexible text areas and test every exported locale rather than relying on one expansion percentage. Using one Spanish for all markets. Spanish varies significantly between Spain and Latin America. While one translation is usually acceptable, a localized listing for Mexico should ideally use Latin American Spanish rather than Castilian. Forgetting to update localized screenshots. When your app updates, your English screenshots get refreshed. But localized screenshots often get forgotten, leading to outdated visuals in non-English markets. Build screenshot updates for all locales into your release process.Related Reading
- App Store Screenshot Translator - The tool that ships the workflow this guide describes
- How to Create App Store Screenshots That Convert - Foundation-level screenshot design strategies
- ASO Screenshot Best Practices 2026 - The latest practices for optimizing your visual assets
- App Store vs Play Store Screenshots - Platform-specific differences that affect your localization strategy
Check your image dimensions
Check the pixel size and file format for App Store screenshots. Files stay in your browser and are not stored.
This checks dimensions and file type only. Check the selected display slot, colour profile, transparency and artwork separately. A matching size does not guarantee store approval.
Accepted App Store screenshot sizes
- iPhone · Duo outer: 1398 × 2034 (landscape 2034 × 1398)
- iPhone · Duo inner: 2007 × 2853 (landscape 2853 × 2007)
- iPhone · Dynamic Island (large display): 1260 × 2736 (landscape 2736 × 1260)
- iPhone · Dynamic Island (large display): 1320 × 2868 (landscape 2868 × 1320)
- iPhone · Dynamic Island (large display): 1290 × 2796 (landscape 2796 × 1290)
- iPhone · Face ID (large display): 1284 × 2778 (landscape 2778 × 1284)
- iPhone · Face ID (large display): 1242 × 2688 (landscape 2688 × 1242)
- iPhone · Dynamic Island (medium display): 1179 × 2556 (landscape 2556 × 1179)
- iPhone · Dynamic Island (medium display): 1206 × 2622 (landscape 2622 × 1206)
- iPhone · Face ID (medium display): 1170 × 2532 (landscape 2532 × 1170)
- iPhone · Face ID (medium display): 1125 × 2436 (landscape 2436 × 1125)
- iPhone · Face ID (medium display): 1080 × 2340 (landscape 2340 × 1080)
- iPhone · Home Button (large display): 1242 × 2208 (landscape 2208 × 1242)
- iPhone · Home Button (medium display): 750 × 1334 (landscape 1334 × 750)
- iPhone · 4": 640 × 1096 (landscape 1136 × 600)
- iPhone · 4": 640 × 1136 (landscape 1136 × 640)
- iPhone · 3.5": 640 × 920 (landscape 960 × 600)
- iPhone · 3.5": 640 × 960 (landscape 960 × 640)
- iPad · 13": 2064 × 2752 (landscape 2752 × 2064)
- iPad · 13": 2048 × 2732 (landscape 2732 × 2048)
- iPad · 11": 1488 × 2266 (landscape 2266 × 1488)
- iPad · 11": 1668 × 2420 (landscape 2420 × 1668)
- iPad · 11": 1668 × 2388 (landscape 2388 × 1668)
- iPad · 11": 1640 × 2360 (landscape 2360 × 1640)
- iPad · 10.5": 1668 × 2224 (landscape 2224 × 1668)
- iPad · 9.7": 1536 × 2008 (landscape 2048 × 1496)
- iPad · 9.7": 1536 × 2048 (landscape 2048 × 1536)
- iPad · 9.7": 768 × 1004 (landscape 1024 × 748)
- iPad · 9.7": 768 × 1024 (landscape 1024 × 768)
Specifications checked 2026-10-13. Apple’s source requirements.
Screenhance examples
Two editable starting points from the Screenhance library, selected for this app stores guide.
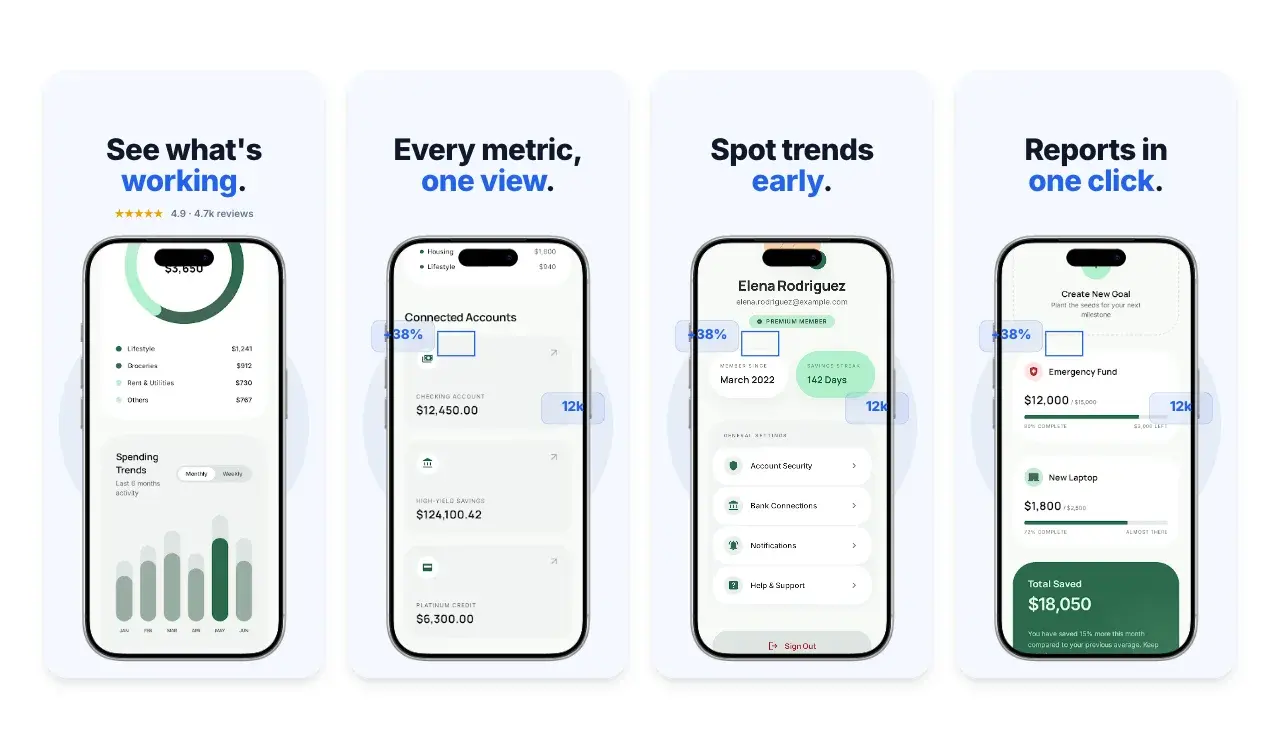
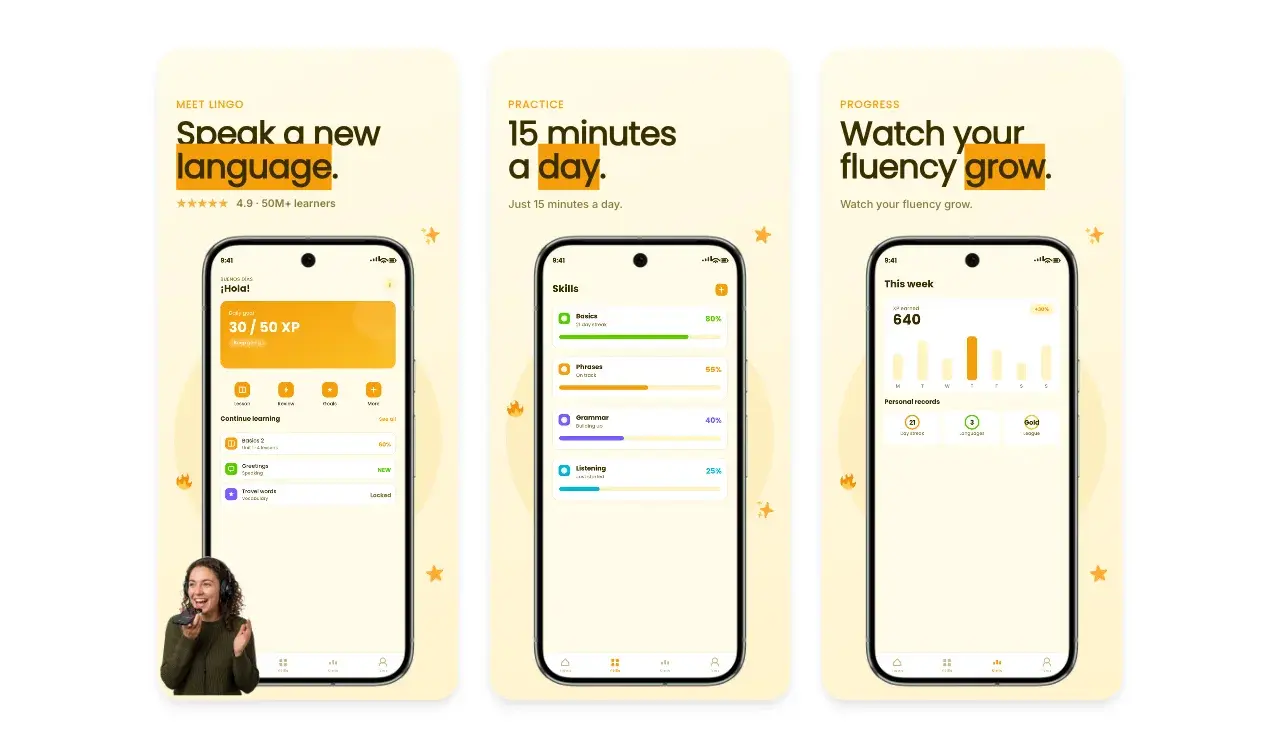
Generate App Store screenshots free
Free to start. No credit card required.
Keep reading
Related, product-tested guides from Screenhance.
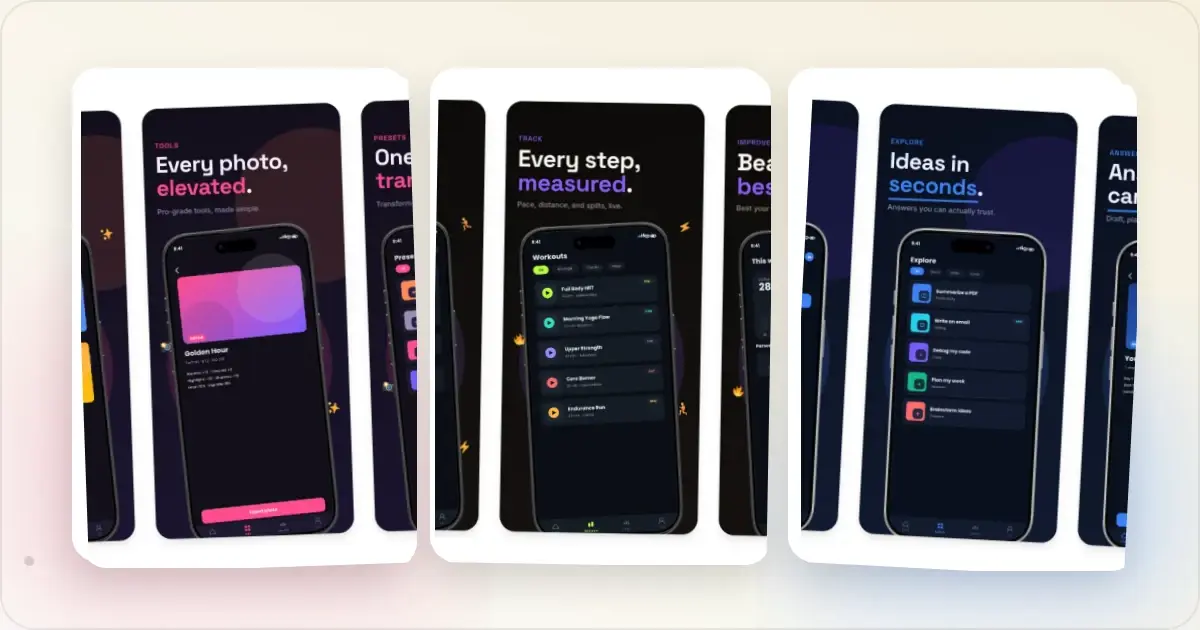
9 App Design Examples That Explain the Product Clearly
Study nine original app design concepts and the specific hierarchy, screenshots, contrast, and story decisions that make each product easier to understand.
20 Aug 2026 · 8 min read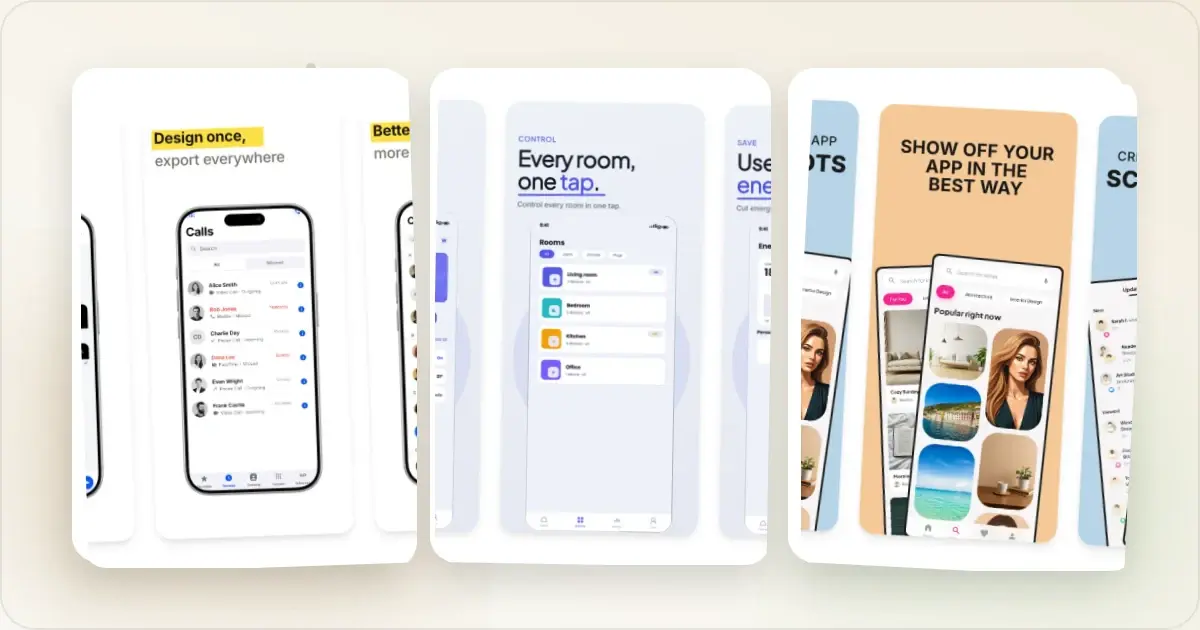
The State of App Store Screenshots in 2026: Requirements and Testing
A current, source-linked guide to App Store screenshot requirements, localization, Product Page Optimization, and the checks to run before upload.
4 Jul 2026 · 3 min read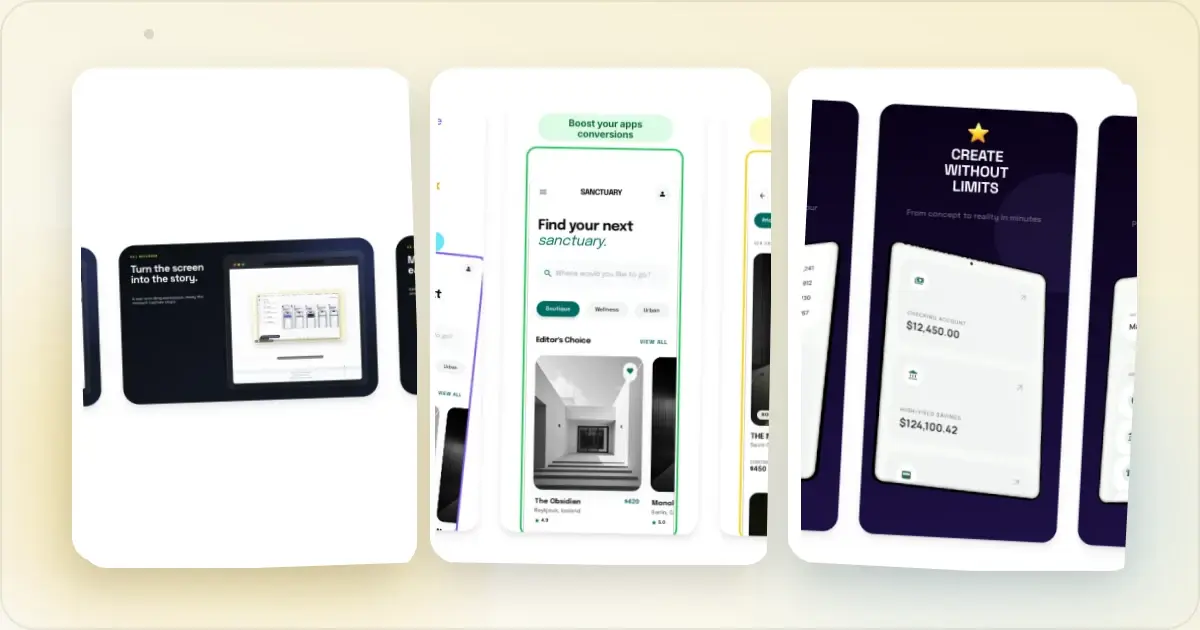
Best Google Play Screenshot Generators in 2026: 7 Compared
Compare seven Google Play screenshot generators across Android frames, phone and tablet workflows, localization, motion, pricing, and free access.
15 Jun 2026 · 6 min read