
The Complete Visual Asset Checklist for SaaS Startups
A practical checklist for creating consistent SaaS website, store, social, pitch deck, and email visuals.
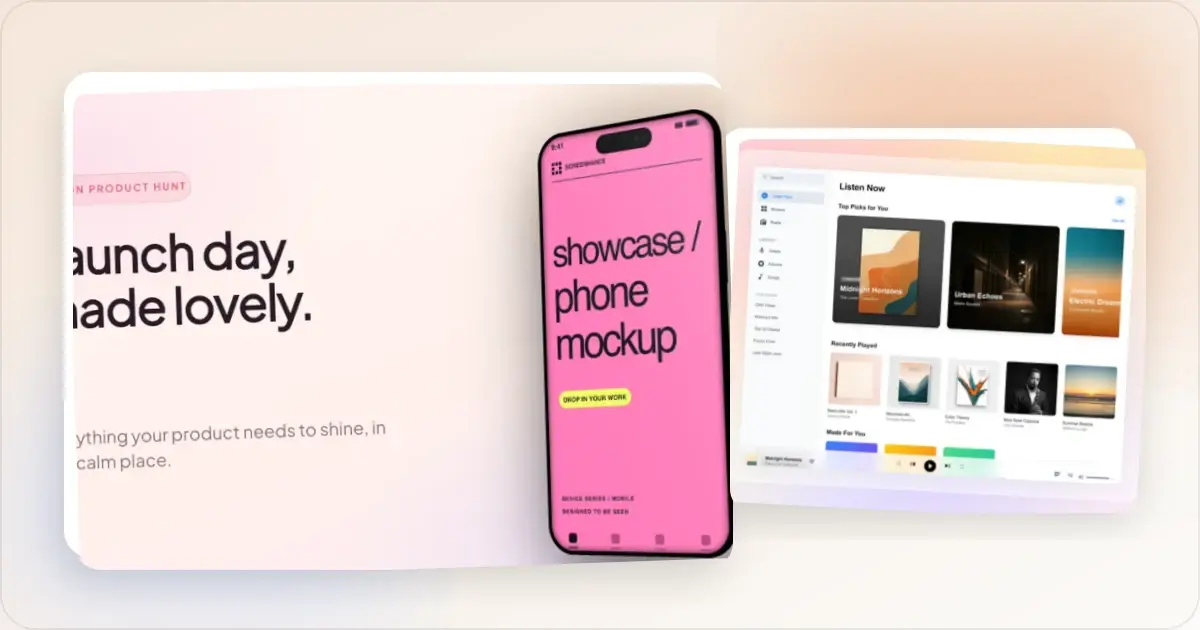
SaaS startups often need the same categories of visual assets: hero images, product screenshots, social cards, pitch deck mockups, and email graphics.
The system becomes inconsistent when each asset is created reactively. You need a Product Hunt image, so you make one. Then you need an OG image, so you make another one with completely different styling. Then your pitch deck needs product shots, so you paste in raw screenshots.
The result is a patchwork of inconsistent visuals that undermines your brand at every touchpoint.
This checklist covers common visual assets, organized by where each one goes, with practical starting dimensions. Use the sections that match your product and distribution channels rather than creating assets you do not need.
Website Assets
Your website is your home base. These are common visual assets for a SaaS landing page.
Hero Image
The first thing visitors see. This should be your product's best angle, professionally framed.
- Dimensions: Start from the largest rendered size and provide a higher-density source or responsive variants where needed
- Format: WebP with PNG fallback
- File size: Set a performance budget for the page and inspect the compressed result on representative devices
- What to show: Your core product screen in a device frame with a branded background
Because the hero is prominent, it deserves careful review. A hero image generator can help you create hero images with consistent framing.
Feature Section Screenshots
Create one image for each feature that genuinely needs visual explanation; avoid repeating the same product view.
- Dimensions: Match the component's rendered aspect ratio and provide enough resolution for the target displays
- Format: WebP with PNG fallback
- File size: Use responsive variants and keep the combined page weight within your performance budget
- What to show: Tightly cropped views of each individual feature in consistent device frames
Every feature screenshot should use the same device frame style and background family. Inconsistency here is immediately noticeable.
Open Graph (OG) Image
This is what appears when someone shares your website link on Twitter, LinkedIn, Slack, or any platform with link previews.
- Dimensions: 1200 x 630px (a common landscape social-card size)
- Format: PNG or JPEG
- File size: Compress for the destinations you support and verify that small text remains legible
- What to show: Your product name, a tagline, and optionally a small product screenshot. Keep it simple and readable at thumbnail sizes.
Favicon and App Icon
- Favicon: 32 x 32px and 16 x 16px (ICO), plus 180 x 180px (Apple touch icon)
- App icon: 512 x 512px (PNG, square)
- What to show: A simplified logo mark recognizable at tiny sizes.
Blog Post Header Images
- Dimensions: 1200 x 630px (matches OG image specs for easy reuse)
- Format: PNG or JPEG
- File size: Compress the image and verify both the page and social-preview result
App Store Assets
If your product has a mobile app or desktop app, you need a specific set of store assets.
App Store Screenshots (iOS)
Apple accepts specific screenshot dimensions and allows one to ten screenshots in each supported set. Check Apple's current screenshot specifications before export because accepted device sizes change over time.
- iPhone examples: 1290 x 2796px and 1242 x 2688px are accepted sizes for specific displays
- iPad example: 2048 x 2732px is accepted for a supported iPad display
- Number needed: Choose enough screenshots to explain the product without repeating the same message
- What to show: Key features, one per screenshot. Captions and branded backgrounds are optional; make sure every image accurately represents the app.
Play Store Screenshots (Android)
- Dimensions: Common: 1080 x 1920px
- Number needed: Use enough screenshots to explain the main experience; verify the current minimum for each supported device type in Play Console
- Feature graphic: 1024 x 500px where the selected Play Store surface requires one
- What to show: Same approach as App Store. Branded backgrounds, feature captions.
Social Media Assets
For each social platform you use, create only the assets required by your profile and publishing workflow.
Profile Images
- Dimensions: 400 x 400px is a useful square source; verify each platform's current upload and crop requirements
- What to show: Your logo mark, not the full wordmark. It displays at 48px or smaller in most contexts.
Platform Headers
- Twitter/X: 1500 x 500px
- LinkedIn: 1128 x 191px
- What to show: Your product in a device frame, your tagline, or a clean branded graphic.
Post Templates
Create 2-3 reusable templates so you do not design from scratch every time.
- Square posts: 1080 x 1080px is a common starting canvas; preview each destination
- Landscape posts: 1200 x 630px is a common link-card canvas; preview each destination
- Story format: 1080 x 1920px (Instagram stories)
Marketing Assets
These visual assets support your marketing efforts beyond the website and social media.
Pitch Deck Mockups
When you are fundraising or presenting to partners, you need polished product visuals in your slides.
- Dimensions: 1920 x 1080px (standard 16:9 slide format)
- Number needed: Enough screenshots to support the product story without repeating the same view
- What to show: Your best product screens in device frames. Consistent styling across all deck slides.
Use a startup screenshot tool to create pitch-deck-ready product mockups that look professional without hiring a designer.
Email Campaign Images
Product screenshots for your marketing emails, newsletters, and onboarding sequences.
- Dimensions: Match the email template's content width and test a higher-density source where supported
- Format: PNG for UI screenshots, JPEG for photos
- File size: Follow the email provider's guidance, compress each image, and test total message weight in target inboxes
- What to show: Feature highlights, product updates, onboarding steps. Consistent framing across all emails.
Press Kit Images
When journalists or partners write about you, they need high-quality assets.
- Logo: SVG (vector) plus PNG at multiple sizes (200px, 500px, 1000px wide)
- Product screenshots: 3-5 high-resolution product screenshots in device frames
- Founder photos: Professional headshots at 800 x 800px minimum
Brand Foundation
Before creating any of these assets, establish these foundational elements so everything looks consistent.
Device Frame Selection
Pick one device frame style and use it everywhere:
- Web apps: Browser frame (Chrome style) or MacBook frame
- Mobile apps: A device frame that accurately represents the app's supported hardware
- Cross-platform: MacBook plus iPhone as your standard pairing
Color Palette
Define 2-3 background colors or gradients. Use these consistently across all visual assets. A primary gradient for hero images, a secondary for feature screenshots, and a neutral option for situations where gradients are too much.
Consistent Spacing
Define your padding and margin standards. How much space between the screenshot and the device frame edge, between the frame and the background edge, and in final exports. Document these so anyone on the team can maintain consistency.
The One-Day Sprint
If the scope is small, you can batch these assets into a focused working session. Here is one way to organise it.
First: Choose device frames, colours, and spacing, then create one reusable template. Midday: Hero image, feature screenshots, OG image. These are the highest-impact items. Afternoon: Pitch deck screenshots, email images, social templates, press kit. The template is dialed in, so these go faster. End of day: Export everything in the right formats. Organize into folders by category. Document your settings so anyone on the team can maintain consistency.A Five-Asset Starter Set for a Pre-Revenue Startup
If you are preparing for early customer conversations, the full checklist may be unnecessary. These five assets are a practical starting set.
Asset one: the hero shot. A single product screenshot that shows what you do, framed in a device, on a background that doesn't look like a stock template. This goes on your landing page, your Twitter bio link card, your LinkedIn profile, and the top of every cold email. One asset, four contexts. If you only build one thing this week, build this. Asset two: the OG image. A 1200x630 image with your product name, a one-sentence value prop, and a small product preview. Supported apps can use it when they build a link preview; without suitable metadata, they may fall back to a plain or inconsistent preview. Use a hero image generator preset to create a reusable composition. Asset three: the feature screenshot. One screenshot showing your most defensible feature, tightly cropped, framed in a browser or device. This is an image you can reuse in pitch decks, demo emails, and onboarding flows. Start with one clear feature shot, then add others only when the destination needs them. Asset four: the founder photo. A clear headshot of you or your founding team, taken in good light against an uncluttered background. A phone camera can be sufficient. This image can be reused in investor updates, a press kit, and the About page. Asset five: the social card template. One reusable square (1080x1080) and one landscape (1200x630) template with your brand colors, type, and a placeholder for screenshots. Build these once, then duplicate and swap content for each announcement instead of rebuilding the visual system.Prioritise additional assets — app store screenshots, social banners, pitch deck mockups, or a press kit — when a real distribution channel calls for them.
When Polish Matters More Than Personality (And When It's the Reverse)
Most early-stage founders read brand advice that tells them to "be authentic" and "let personality shine through," then they make scrappy hand-drawn visuals that look unprofessional next to their competitors. Other founders over-correct toward enterprise-grade polish and end up looking sterile, indistinguishable from a thousand B2B SaaS landing pages.
A useful way to choose the visual register is to ask whether trust or attention is the main constraint for that surface.
Polish-first contexts. Pitch decks for investors, landing page heroes, OG images for link sharing, app store screenshots, and founder photos in press kits. In these contexts, visual consistency can help a viewer understand that the asset is intentional and current. A startup screenshot tool can make repeated framing and spacing easier to maintain. Personality-first contexts. Social posts, changelog entries, founder updates, and community launches can leave more room for a distinctive voice. A hand-drawn arrow, unusual colour choice, or relevant inside joke may fit the context better than a formal campaign template. Make that choice deliberately and keep the product legible.The same visual register does not have to appear everywhere. A formal founder photo in a pitch deck and an informal sketch in a social post can coexist because their contexts differ. The problem is unintentional drift, such as an OG image, landing page, and social feed that no longer share recognisable brand elements.
Pick a register per surface, document it (a one-page brand guide is enough at this stage), and keep your team aligned. Monitor brand drift by collecting screenshots of every public-facing asset into a single board once a quarter. Drift is invisible day-to-day and obvious in aggregate.
Frequently Asked Questions
Should pre-seed startups outsource visual asset creation or DIY?
DIY can be practical at pre-seed when the product and positioning are changing frequently. A reusable template keeps small updates in-house; specialist design support becomes more useful when the visual system or campaign scope exceeds what the team can maintain. Choose based on iteration speed, budget, and the importance of the asset.
How often should I refresh visual assets by stage?
Refresh an asset when the pictured interface, positioning, or brand system changes. Teams with frequent product releases may need a regular audit; more stable products can review less often. Tie the cadence to releases and visible drift rather than funding stage alone.
Do I really need a founder photo before I have customers?
A founder photo can help identify the people behind an early product, especially on an About page, press kit, or team slide. A clear, current photo in good light is sufficient; a professional studio session is optional.
Illustration versus photography — which fits a B2B SaaS better?
It depends on what you need to explain. Illustration can make an abstract technical concept visible, while contextual photography can show a workflow in a recognisable environment. Either can work for B2B SaaS; choose one system deliberately and test it with the intended audience.
How do I monitor brand drift across a small team?
Quarterly screenshot audit. Once a quarter, capture every public-facing visual asset — landing page, every blog post header, last ten tweets, last three product launches, latest pitch deck, latest investor update — into one shared board. Drift is invisible day-to-day but slaps you in the face when you see everything at once. Fix what doesn't fit. Document why. Move on.
Related Reading
- Visual Branding for Startups: Screenshots That Build Trust - Building a visual brand from scratch
- How to Create SaaS Hero Images That Convert - Deep dive into hero image creation
- OG Image Best Practices for Maximum Social Engagement - Optimizing your social share images
- How to Present App Screenshots Professionally - Screenshot presentation fundamentals
Screenhance examples
Two editable starting points from the Screenhance library, selected for this launches guide.
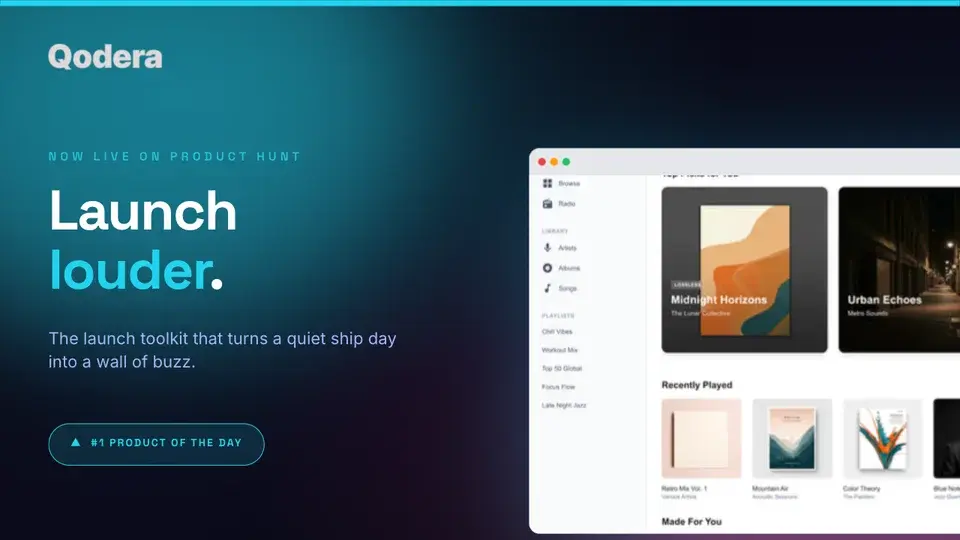
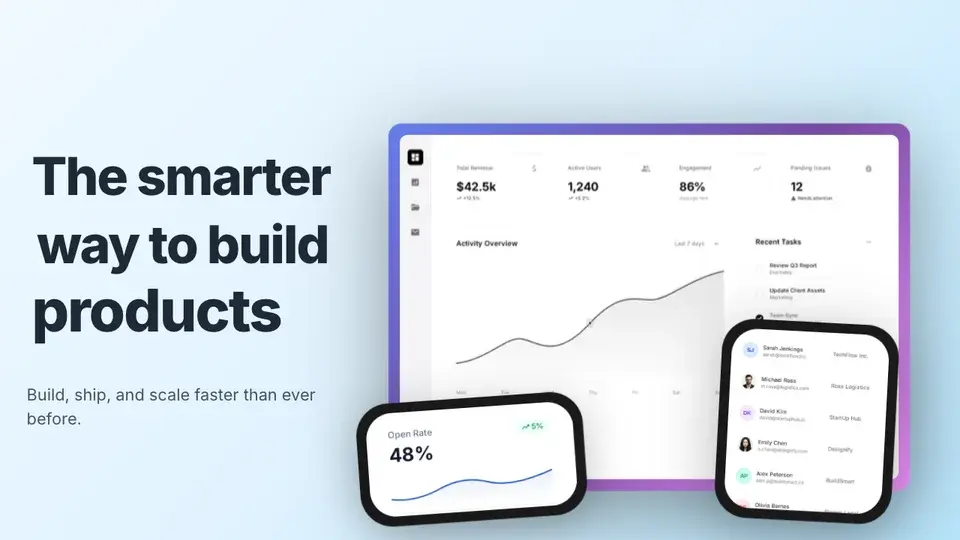
Generate every launch visual from one brief — App Store, Product Hunt, OG, and website
Free to start. No credit card required.
Keep reading
Related, product-tested guides from Screenhance.
How to Create Visual Changelogs That Users Actually Read
Learn when product screenshots, annotations, and short motion clips make release notes clearer, plus how to keep a changelog archive consistent.
7 Feb 2026 · 10 min read
Product Screenshots in Email Marketing: Best Practices for 2026
Use product screenshots in email without sacrificing clarity, accessibility, responsive layout, or load time, then measure the result with your audience.
7 Feb 2026 · 10 min read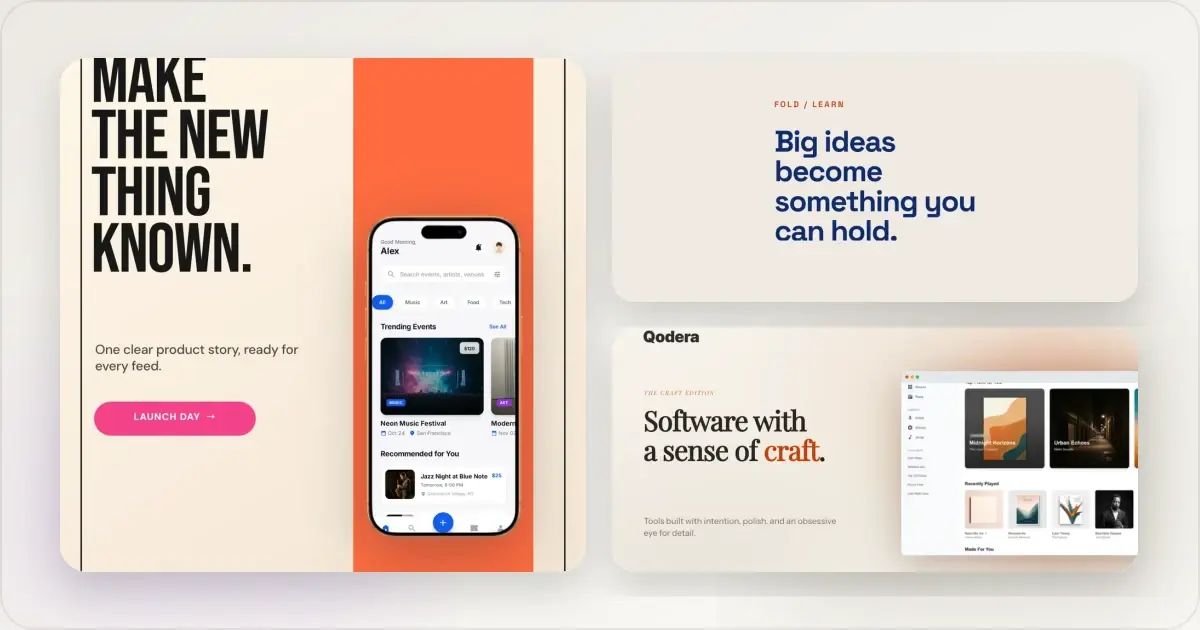
14 Best Fonts for App Screenshots and Launch Graphics
Choose readable fonts for App Store screenshots, Google Play graphics, social posts, and launch visuals, with practical pairings and editable examples.
1 Sept 2026 · 10 min read