
How to Present App Screenshots: A Complete Guide
Present app screenshots clearly across app stores, websites, social posts, and marketing, with accurate dimensions, layouts, accessibility, and motion guidance.
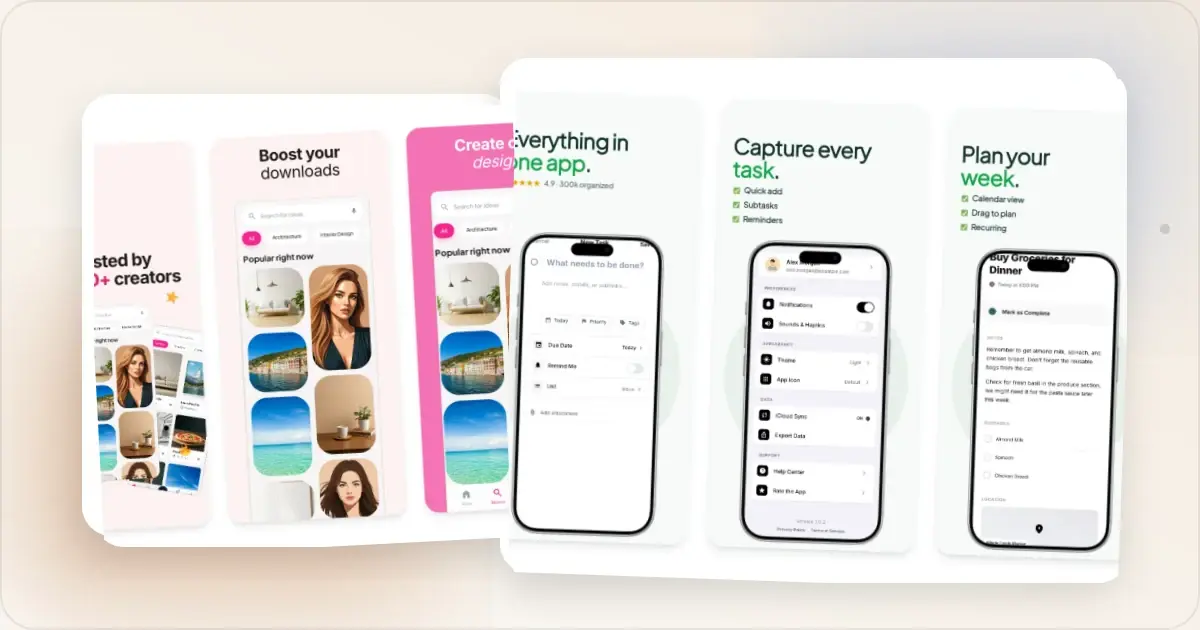
App screenshots are often among the first product visuals a potential user sees. This guide focuses on making them accurate, legible, and appropriate for each destination.
Why Presentation Matters
Useful screenshots can:
1. Show what the app does — connect a product claim with the real interface
2. Clarify a workflow — focus on the screen or sequence needed to understand it
3. Establish context — identify the platform or form factor when that matters
4. Support a decision — provide accurate product detail rather than decorative claims
Sometimes a raw screenshot is the clearest option. An app screenshot maker is useful when a destination needs specific dimensions, captions, backgrounds, or device context.
Possible parts of a presented screenshot
A presentation can use one or more of these elements. None is required when a raw product capture already explains the point.
1. The Screenshot Itself
Your actual app UI, showing a key feature or benefit.
2. Context (optional device frame)
A device frame can clarify platform and form factor when that context matters.
3. Optional background or caption
A background can separate the capture from the page, while a concise caption can explain a workflow that is not obvious from the UI alone.
How to Present Screenshots for App Stores
Apple App Store
Requirements:- An accepted dimension for the selected display class
- One to 10 screenshots per supported display class
- Accurate, current product representation
- Put a clear, representative product screen early
- Use a menu, setting, or empty state only when that is what the asset explains
- Add a short text overlay only when it clarifies the screen
- Use a coherent visual system without forcing every crop to be identical
- Inspect the App Store Connect preview and smaller rendered sizes
- iPhone 6.9": 1320 × 2868 px is one accepted portrait size
- iPhone 6.5": 1284 × 2778 or 1242 × 2688 px portrait
- iPad 13": 2064 × 2752 or 2048 × 2732 px portrait
Apple accepts additional sizes and fallback behavior. Check the official screenshot specification for the selected slot.
Google Play Store
Requirements:- At least 2 screenshots across the listing's device types; up to 8 per supported device type
- Base screenshot range: 320 px minimum dimension, 3,840 px maximum dimension, with the longest side no more than twice the shortest
- Additional rules for large screens, Wear OS, TV, Automotive, and XR when those form factors apply
- Feature graphic: 1024 x 500 px
- A Play Store screenshot generator provides practical presets; verify the current Play Console slot
- Put accurate Android UI and a representative workflow early
- Consider an Android-specific, generic, or frameless treatment
- Treat the feature graphic as a separate asset and design it for its own crop
- Keep the product and caption legible at small sizes
How to Present Screenshots on Websites
Landing Page Hero
The hero image should support the page headline and remain legible across responsive layouts.
Do:- Use a representative screenshot that matches the headline
- Add a device frame only when it supplies useful context
- Choose a background that preserves contrast and keeps attention on the UI
- Make it large enough to see clearly
- Ensure text in the UI is readable
- Use a settings screen or empty state unrelated to the page promise
- Use tiny screenshots that require squinting
- Clutter with too many devices
- Let the screenshot compete with headline text
Feature Sections
Feature sections can pair specific claims with the corresponding interface:
Structure:- One screenshot per feature
- Clear headline explaining the benefit
- Brief supporting text
- Consistent styling across sections
- Screenshot left, text right (or vice versa)
- Screenshot above, text below
- Full-width screenshot with overlay text
Testimonial Sections
Combine a screenshot with a review only when the source permits it and the quote accurately describes the shown workflow:
Approach:- Screenshot showing the relevant feature
- Verifiable customer quote about that feature
- Attribution that matches the permission received; do not invent or overstate identity
How to Present Screenshots on Social Media
Twitter/X
Practical starting points:- Single screenshot in device frame
- High contrast backgrounds
- Readable at small sizes
- A 16:9 canvas such as 1200 × 675, or a square alternative, previewed in the post composer
- Feature launches
- Before/after comparisons
- User testimonials
- Build in public updates
- Browser, laptop, phone, or frameless treatment that matches the product
- Background chosen for legibility, without assuming light or dark performs better
- 1200 × 627 landscape or a square/portrait alternative, previewed on desktop and mobile
- Product updates
- Milestone celebrations
- Industry insights with product context
- Bold colors and gradients
- Square (1080 x 1080) or portrait (1080 x 1350)
- Product-oriented or contextual presentation that matches the post
- 9:16 Stories or vertical video when that is the intended destination
Screenshot Presentation Techniques
Technique 1: Single Device Focus
Use one device when it provides all the context the message needs.
Best for:- Feature announcements
- Social media posts
- Landing page sections
Technique 2: Multi-Device Composition
Show your app across platforms.
Best for:- Landing page heroes
- Showing cross-platform support
- App store feature graphics
Technique 3: Feature Callouts
Highlight specific UI elements with annotations.
Best for:- Documentation
- Feature tours
- Educational content
Technique 4: Before/After
Show transformation or improvement.
Best for:- Demonstrating value
- Social media content
- Case studies
Technique 5: Screenshot Sequences
Multiple screenshots telling a story.
Best for:- App store galleries
- Onboarding explanations
- Feature walkthroughs
Common Presentation Mistakes
Showing an Unhelpful State
An empty state can explain onboarding or first use. For other claims, a populated view with accurate sample data may communicate the workflow more clearly.
Too Much Information
Give each screenshot a clear purpose and remove annotations that do not support it.
Inconsistent Styling
All screenshots should feel like they belong together.
Ignoring Small Rendered Sizes
Store and social placements can render screenshots as small thumbnails. Inspect them at the sizes your audience will actually see.
Misleading Device Context
Choose a frame that fits the supported product and intended campaign. An older device can be appropriate when the app supports it; it should not imply hardware or functionality the product does not support.
Low Resolution
Avoid visible blur and compression artifacts, particularly around UI text and fine controls.
Related Reading
- App Store Screenshot Generator - Create screenshots with current store presets
- How to Create App Store Screenshots That Convert - App Store optimization
- How to Create an iPhone Mockup - iPhone mockup tutorial
- How to Make Your Screenshots Go Viral on Social Media - Social media tips
- 12 Instagram Mockup Examples for Product Launches - Native posts, campaign graphics, profiles, and scenes
- 7 Screenshot Mistakes That Make Your Product Look Amateur - Mistakes to avoid
Frequently Asked Questions
How do I present app screenshots professionally?
Use a device frame when it provides useful context, or leave the capture frameless when that keeps the interface more legible. Clean backgrounds, readable exports, and consistent styling can make a set easier to follow. Consider a brief text overlay when the UI does not explain the value on its own.
What is the best way to showcase an app?
Show the product with truthful, representative data. Empty states and settings screens can be useful when they are the feature being explained; otherwise, choose a screen that better communicates the main workflow. Use device context only when it adds information.
How many screenshots should I include in the App Store?
Apple allows up to 10 screenshots per supported display class. Use only the slots needed to explain distinct parts of the product, and put clear, representative screens early because placements may expose only part of the sequence.
Should I add text to app screenshots?
For app stores, a brief text overlay can clarify the screen, but it is not mandatory. For websites and social media, consider the surrounding copy. In every case, keep the text readable at small sizes and allow for longer localized phrases.
How do I make app screenshots stand out?
Make the product legible at the rendered size, use accurate screen content, and give each asset a clear purpose. Frames, backgrounds, and captions are optional tools; preview the complete set in its destination before deciding which treatment works best.
How should I crop screenshots for the fold on a landing page?
The fold changes with viewport size, browser chrome, zoom, and surrounding copy. Preview the hero at representative breakpoints and keep the product detail named by the headline visible without requiring an exact “upper third” formula. A portrait device may need a tighter crop or a responsive composition on shorter viewports.
What order should I present screenshots in on the App Store?
Lead with a self-explanatory screen, then order the rest around the questions a new user is likely to have. Some placements show only the opening assets, but the exact number and layout vary. Any claim such as “Free to start” or “No account required” must match the current product and market.
Do I need to localize my app screenshots?
Localize screenshots for markets the app actually supports when translated captions or UI will help users understand the listing. Both stores support localized assets, but delivery depends on storefront and locale configuration. Review translations with a fluent speaker and measure results by market instead of assuming a fixed conversion lift.
When should I use a multi-device composition?
Use a multi-device shot when cross-platform support is a real selling point or the product behaves differently across form factors. A mobile-only app should not add a desktop frame that implies unavailable support. On store assets, make sure every shown device and interface reflects functionality the submitted app provides.
What accessibility considerations apply to app screenshots?
Keep text overlays readable with sufficient contrast and do not rely on color alone to communicate a state. On web pages, provide meaningful alternative text when the screenshot conveys content; use empty alternative text when it is purely decorative. Accessibility checks still need time in the production workflow, so include them in the review rather than assuming they happen automatically.
Screenshot Composition for Landing Pages vs App Store Listings
A landing page and an App Store listing are different contexts even when they begin with the same source capture. On a landing page, surrounding typography, a headline, and a call to action can supply context, so a focused UI crop may need no annotation. Avoid repeating the same message in the page copy and several feature callouts unless that repetition genuinely helps comprehension.
An App Store screenshot has less surrounding page context, so each asset should remain understandable on its own. A concise text overlay or device frame can help, but neither is mandatory. Landing-page heroes are often wider while store assets follow accepted portrait or landscape canvases. Use an app screenshot maker to derive destination-specific variants from a shared source rather than forcing one composition to serve every surface.
Choosing motion or a static screenshot
Motion is useful when an interaction, transition, or sequence cannot be understood from a still. Static images remain easier to scan, compare, load, print, and expose as a fallback. For a landing page, test motion against a still while monitoring performance and reduced-motion behavior. For store video, follow the destination's current format and content rules rather than treating an animated web mockup as an App Preview file. An animated mockup can frame a recording for web and social use; export a static poster alongside it.
Conclusion
Present app screenshots with accurate product content, a legible crop, and a treatment suited to the destination. Frames, backgrounds, captions, and motion are optional tools, not universal requirements. Preview each final asset where it will be published.
Screenhance examples
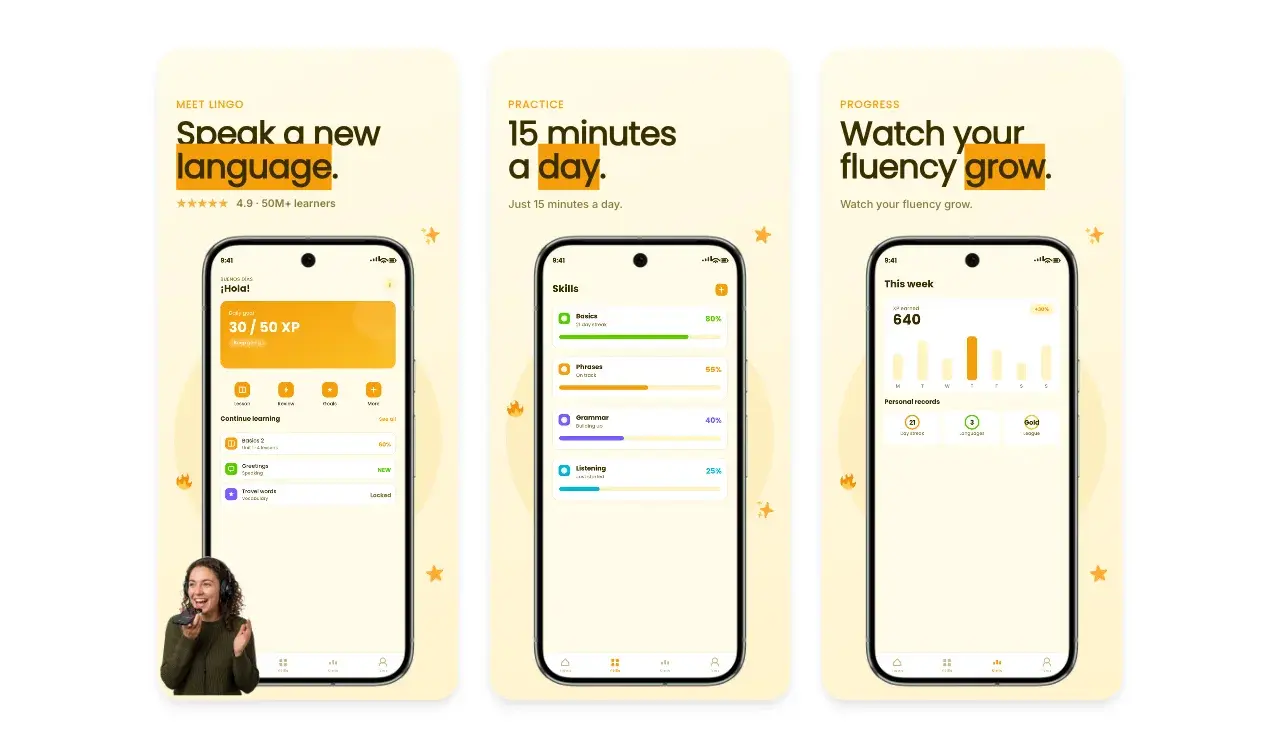
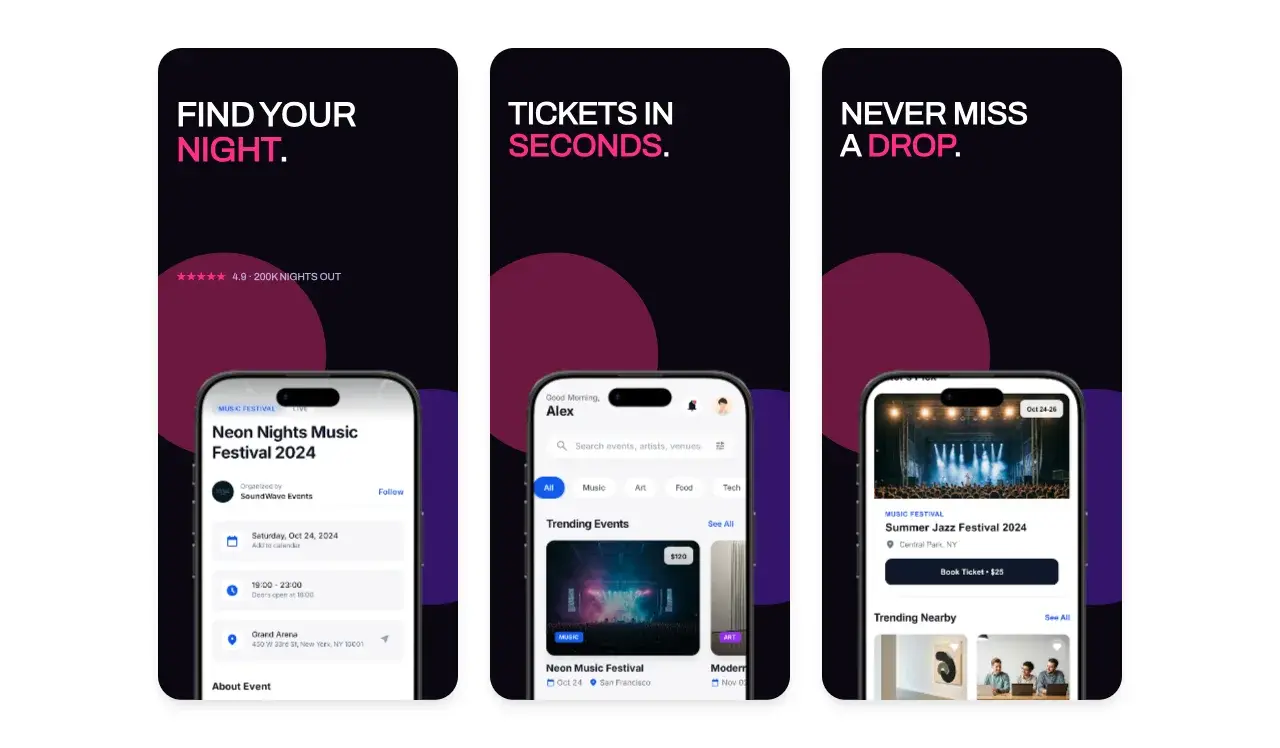
Two editable starting points from the Screenhance library, selected for this app stores guide.
Ready to create stunning visuals?
Free to start. No credit card required.
Keep reading
Related, product-tested guides from Screenhance.
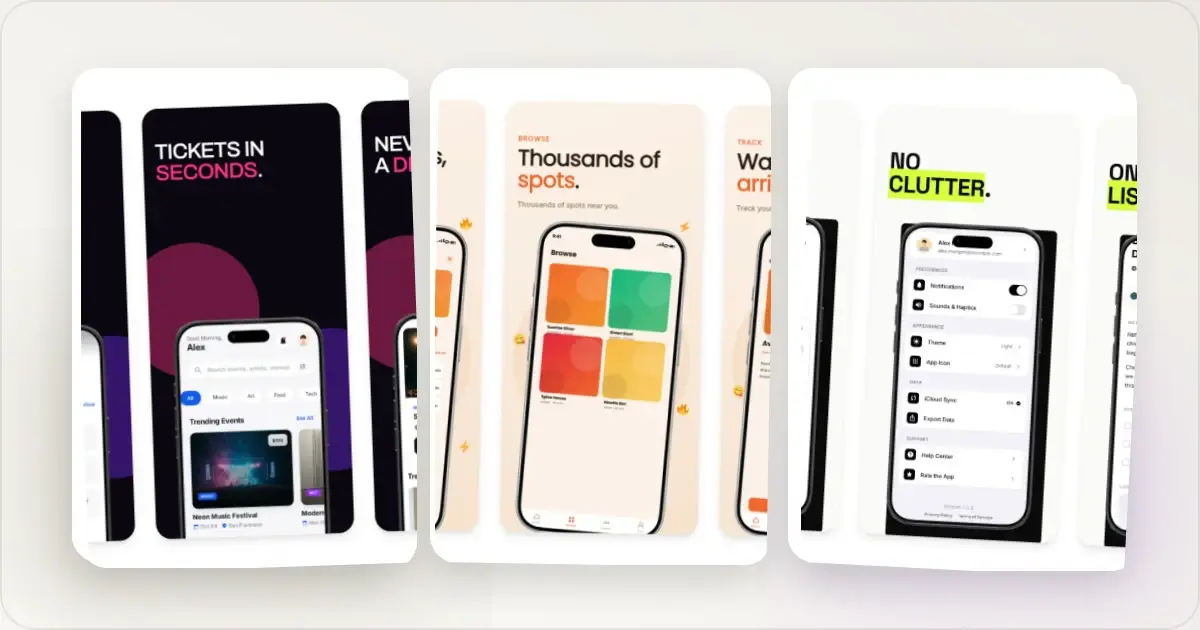
How to Make App Store Screenshots Without a Designer (2026 Guide)
A practical DIY workflow for creating accurate App Store screenshots with templates, current size presets, readable captions, and final human review.
21 Apr 2026 · 8 min read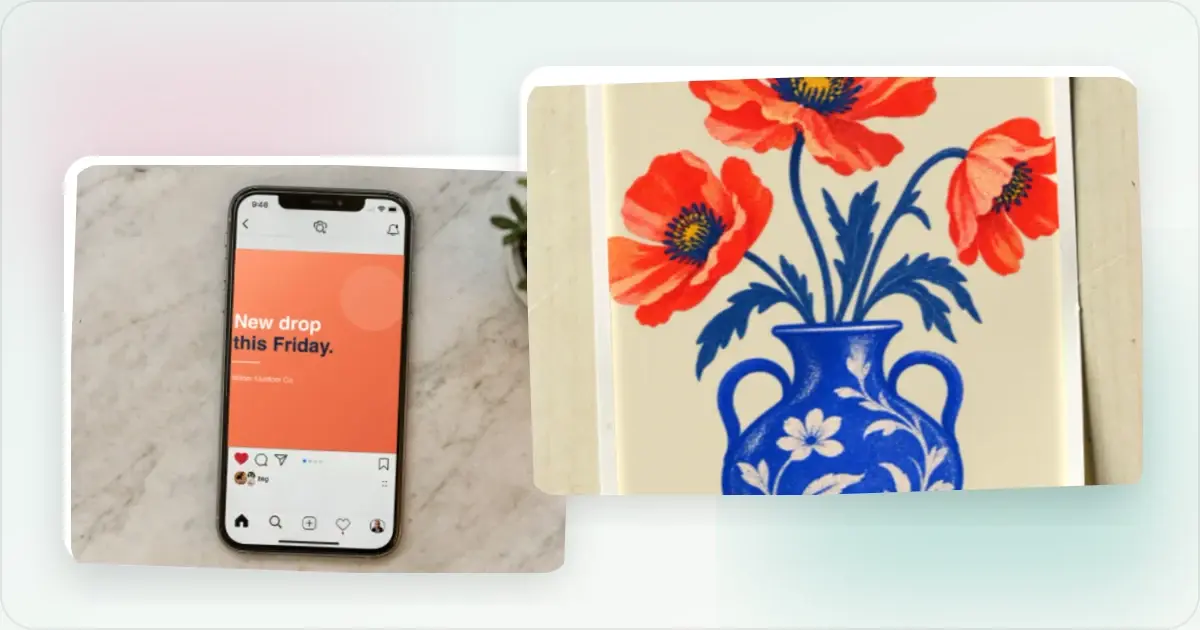
iPad Mockups: Choose a Still, 3D Turn or Handheld Animation
Choose an iPad mockup for your app: a 3D turn, screen close-up, portrait handheld scene or keyboard desk animation. Learn how to prepare and export it.
7 Feb 2026 · 6 min read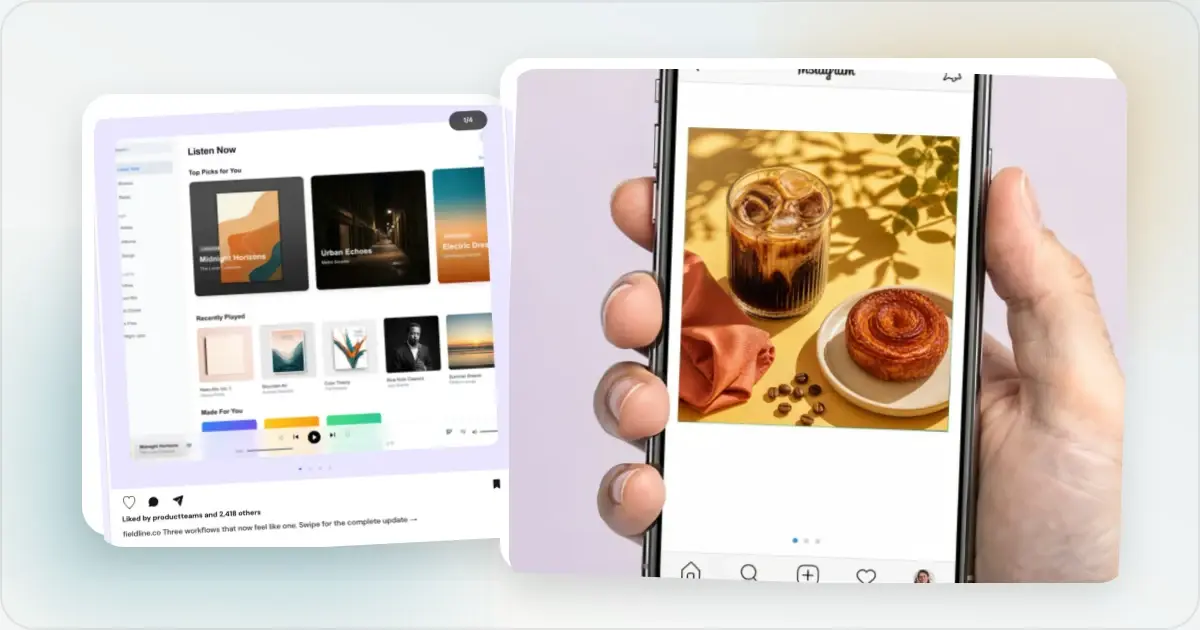
12 Instagram Mockup Examples for Better Product Launches
Explore 12 original Instagram mockup examples for feed posts, carousels, Reels, Stories, profiles, reviews, launch graphics, and product scenes.
1 Sept 2026 · 9 min read